Achieve Zero Downtime Access Control for Your Applications

Access control secures your public-facing services and it is critical for all modern web applications. And it goes without saying that security is priority no.1 for the Traeifk Labs team and our users, that's why we provide access control as a built-in feature for Traefik Hub.
If you don’t already know our motto, Traefik Labs is on a mission to Make Networking Boring! Just providing built-in access control features wouldn’t cut it — it had to be simple and easy for the user to implement. So, we made sure Traefik Hub users could implement access control for their public-facing applications in just a few clicks, with zero downtime, and no changes to the original application.
But wait! What do you mean by “access control” and how does it work, I can hear someone asking.
Let’s take it from the beginning, shall we?
Defining access control
Access control is the mechanism you implement between your application and the outside world to control and secure who can access your application. Needless to say, access control is critical. Without it, anyone can potentially gain access to your application and try to hack your data or break your system.
Implementing access control for a single application is (almost) a piece of cake. Now, setting up access control for applications within a microservice architecture? That is a whole different monster. To properly protect your microservice applications, you need to implement access control policies for every single application in your system. Leave one application unprotected and you open a hole in your system, easily exploitable by malicious attackers.
Not to mention, choosing a way to secure your applications — Google authentication, OpenID Connect (OIDC), etc. — comes with its own configuration hustles.
That’s where Traefik Hub comes in to simplify the way you set up and implement access control.
Complicated access control mechanisms are a thing of the past
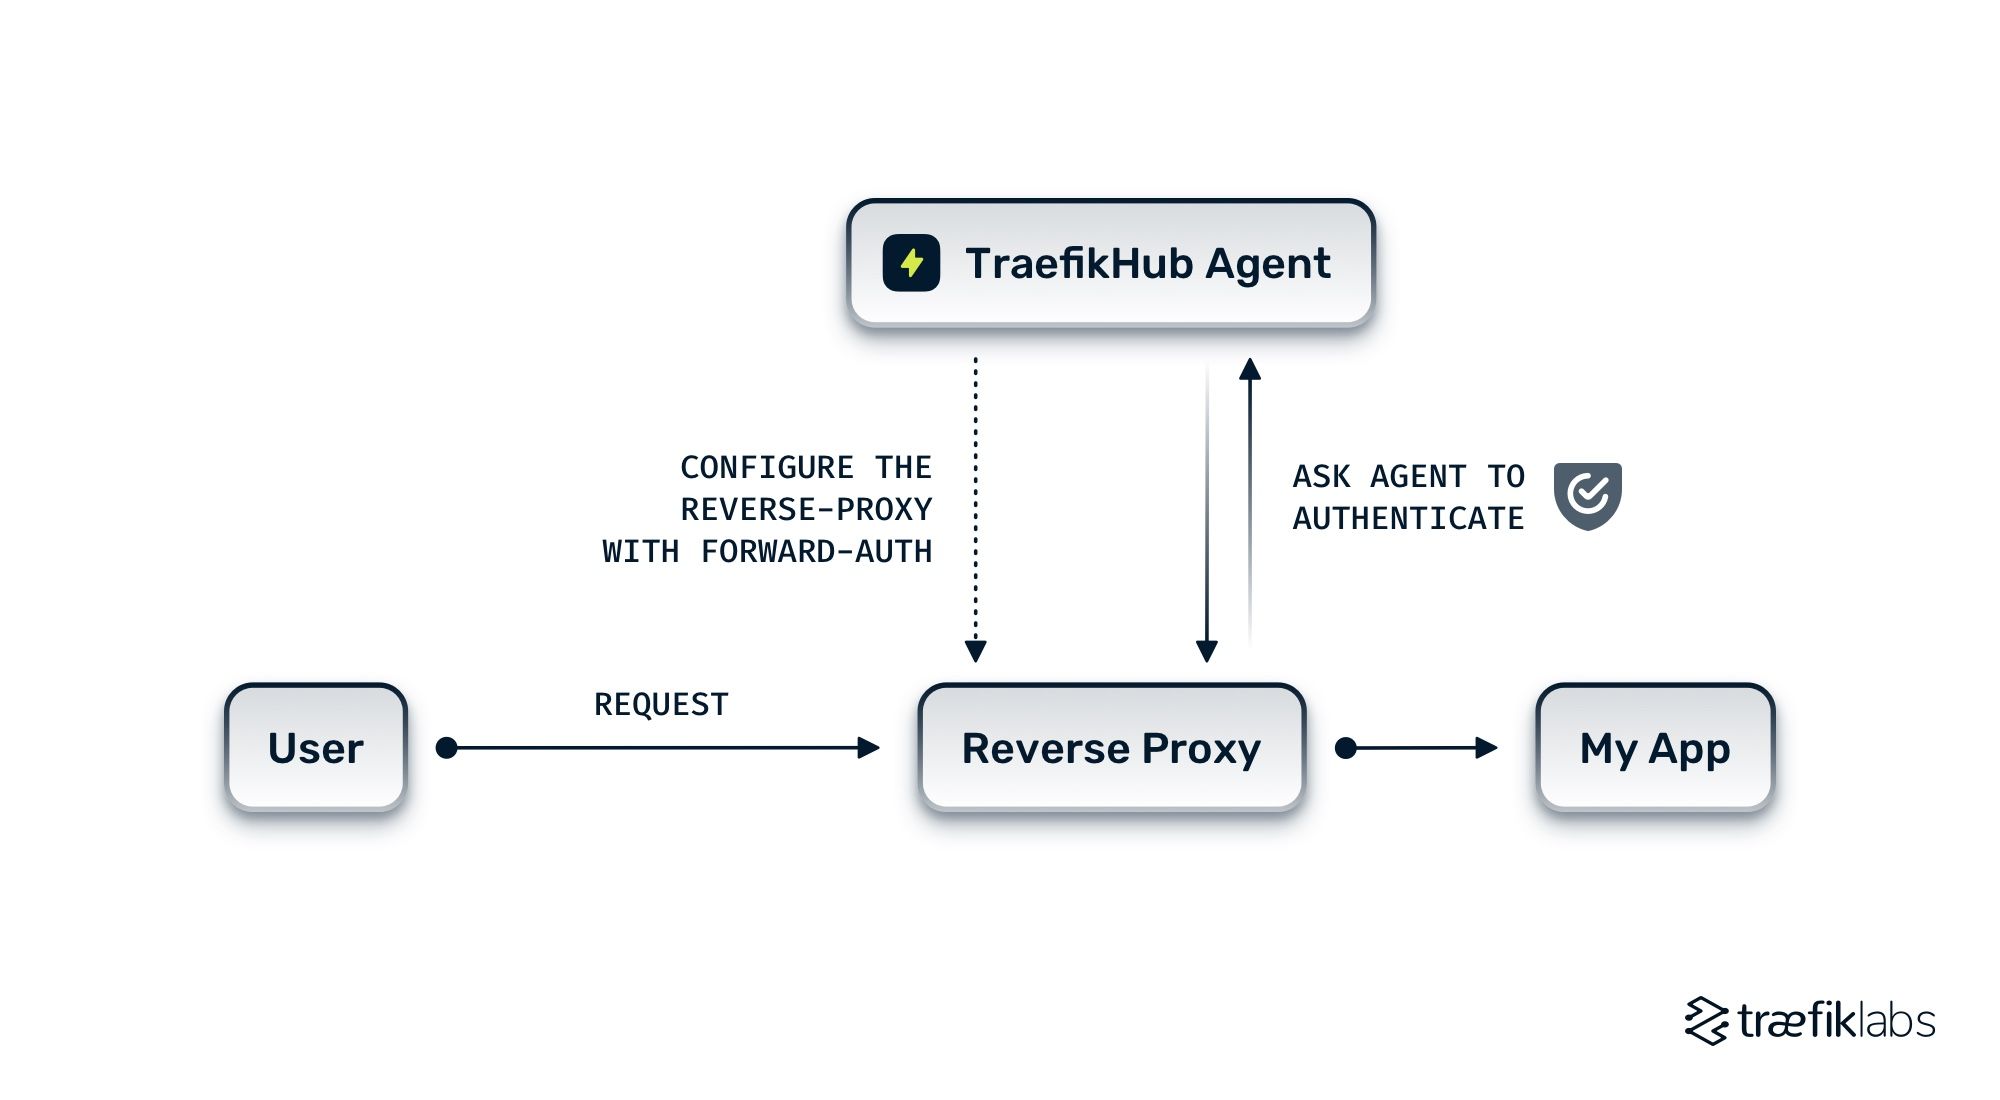
The Access Control Policy (ACP) feature in Traefik Hub is based on the forward authentication mechanism. This means that your reverse proxy, or ingress controller in Kubernetes, delegates the authentication process to the Traefik Hub agent to allow or deny access to your application.
This way you can add advanced authentication mechanisms, like OIDC or JWT, on any application — yes, even legacy apps!
When you enable an ACP on one of your services, Hub automatically configures the ForwardAuth feature on the reverse proxy you used to expose your application. ForwardAuth calls a URL on the Traefik Hub agent to validate and process the authentication workflow. Once this process is complete, and if the user is authorized, they get redirected to your application.
Bottom line, the only thing you had to do was to configure your Access Control Policy within the Traefik Hub UI, and enjoy the fact that your services are now protected in just a few clicks — with zero configuration changes to your applications or your infrastructure!
But that’s enough talk — let’s get down to business and see the ACP feature in action. I have two examples prepared for you: a homelab setup and a production use case.
Let’s jump in.

Access control for your homelab project
Let’s begin with a simple example of how to implement access control with Traefik Hub. In this example, I will show you how to publish a basic homelab project. For this example, I am using a simple motion-detecting application. To keep it simple, in my example I will only use this app to expose my camera. You can also configure the app to detect motion on your camera but we will not use this feature here.
Before we get started, make sure you have the following installed on your machine:
- Docker
- docker-compose
Create your Traefik Hub cluster with docker-compose
The first thing you need to do is to create your Traefk Hub account and install your first Traefik Hub Agent.
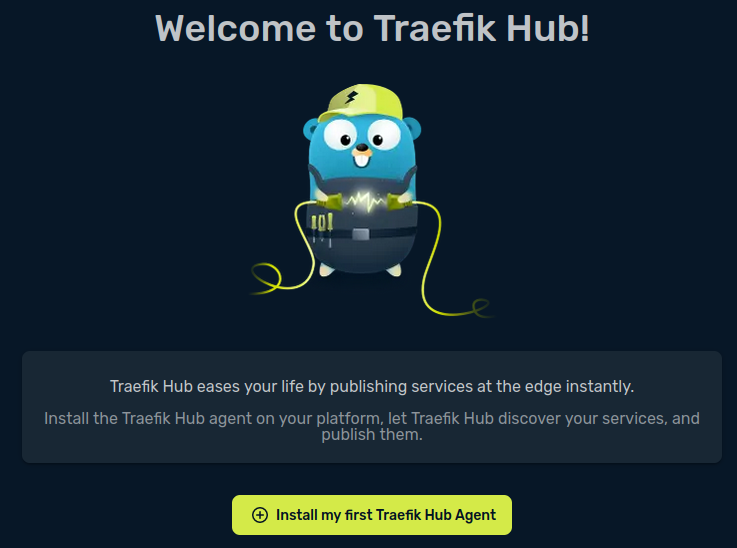
Once the agent is installed, you can deploy the Traefik Hub Agent in your cluster. In this example, I am using the docker-compose mode. Copy and paste the proposed docker-compose command to deploy all this directly in your cluster.
Now let’s create the configuration file for our motion application to expose the first camera. Create a motion.conf file with this content:
stream_port 8080
stream_localhost off
Then, we add our application in the ./docker-compose-hub-agent.yaml file created by this command.
# start the motion project (with privileged: true to simplify the camera configuration)
  motion:
	image: motionproject/motion:latest
	volumes:
	- ./motion.conf:/usr/local/etc/motion/motion.conf
	privileged: true
Now let’s reload the docker-compose project:
docker-compose -f ./docker-compose-hub-agent.yaml up -d
Note I: Here, for the sake of simplicity, I use the same docker-compose for both my Traefik Hub Agent, Traefik Proxy, and MyApp. If you want to use a different docker-compose for each, don't forget to add the motion network on the Traefik Proxy container to allow Traefik Proxy to contact MyApp.
Note II: If you already have a Traefik Proxy instance installed, you can add the Traefik Hub configuration and reuse it instead of deploying a new one.
Publish your app
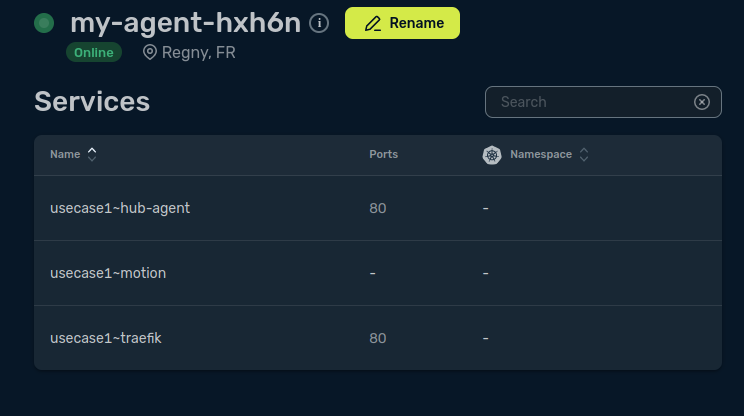
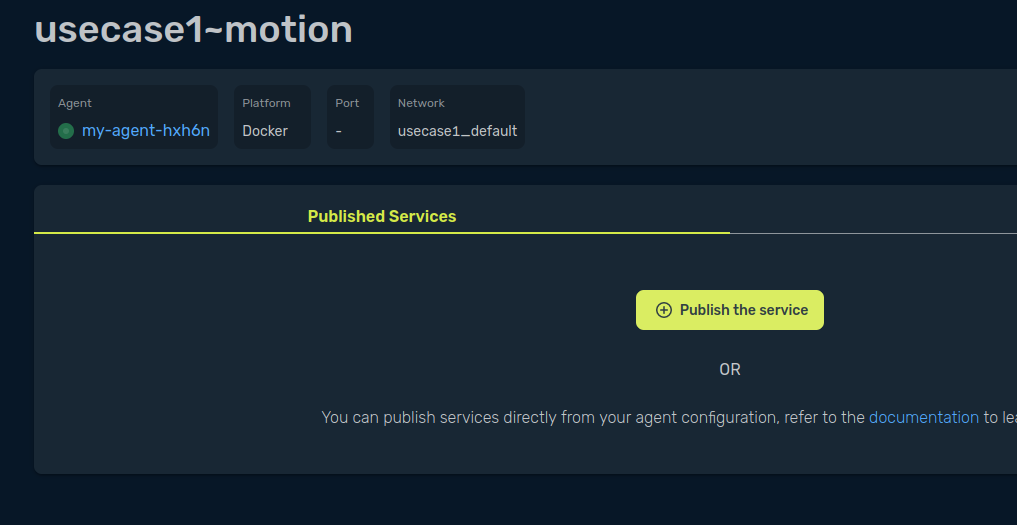
To publish your application, click on the Service name that represents your application, then click the Publish the service button.
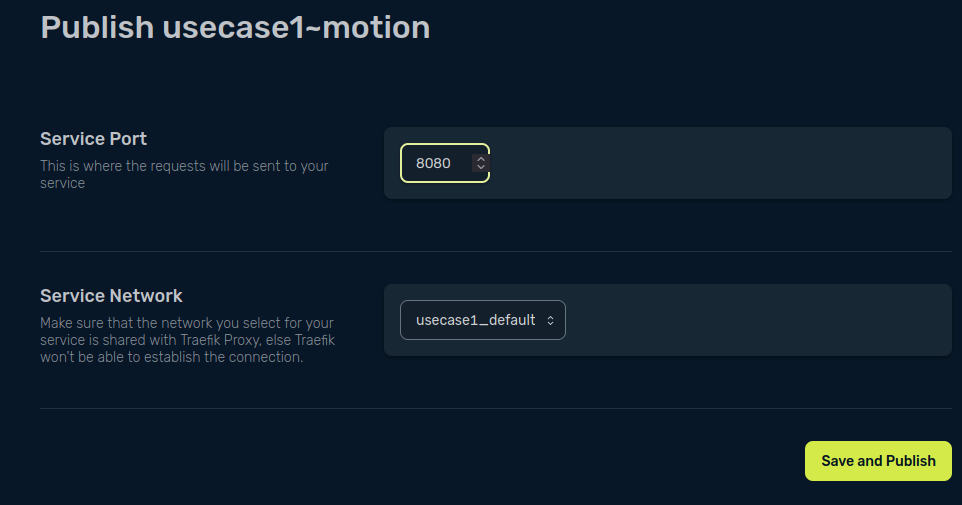
Finally, type the port we configured for our motion application, 8080, in the Service Port field, and click Save and Publish to publish your application.

Go to the URL Traefik Hub published for you, and you should see your camera.
If you take a look at the URL, you may notice that it uses HTTPS with a valid certificate for your domain. However, this URL is not protected at all. To keep malicious individuals from watching your camera, you need to set an Access Control Policy.
Set up access control with OIDC to protect your service
For this application, let’s add an ACP with OIDC and Google.
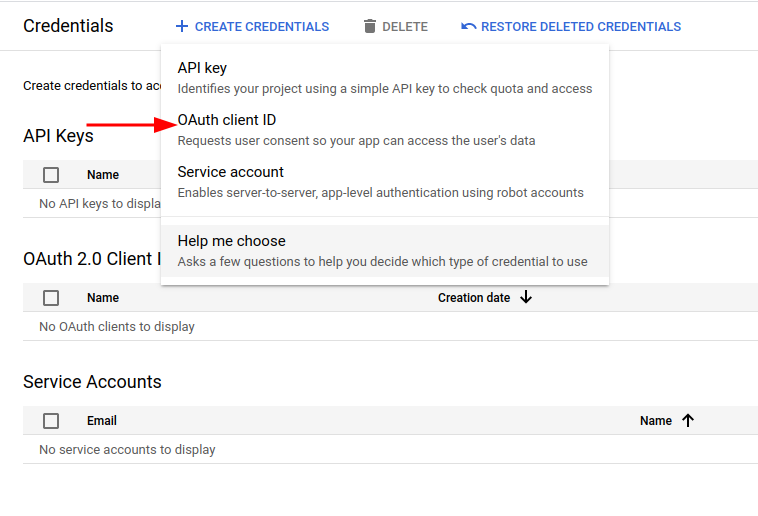
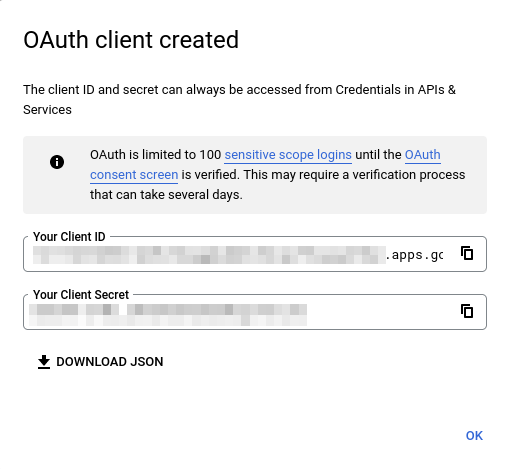
First, go to https://console.cloud.google.com/apis/credentials and create an OAuth client ID in the Create credentials section.
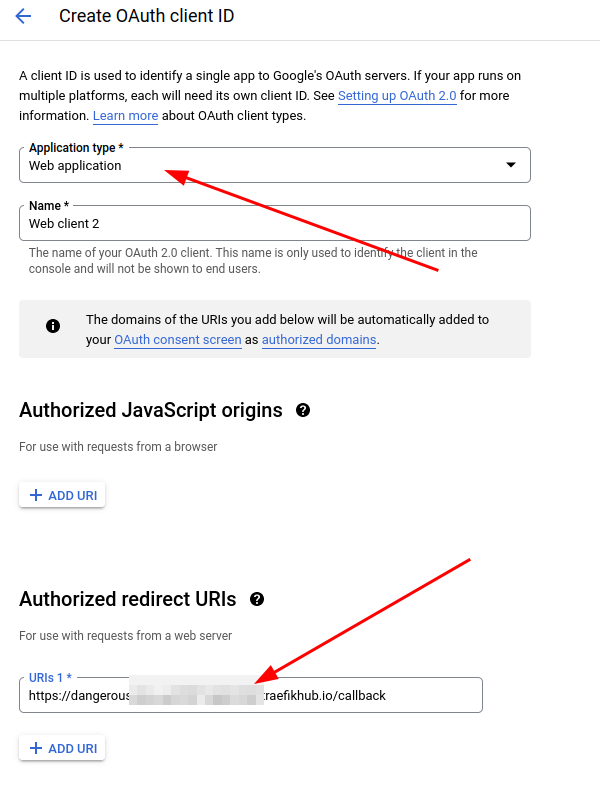
Note: You need to configure the redirect URL with the domain of your published service followed by /callback.
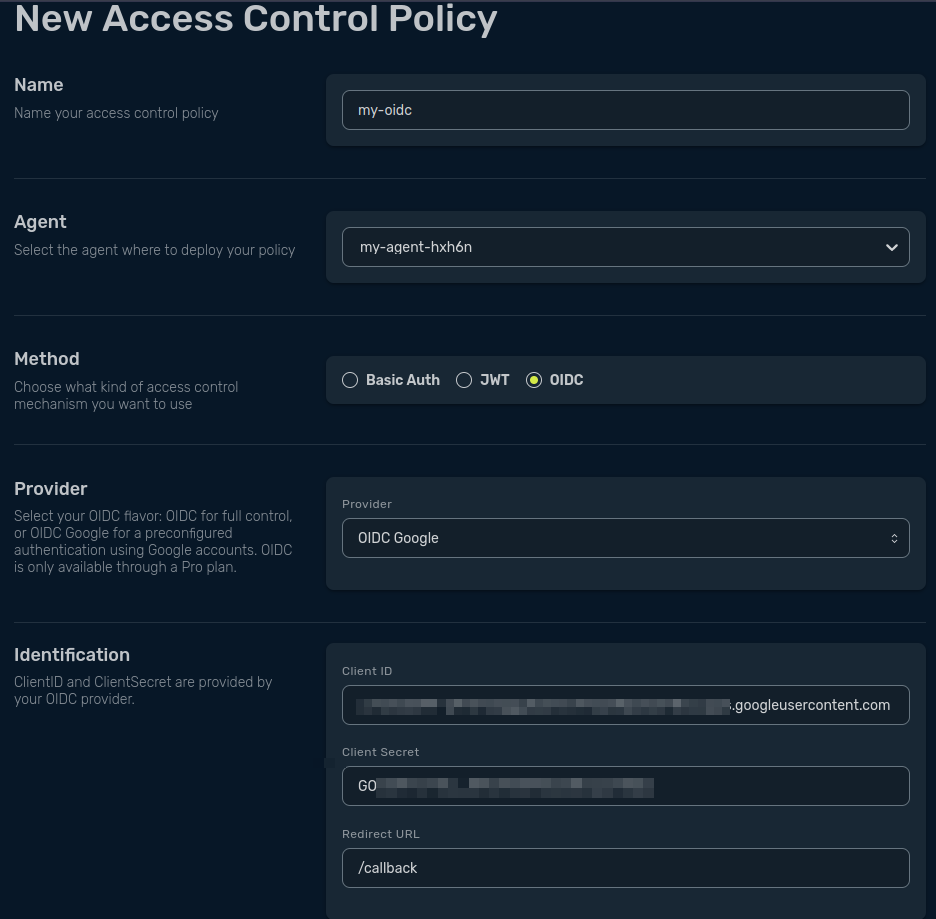
Now head back to the Traefik Hub and create your new ACP using the OIDC method. In the Provider field, select OIDC Google. Fill out the Client ID and Client Secret with the info you got from Google Credentials, and configure the redirect URL with /callback (the path we configured in Google Credentials).
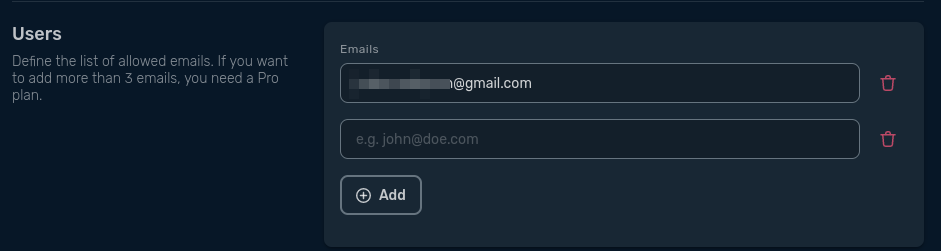
Add the users you want to authorize to access your application and save the ACP.
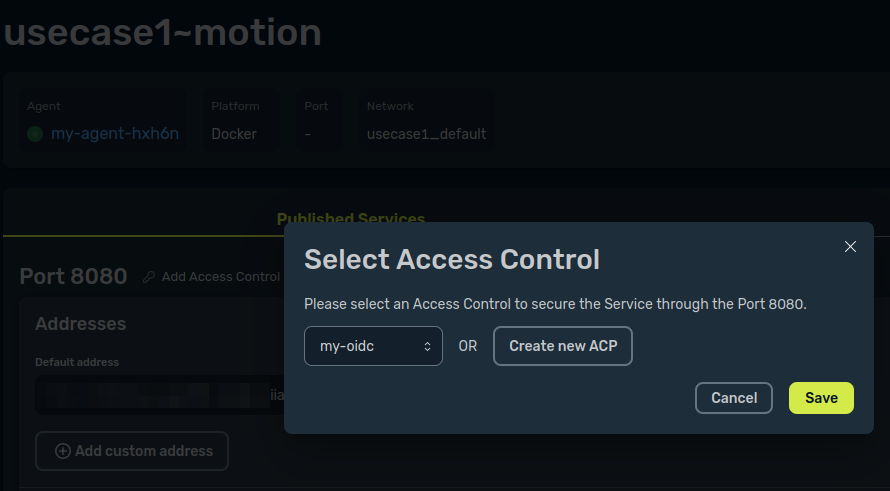
All is done! Your service is published and secured thanks to your OIDC Access Control Policy.
Publish and secure your production API
Implementing access control for a simple homelab project was insanely simple, right? Now, let’s take it up a notch! Taking our example from your homelab to your production environment, let’s say you have a Kubernetes cluster with a service you want to publish and secure.
Before we get started, make sure you have your Kubernetes cluster up and running.
Create your Traefik Hub cluster with Kubernetes
Create your Hub cluster, just as we did earlier, choose the Kubernetes platform, and apply all the relevant snippets. This will deploy the Traefik Hub Agent and Traefik Proxy as the ingress in your cluster.
Here’s an example of a service:
apiVersion: apps/v1
kind: Deployment
metadata:
  labels:
    app: whami
  name: whoami
spec:
  replicas: 3
  selector:
    matchLabels:
      app: whoami
  template:
    metadata:
      labels:
        app: whoami
    spec:
      containers:
      - image: traefik/whoami
        name: whoami
        imagePullPolicy: Always
        ports:
        - containerPort: 80
          name: web
          protocol: TCP
---
apiVersion: v1
kind: Service
metadata:
  name: whoami
spec:
  ports:
  - name: web
    port: 80
    protocol: TCP
    targetPort: 80
  selector:
    app: whoami
The only thing you have to do now is to find your service in the Traefik Hub UI and publish it.
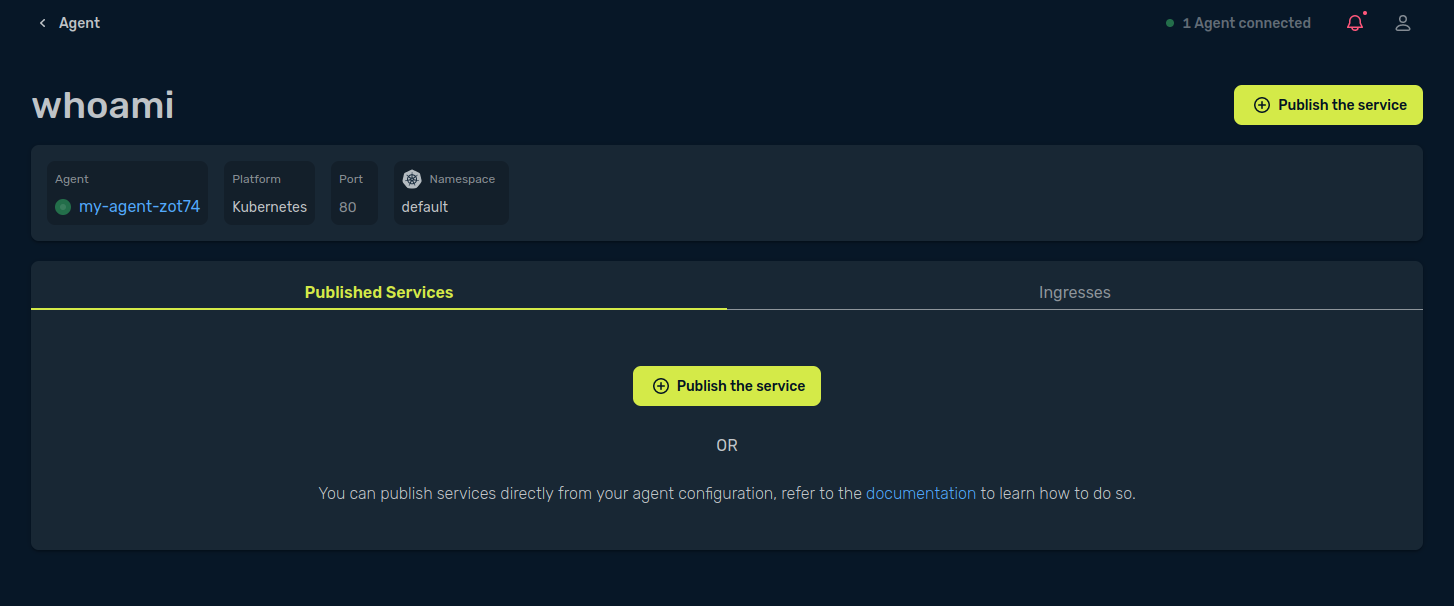
You can verify that it works with a curl call.
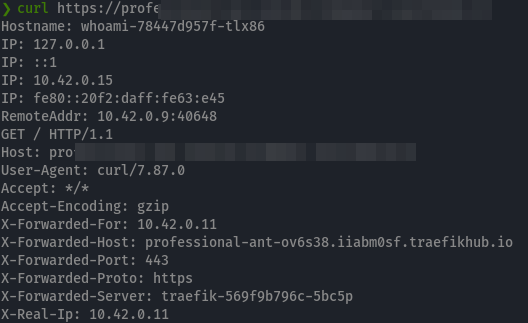
Excellent! Now that your service is publicly available, let’s secure it with an ACP.
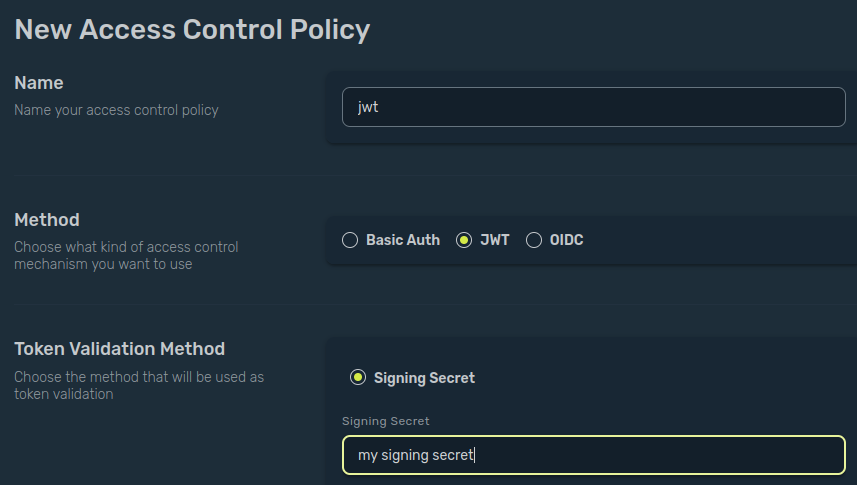
Set up access control with JWT to protect your service
In this example, we will secure our service with the JWT Token Mechanism. Click on the Add Access Control and select Create New ACP. Here, we’ll create a new JWT policy with a signing secret.

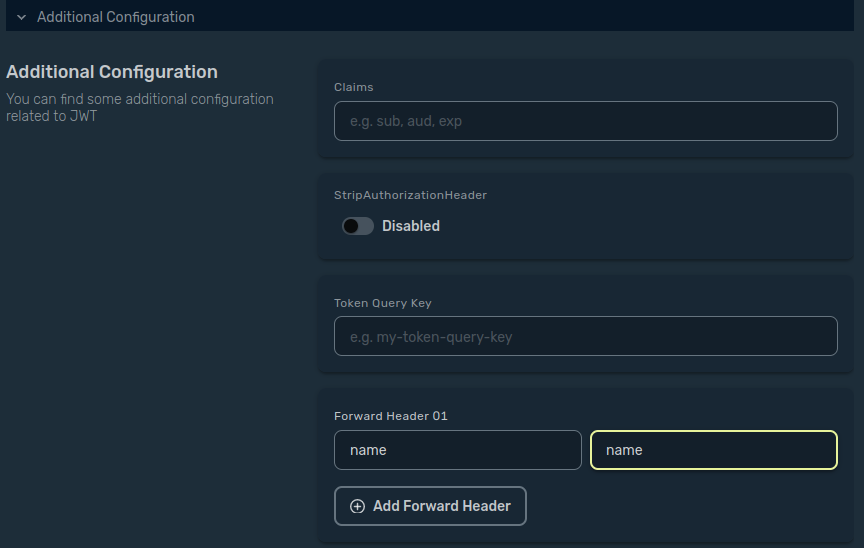
You can now add some forward headers, based on the claim you will add in the JWT token (see the step below).
Now let’s try to call this service without a JWT Token.

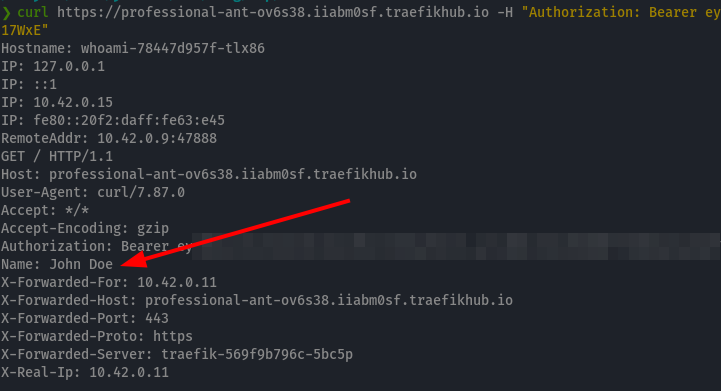
Indeed, we are not authorized to call this URL. Let’s add the JWT token. You can generate the JWT Token on jwt.io with a claim for name and the right signing secret. Then call the URL and add the Authorization Header.
Bonus round I
So, we just published a service and secured using ACP and we did so through Traefik Hub’s tunneling mechanism.
But ACPs in Traefik Hub don’t necessarily have to use this tunneling mechanism. If you already have an ingress controller and an ingress set up to publish your service, you can add ACPs to your already existing ingress directly in the Traefik Hub UI.
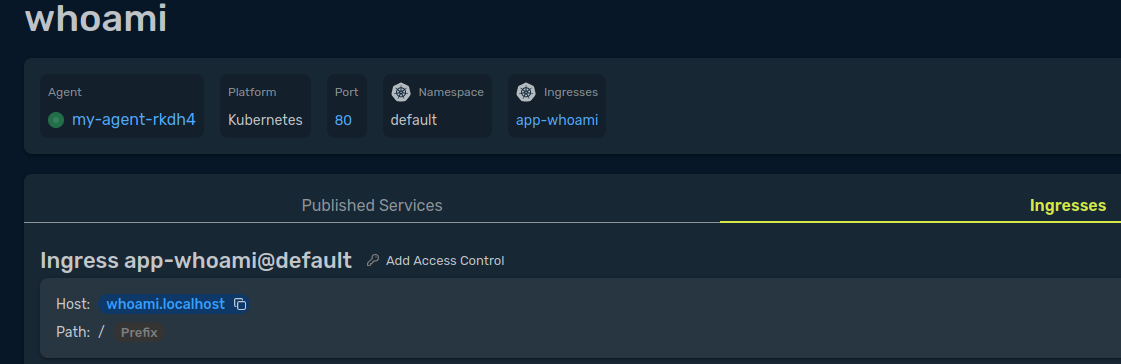
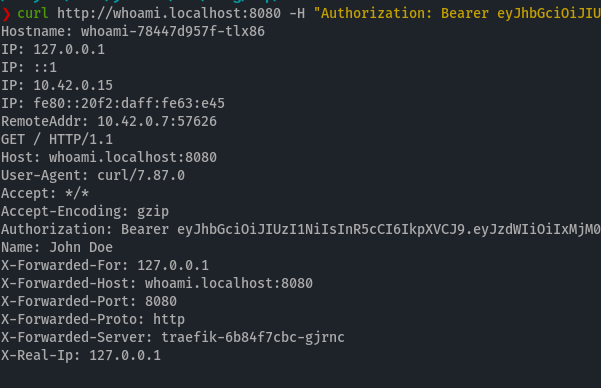
As you can see, when I tried to call the URL defined in my ingress, the JWT token and headers from the claim were automatically forwarded.
Bonus round II
If you don’t want to use the Traefik Hub UI, but still want to take advantage of Traefik Hub’s ACP feature, you can use the AccessControlPolicy CRD directly in your cluster and apply it with the kubectl command.
apiVersion: hub.traefik.io/v1alpha1
kind: AccessControlPolicy
metadata:
  name: jwt
spec:
  jwt:
    forwardHeaders:
      name: name
    signingSecret: my signing secret
Then you can add an annotation on your ingress to apply this ACP on your ingress
hub.traefik.io/access-control-policy:
---
apiVersion: networking.k8s.io/v1
kind: Ingress
metadata:
  name: app-whoami
  annotations:
      hub.traefik.io/access-control-policy: jwt

spec:
  rules:
    - host: whoami.localhost
      http:
        paths:
          - path: /
            pathType: Prefix
            backend:
              service:
                name: whoami
                port:
                  number: 80
Conclusion
And that’s how you do it!
Simple and fast, Traefik Hub helps you secure your publicly available applications in, literally, a few clicks. If you want to learn more about the power of Traefik Hub, we have a bunch of resources that I recommend you check out:
- Documentation — Welcome to Traefik Hub
- Blog Post — Traefik Hub in a World of GitOps
If you want to jump right in and start trying it out yourself, create your free account today!


