From Zero to Hero: Getting Started with k0s and Traefik

K0s is a new Kubernetes distribution from Mirantis. It's similar to Rancher Labs' K3s, yet it ships with only the bare minimum of extensions. This allows flexibility for users who want to customize it to their needs by defining their own ingress, storage, and other controllers in the CRD manifest, configuring the cluster during bootstrap.
In the examples below, I’ll guide you through how to accomplish getting a functioning Kubernetes cluster by:
- Installing k0s on a clean Linux VM
- Configuring Traefik and MetalLB as an extension
- Starting k0s
- Deploying the Traefik Dashboard IngressRoute and an example service
Step 1
Before we start, you should plan to do this on a clean install of Linux, probably in a VM. You will be running k0s as a server/worker, and the worker installs components into the /var/lib filesystem as root (so root access is a requirement). My understanding is there are plans to allow non-root workers in the future. Hopefully, in addition to non-root, the k0s binary will allow worker installations in a configurable location.
Note: Cleanly shutting down and wiping the cluster is not a feature yet in the k0s binary. For now, rebooting the system and wiping /var/lib/k0s is the easiest option.Once you have a clean Linux VM (I’m using Ubuntu 20.04.1), you’ll want to install the Helm and kubectl binaries.
curl -O https://get.helm.sh/helm-v3.4.1-linux-amd64.tar.gz
tar xvzf helm-v3.4.1-linux-amd64.tar.gz
sudo mv linux-amd64/helm /usr/local/bin

curl -LO "https://storage.googleapis.com/kubernetes-release/release/$(curl -s https://storage.googleapis.com/kubernetes-release/release/stable.txt)/bin/linux/amd64/kubectl"
chmod +x kubectl
sudo mv kubectl /usr/local/bin
Once those are installed, install the k0s binary, create the working directory for k0s, and create a default config.
Note: The installer and running k0s itself both require root
# make sure you're running as root
curl -sSLf get.k0s.sh | sh
# create the working directory and set the permissions
mkdir -p /var/lib/k0s && chmod 755 /var/lib/k0s
# create the default config
k0s default-config > /var/lib/k0s/k0s.yaml
Step 2
In this step, you’ll configure Traefik and MetalLB as extensions that will be installed during the cluster's bootstrap. Traefik will function as an ingress controller and MetalLB will allow you to access services from a logical IP address deployed as a service load balancer. You will want to have a small range of IP addresses that are addressable on your network, preferably outside the range of your DHCP server.
Modify the newly created k0s.yaml file in /var/lib/k0s/k0s.yaml:
apiVersion: k0s.k0sproject.io/v1beta1
kind: Cluster
metadata:
  name: k0s
...
extensions:
  helm:
    repositories:
    - name: traefik
      url: https://helm.traefik.io/traefik
    - name: bitnami
      url: https://charts.bitnami.com/bitnami
    charts:
    - name: traefik
      chartname: traefik/traefik
      version: "9.11.0"
      namespace: default
    - name: metallb
      chartname: bitnami/metallb
      version: "1.0.1"
      namespace: default
      values: |2
        configInline:
          address-pools:
          - name: generic-cluster-pool
            protocol: layer2
            addresses:
            - 172.16.100.215-172.16.100.220
Again, be sure to provide a range of IPs for MetalLB that are addressable on your network if you want to access the LoadBalancer and Ingress services from outside this machine.
Step 3
Now it's time to run k0s and let it automatically set up the server and worker, and deploy and configure Traefik and MetalLB:
cd /var/lib/k0s
k0s server --enable-worker </dev/null &>/dev/null &
After a minute or two, you should be able to access the cluster using the certificate generated by k0s, located in /var/lib/k0s/pki/admin.conf, and see that MetalLB was deployed along with the Traefik Ingress Controller.
root@k0s-host ➜ export KUBECONFIG=/var/lib/k0s/pki/admin.conf
root@k0s-host ➜ kubectl get all
NAME                                                 READY   STATUS    RESTARTS   AGE
pod/metallb-1607085578-controller-864c9757f6-bpx6r   1/1     Running   0          81s
pod/metallb-1607085578-speaker-245c2                 1/1     Running   0          60s
pod/traefik-1607085579-77bbc57699-b2f2t              1/1     Running   0          81s

NAME                         TYPE           CLUSTER-IP       EXTERNAL-IP      PORT(S)                      AGE
service/kubernetes           ClusterIP      10.96.0.1        <none>           443/TCP                      96s
service/traefik-1607085579   LoadBalancer   10.105.119.102   172.16.100.215   80:32153/TCP,443:30791/TCP   84s

NAME                                        DESIRED   CURRENT   READY   UP-TO-DATE   AVAILABLE   NODE SELECTOR            AGE
daemonset.apps/metallb-1607085578-speaker   1         1         1       1            1           kubernetes.io/os=linux   87s

NAME                                            READY   UP-TO-DATE   AVAILABLE   AGE
deployment.apps/metallb-1607085578-controller   1/1     1            1           87s
deployment.apps/traefik-1607085579              1/1     1            1           84s

NAME                                                       DESIRED   CURRENT   READY   AGE
replicaset.apps/metallb-1607085578-controller-864c9757f6   1         1         1       81s
replicaset.apps/traefik-1607085579-77bbc57699              1         1         1       81s
Take note of the IP address assigned to the Traefik Load Balancer here:
NAME                         TYPE           CLUSTER-IP       EXTERNAL-IP      PORT(S)                      AGE
service/traefik-1607085579   LoadBalancer   10.105.119.102   172.16.100.215   80:32153/TCP,443:30791/TCP   84s
You will need the EXTERNAL-IP (in this case, 172.16.100.215) later, when accessing Ingress resources on your cluster.
Step 4
- Deploy the Traefik dashboard
- Deploy the sample “whoami” service
Now that you have a functional and addressable load balancer on your cluster, you can easily deploy the Traefik dashboard and access it from anywhere on your local network (provided that you configured MetalLB with an addressable range).
Create the Traefik Dashboard IngressRoute in a YAML file:
apiVersion: traefik.containo.us/v1alpha1
kind: IngressRoute
metadata:
  name: dashboard
spec:
  entryPoints:
    - web
  routes:
    - match: PathPrefix(`/dashboard`) || PathPrefix(`/api`)
      kind: Rule
      services:
        - name: api@internal
          kind: TraefikService
And deploy it:
root@k0s-host ➜ kubectl apply -f traefik-dashboard.yaml
ingressroute.traefik.containo.us/dashboard created
You can now access it from your browser by visiting http://172.16.100.215/dashboard/:
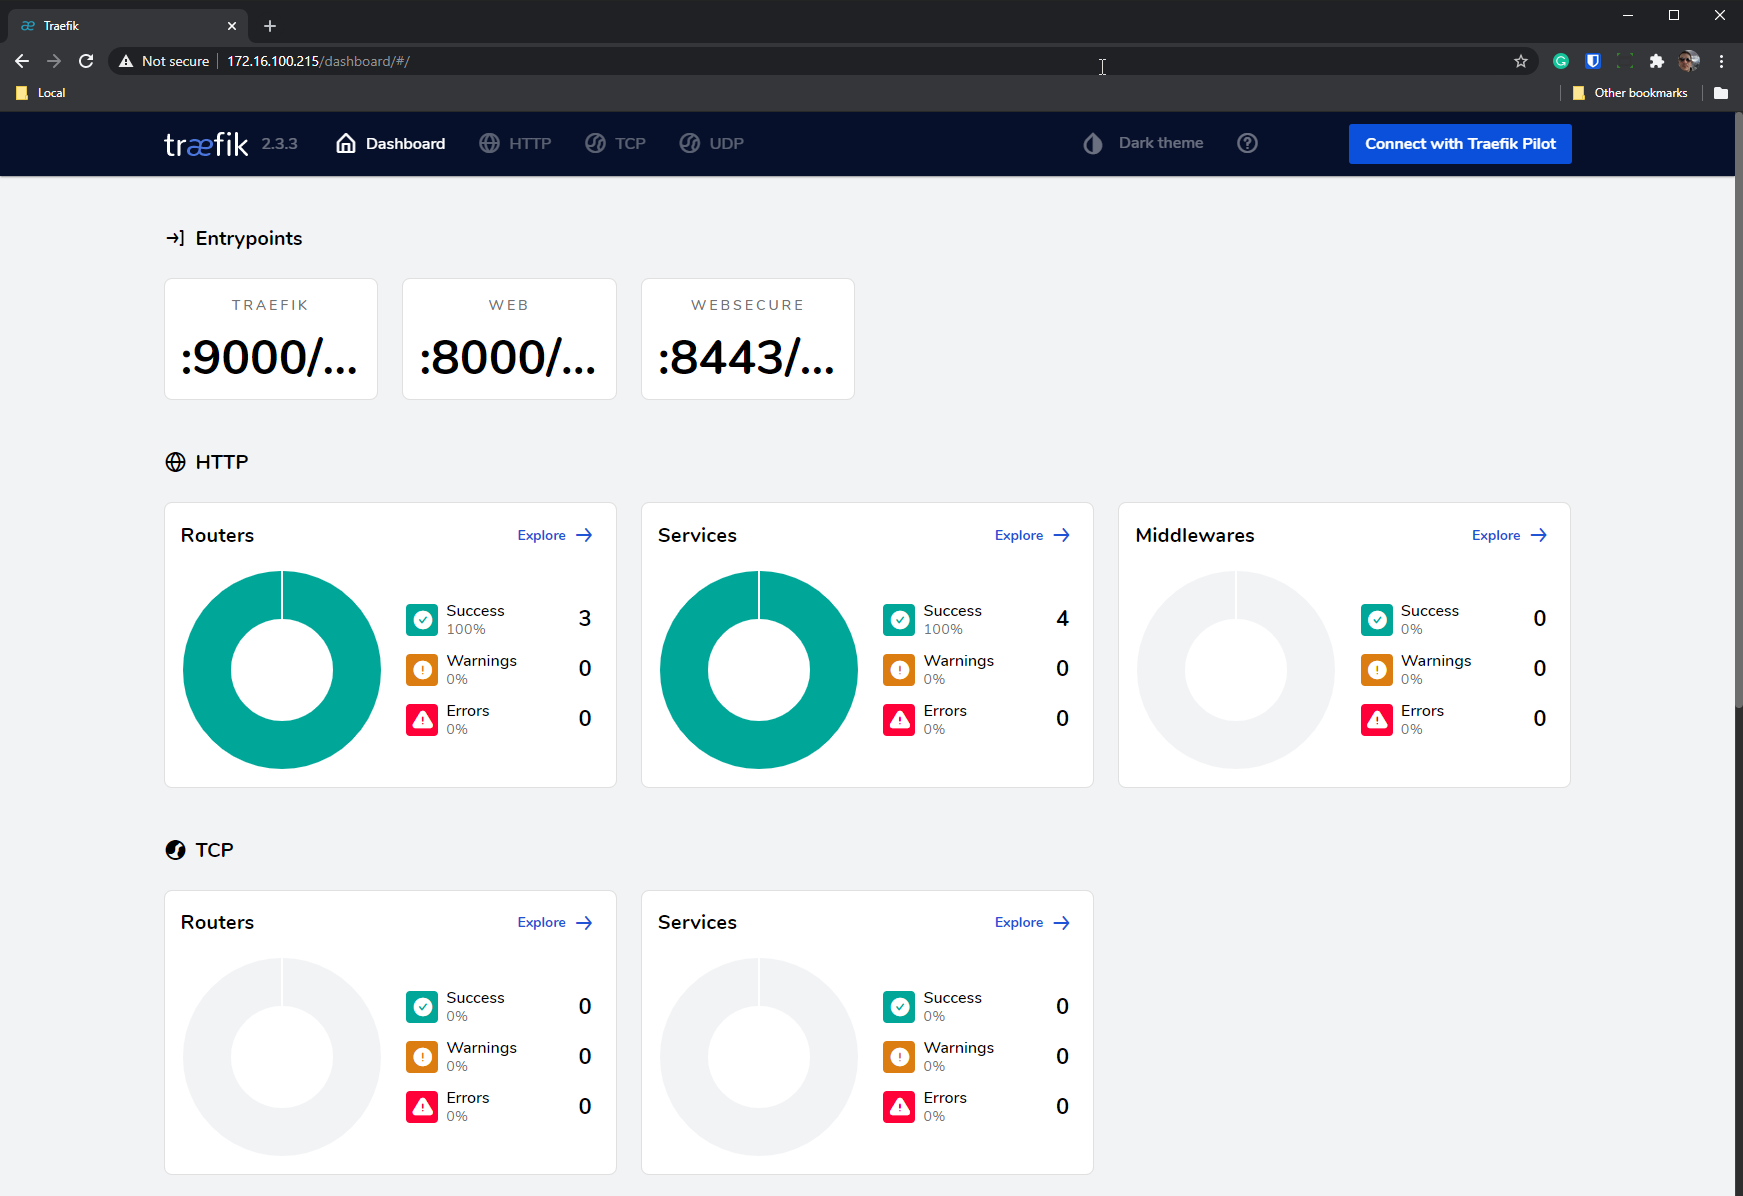
Great, now let’s deploy a simple “whoami” service.
Create the whoami Deployment, Service, and Kubernetes Ingress manifest:
apiVersion: apps/v1
kind: Deployment
metadata:
  name: whoami-deployment
spec:
  replicas: 1
  selector:
    matchLabels:
      app: whoami
  template:
    metadata:
      labels:
        app: whoami
    spec:
      containers:
      - name: whoami-container
        image: containous/whoami
---
apiVersion: v1
kind: Service
metadata:
  name: whoami-service
spec:
  ports:
  - name: http
    targetPort: 80
    port: 80
  selector:
    app: whoami
---
apiVersion: networking.k8s.io/v1
kind: Ingress
metadata:
  name: whoami-ingress
spec:
  rules:
  - http:
      paths:
      - path: /whoami
        pathType: Exact
        backend:
          service:
            name: whoami-service
            port:
              number: 80
And now, deploy and test it…
root@k0s-host ➜ kubectl apply -f whoami.yaml
deployment.apps/whoami-deployment created
service/whoami-service created
ingress.networking.k8s.io/whoami-ingress created
# test the route
root@k0s-host ➜ curl http://172.16.100.215/whoami
Hostname: whoami-deployment-85bfbd48f-7l77c
IP: 127.0.0.1
IP: ::1
IP: 10.244.214.198
IP: fe80::b049:f8ff:fe77:3e64
RemoteAddr: 10.244.214.196:34858
GET /whoami HTTP/1.1
Host: 172.16.100.215
User-Agent: curl/7.68.0
Accept: */*
Accept-Encoding: gzip
X-Forwarded-For: 172.16.100.77
X-Forwarded-Host: 172.16.100.215
X-Forwarded-Port: 80
X-Forwarded-Proto: http
X-Forwarded-Server: traefik-1607085579-77bbc57699-b2f2t
X-Real-Ip: 172.16.100.77
Summary
This post covered installing k0s, setting up a fully functional Load Balancer and Ingress controller for use in your local environment. From here, you could use a tool such as ngrok to expose your Load Balancer to the world and set up Let’s Encrypt so you can provision your own SSL certificates.
The design of k0s as a single binary installer that allows modular customizability makes it a unique offering in the Kubernetes community. You can learn more about how to leverage Kubernetes Ingress with Traefik on our site. In addition, you can learn more about installing k0s on Mirantis' blog. While k0s is still relatively new to the scene, I hope this post gives you an idea of what it’s capable of and how you can start experimenting with your own customized Kubernetes setup.


