Scale Serverless Workloads with Traefik & Knative


Modern infrastructure spans diverse workload types—from traditional VMs to cloud-native containers and serverless functions. Managing networking across these environments has traditionally required multiple specialized proxies, increasing complexity and operational overhead.
With Traefik 3.6, we're changing that. The introduction of Knative provider support marks a key milestone: Traefik is now the only proxy that can seamlessly operate at the edge of Cloud Native workloads (containers), traditional workloads (Virtual Machines), and serverless workloads. This unprecedented versatility makes Traefik a truly unique platform capable of handling any kind of workload your infrastructure demands.
Knative, the leading platform for serverless workloads on Kubernetes, provides scale-to-zero capabilities, automatic scaling based on traffic, and sophisticated revision management. The Knative provider in Traefik automatically handles service discovery, scaling events, and traffic routing for these serverless workloads, providing a unified experience across your entire application landscape.
Teams can now use a single proxy solution for their complete infrastructure, dramatically simplifying operations while maintaining the specialized optimizations each workload type requires.
Prerequisites
Before we begin, make sure you have:
- Helm 3.x installed
- k3d installed for local testing
- kubectl configured to access your cluster
- Basic familiarity with Kubernetes concepts
Create a k3d Cluster
For this guide, we'll use k3d to create a local Kubernetes cluster with port mappings that allow direct access to services without port-forwarding:
k3d cluster create traefik \
  --port 80:80@loadbalancer \
  --port 443:443@loadbalancer \
  --k3s-arg "--disable=traefik@server:0"
This command creates a cluster with:
- Port 80 and 443 mapped to your localhost
- The default k3s Traefik installation disabled (we'll install our own)
If you're using a cloud provider instead, you can skip this step and use your existing cluster.
Install Knative Serving
Let's start by installing Knative Serving. We'll be using version 1.19.0, which has been tested with Traefik's Knative provider.
Install the Knative Custom Resource Definitions (CRDs):
kubectl apply -f https://github.com/knative/serving/releases/download/knative-v1.19.0/serving-crds.yaml
Then install the Knative Serving core components:
kubectl apply -f https://github.com/knative/serving/releases/download/knative-v1.19.0/serving-core.yaml
Wait for all Knative pods to be ready:
kubectl get pods -n knative-serving
You should see the activator, autoscaler, controller, and webhook pods all in a 'Running' state.
Now configure Knative to use Traefik as its networking layer:
kubectl patch configmap/config-network \
  -n knative-serving \
  --type merge \
  -p '{"data":{"ingress.class":"traefik.ingress.networking.knative.dev"}}'
Install Traefik as Knative Networking Controller
Now let's deploy Traefik with Knative support enabled using Helm.
Create a values.yaml file that enables the Knative provider:
experimental:
  knative: true

providers:
  knative:
    enabled: true
The configuration enables both the experimental Knative feature flag and activates the Knative provider.
Next, execute the following commands to deploy Traefik in the traefik namespace using the previously described configuration:
helm repo add traefik https://traefik.github.io/charts
helm repo update
kubectl create namespace traefik
helm upgrade --install --version 33.2.0 --namespace traefik \
  traefik traefik/traefik -f values.yaml
Verify that Traefik is running:
kubectl get pods -n traefik
You should see the Traefik pod in a 'Running' state. And voilà! Your Traefik instance is now ready to handle Knative workloads.
Deploy your first Knative Service
Now that our infrastructure is ready, let's deploy a serverless application. We'll use Traefik's whoami service, which provides useful debugging information about the request.
Create a file called whoami.yml:
apiVersion: serving.knative.dev/v1
kind: Service
metadata:
  name: whoami
  namespace: default
spec:
  template:
    spec:
      containers:
        - image: traefik/whoami
          env:
            - name: WHOAMI_NAME
              value: "Serverless with Traefik"
Deploy the service:
kubectl apply -f whoami.yml
Watch as Knative creates the necessary resources:
kubectl get ksvc whoami
After a moment, you should see output indicating the service is ready:

Test Your Deployment
Test your application by sending a request with the appropriate Host header:
curl -H "Host: whoami.default.example.com" http://localhost
You should see output showing request details, including the service name and headers that Knative automatically adds.
Name: Serverless with Traefik
Hostname: whoami-00001-deployment-86654cdc46-xvkcc
IP: 127.0.0.1
RemoteAddr: 127.0.0.1:36324
GET / HTTP/1.1
Host: whoami.default.example.com
User-Agent: curl/8.7.1
Accept: */*
Accept-Encoding: gzip
Forwarded: for=10.42.0.1;host=whoami.default.example.com;proto=http, for=10.42.0.6
K-Proxy-Request: activator
X-Forwarded-Host: whoami.default.example.com
X-Forwarded-Port: 80
X-Forwarded-Proto: http
X-Forwarded-Server: traefik-784b46c9ff-l8ckj
Congratulations! You've just deployed your first serverless application with Knative and Traefik.
Observe Scale-to-Zero
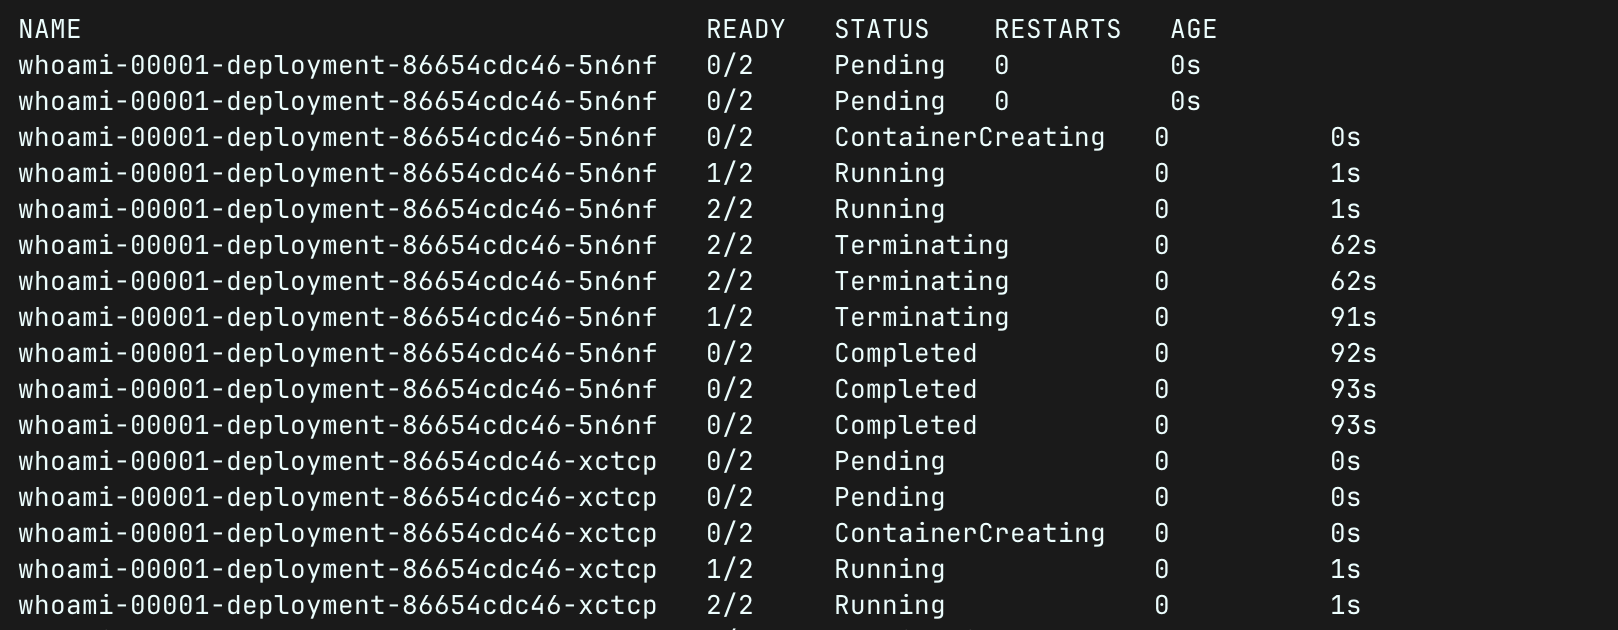
One of Knative's standout features is scale-to-zero. Watch this behavior in real-time by running the following command to watch the Knative pods scale up and down:
kubectl get pods -w
After about 30 seconds of no traffic, you'll see the application pod terminate. When you make another request, Knative will automatically spin up a new pod.
Go Beyond with Traffic Splitting
One of Knative's most powerful features is traffic splitting, which allows you to route a percentage of traffic to different revisions. This is perfect for canary deployments, A/B testing, or gradual rollouts.
Modify whoami.yml to include a traffic splitting configuration:
apiVersion: serving.knative.dev/v1
kind: Service
metadata:
  name: whoami
  namespace: default
spec:
  template:
    spec:
      containers:
        - image: traefik/whoami
          ports:
            - containerPort: 80
          env:
            - name: WHOAMI_NAME
              value: "Version 2"
  traffic:
    - tag: v1
      revisionName: whoami-00001
      percent: 75
    - tag: v2
      revisionName: whoami-00002
      percent: 25
Apply the updated configuration:
kubectl apply -f whoami.yml
This configuration implements two routing strategies:
- Percentage-based routing: 75% of traffic goes to revision 1, while 25% goes to revision 2
- Tag-based routing: Each revision gets its own dedicated URL using tags
Test the percentage-based routing by making 10 requests and observe the distribution
for i in {1..10}; do
  curl -H "Host: whoami.default.example.com" http://localhost
done
You'll notice that approximately 75% of responses show "Serverless with Traefik" (v1) as the service name and 25% show "Version 2" (v2).
You can also access specific revisions directly:
# Access version 1 directly
curl -H "Host: v1-whoami.default.example.com" http://localhost

# Access version 2 directly
curl -H "Host: whoami.default.example.com" http://localhost
More Advanced Features
One of the most powerful aspects of Knative is its automatic revision management. Every time you update your service, Knative creates a new revision, and Traefik seamlessly updates its routing configuration.
Check your revisions:
kubectl get revisions
You'll see the following output:

Each revision represents a snapshot of your service at a particular point in time. Traefik automatically routes traffic according to the traffic splitting rules you define, handling all the complexity of load balancing and service discovery.
You can also fine-tune Traefik's Knative provider with additional options:
experimental:
  knative: true

providers:
  knative:
    enabled: true
    # Watch specific namespaces only
    namespaces:
      - default
      - production
    # Filter by labels
    labelselector: "environment=production"
See the Traefik Knative provider documentation for all available configuration options.
Conclusion
With Traefik 3.6's Knative provider support, we've achieved a significant milestone in proxy technology: a single solution capable of managing traditional workloads, cloud-native containers, and serverless functions. This unprecedented versatility eliminates the need for multiple specialized proxies, dramatically simplifying your infrastructure while maintaining the performance and features each workload type demands.
You now have a unified proxy solution that automatically handles service discovery, scaling events, and traffic routing across your entire application landscape. Whether you're running VMs, Kubernetes deployments, or Knative serverless workloads, Traefik provides consistent, enterprise-grade networking with advanced routing, middleware, and observability features.
Traefik is committed to the Knative ecosystem, and we're actively working on improving the integration based on community feedback. The Knative provider is currently experimental in Traefik 3.6, with plans to enhance features like additional middleware support and deeper integration with Knative's advanced routing capabilities.