Publish and Secure Your Applications with Traefik Hub

Guest post by Traefik Ambassador, Ruan Bekker

Running containerized applications becomes easier by the day. But when it comes to managing certificates, exposing and securing application endpoints, when you have to deal with complex networking, it can become quite a challenge (especially being behind a Carrier Grade NAT).
Imagine having a single control plane, where management of secure public endpoints is controlled with a click of a button — no complex VPNs, port-forwarding, or exposing the information of your infrastructure. That’s exactly where Traefik Hub comes in.
Traefik Labs never fails to impress, and their latest product, called Traefik Hub, is pretty awesome. I had the opportunity to test Traefik Hub and I am super excited to share my experience with you.
This article is a hands-on tutorial and complete walkthrough from logging onto Traefik Hub, connecting your Kubernetes Agents, showing off how easy it is to expose your local endpoints to the world, and adding authentication to your endpoints, as well as metrics.
What is Traefik Hub?
Traefik Hub is a cloud-native networking platform to publish, secure, and scale containers at the edge instantly. It’s a free Software-as-a-Service (SaaS) platform that provides a gateway into your containers running on Kubernetes or Docker.
The agent establishes a secure connection to the Traefik Hub platform and proxies your requests via Traefik, without exposing your infrastructure to the world.
Once the Traefik Hub agent is running, it provides the following:
- Secures the Traefik routers
- Emits the Traefik metrics to display them in the Traefik Hub UI
- Provides ACME certificates to Traefik
- Transfers requests from the SaaS Platform to Traefik (and then allows users to avoid exposing their infrastructure directly to the internet)
Some of their key features include:
- One-Click Service Publication simplifies the process of getting public endpoints for your service in seconds, so no more complex VPN setups or extra infrastructure just to expose your endpoints.
- Secure Tunnels is supported out of the box, which enables you to focus on your application development and let Traefik take care of secure communication.
- Automated Certificate Management is a big win, for me personally, as dealing with certificate management can become an issue if it’s not dealt with correctly.
- Flexible Access Control makes it so easy to provision your access policies and associate them to your service, so no need for external dependencies.
- The Centralized Multi-Cluster Dashboard is your one-stop dashboard to manage all your clusters services, which comes with metrics out of the box.
The challenge
Although some may deal with this a lot and have implemented solutions that work for them, sometimes I just feel like: “I just want to expose my endpoints in a simple and secure way”.
And that for me is exactly what I love about Traefik Hub! It takes me about a minute to install the Traefik Hub agent and publish my service with a fancy URL. And on top of that, none of my infrastructures is exposed to the internet.
The challenges that Traefik-Hub solves for me are:
- Running publicly accessible endpoints from your homelab, when you are behind a Carrier Grade NAT, makes port-forwarding difficult, as you need to deal with networking complexities.
- Once you deploy your application and your networking has been configured, you need to set up an SSL certificate and ensure that your endpoints are reachable and secure and that you have certificate management in place so that your certificates don’t expire.
- Lastly, the need to not expose your infrastructure.
The walkthrough
In this walkthrough, we will explore Traefik Hub, including the following:
- Deploy a k3d cluster on my laptop
- Log on to Traefik Hub
- Add and Install the Traefik Hub Agent
- Take a tour through Traefik Hub’s UI
- Deploy a Guest Book Web Application and test it locally
- Publish my service
- Ask my friend in New Zealand to access my application
- View metrics from Traefik Hub
- Define and Deploy an Access Control Policy from Traefik Hub
Let’s get started, shall we?
Deploy a k3d cluster
For installing k3d, you can follow the official documentation, but for this scenario, I will be using homebrew for MacOSx:
$ brew install k3d
To successfully install k3d, the output of k3d --version should output the following if you are using v5.3.0:
$ k3d --version
k3d version v5.3.0
k3s version v1.22.6-k3s1 (default)
I am using the following k3d configuration defined in k3d-cluster.yml:
apiVersion: k3d.io/v1alpha4
kind: Simple
metadata:
  name: mycluster
servers: 1
agents: 2
kubeAPI:
  host: "master.127.0.0.1.nip.io"
  hostIP: "127.0.0.1"
  hostPort: "6445"
image: rancher/k3s:v1.22.6-k3s1
ports:
  - port: 80:80
    nodeFilters:
      - loadbalancer
options:
  k3d:
    wait: true
    timeout: "60s"
  k3s:
    extraArgs:
      - arg: --tls-san=127.0.0.1.nip.io
        nodeFilters:
          - server:*
  kubeconfig:
    updateDefaultKubeconfig: true
    switchCurrentContext: true
Deploy the k3d cluster:
$ k3d cluster create --config k3d-cluster.yml
View nodes:
$ kubectl get nodes -o wide
NAME                     STATUS   ROLES                  AGE   VERSION        INTERNAL-IP     EXTERNAL-IP   OS-IMAGE   KERNEL-VERSION     CONTAINER-RUNTIME
k3d-mycluster-server-0   Ready    control-plane,master   96s   v1.22.6+k3s1   192.168.176.2   <none>        K3s dev    5.10.76-linuxkit   containerd://1.5.9-k3s1
k3d-mycluster-agent-0    Ready    <none>                 93s   v1.22.6+k3s1   192.168.176.3   <none>        K3s dev    5.10.76-linuxkit   containerd://1.5.9-k3s1
k3d-mycluster-agent-1    Ready    <none>                 93s   v1.22.6+k3s1   192.168.176.4   <none>        K3s dev    5.10.76-linuxkit   containerd://1.5.9-k3s1
Install helm:
curl https://raw.githubusercontent.com/helm/helm/main/scripts/get-helm-3 | bash
Verify that helm is installed:
$ helm version
version.BuildInfo{Version:"v3.9.0", GitCommit:"7ceeda6c585217a19a1131663d8cd1f7d641b2a7", GitTreeState:"clean", GoVersion:"go1.17.5"}
Access Traefik Hub
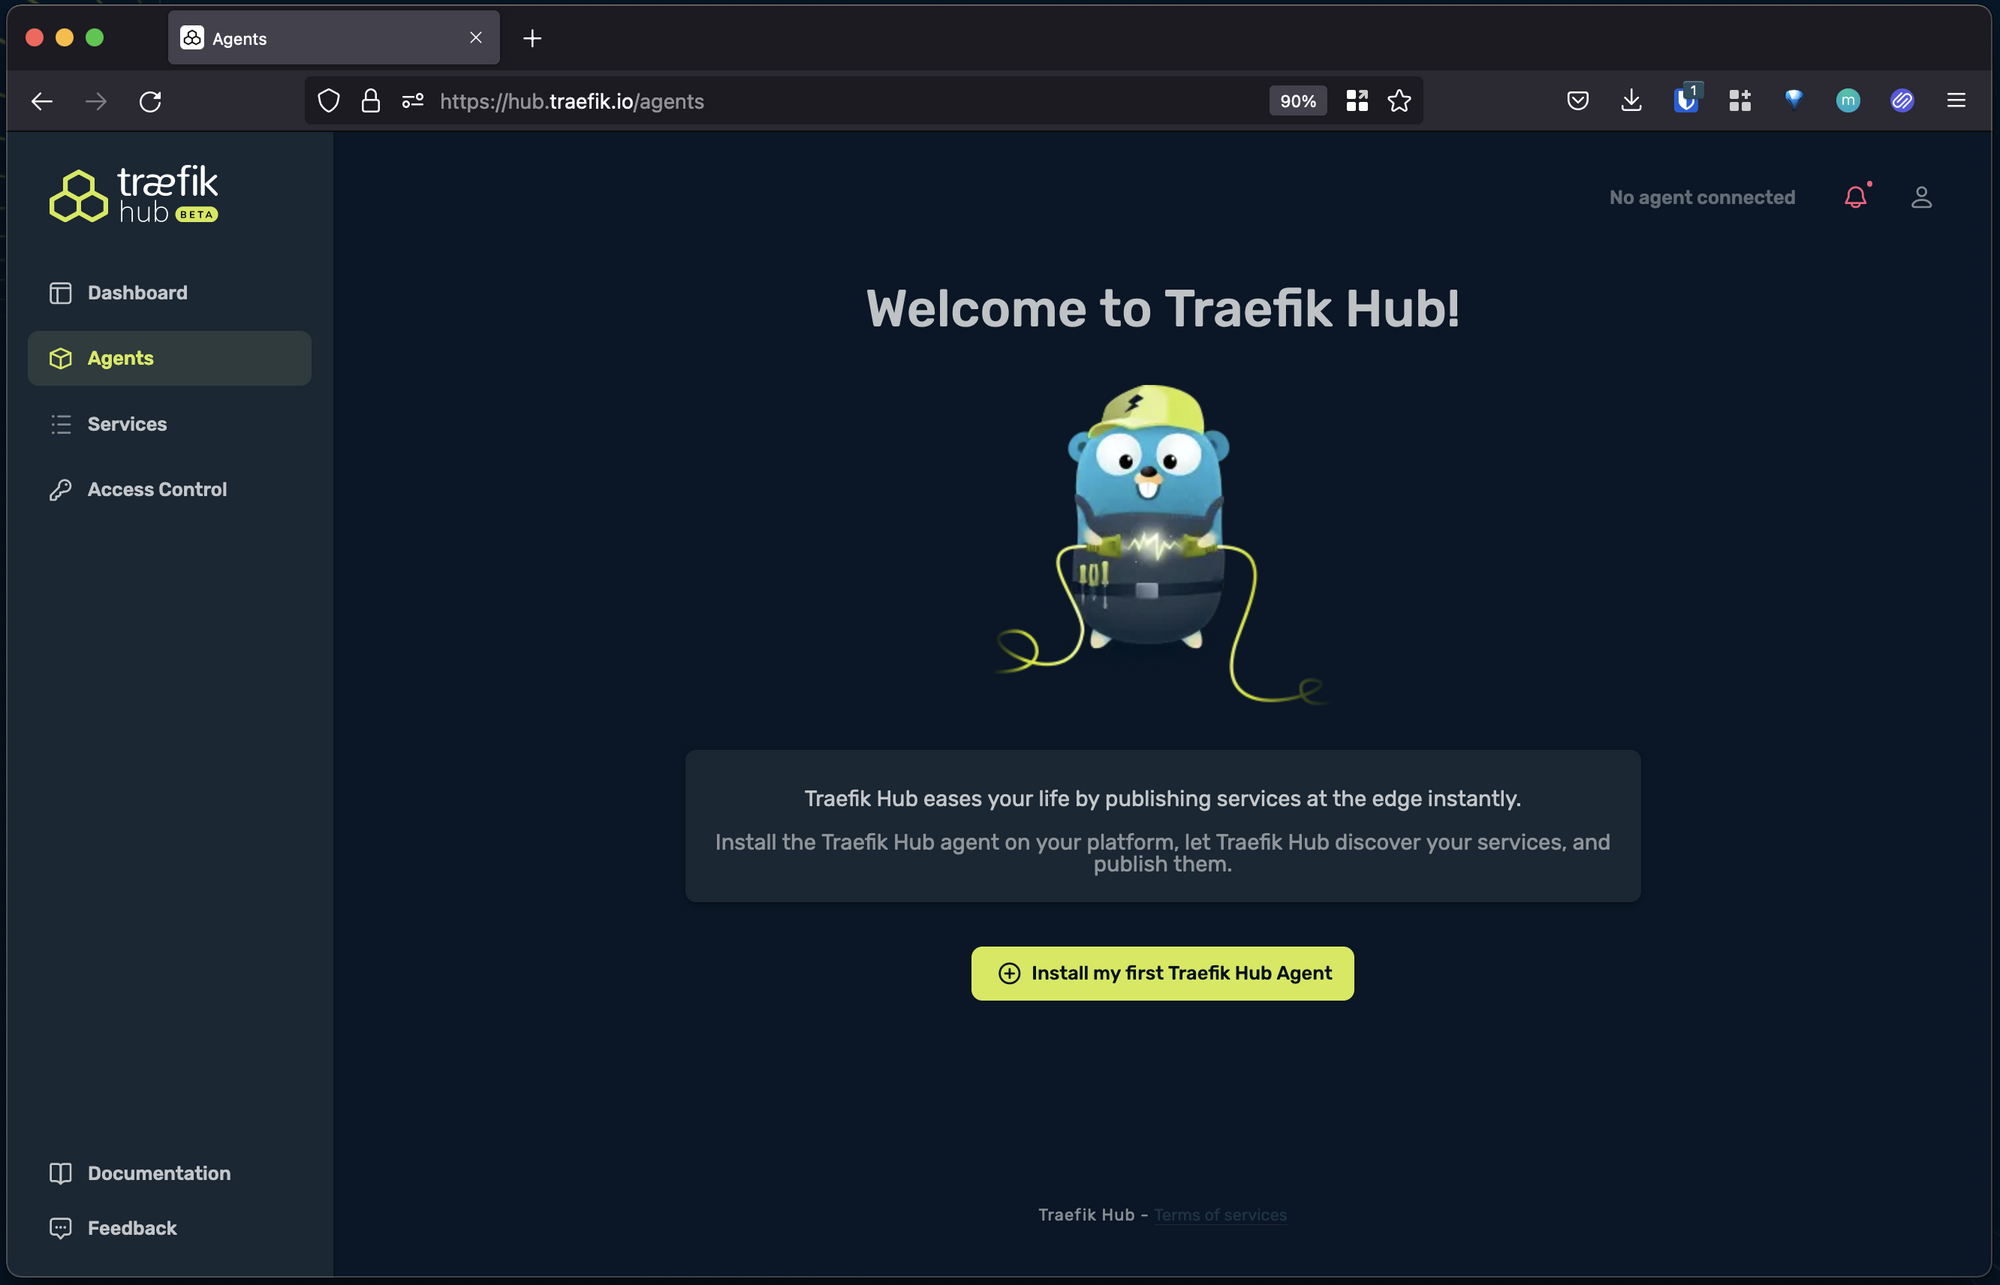
Now that our dependencies are set, log on to https://hub.traefik.io.
Add and install the agent
Once you’ve logged in, from the left-side menu, navigate to Agents, then select Install my first Traefik Hub Agent:
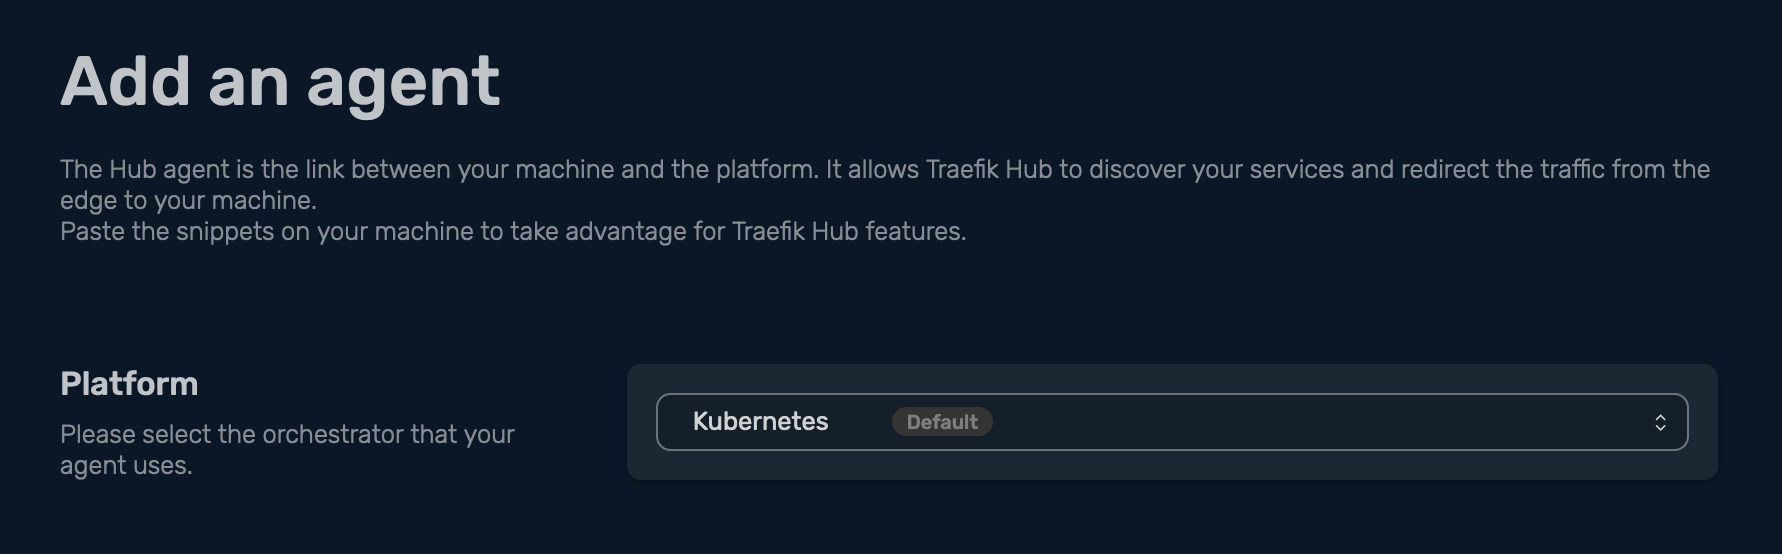
In this scenario, I want to install my agent on Kubernetes, so in Platform, I am selecting Kubernetes, then I get this handy copy-paste configuration, which consists of four easy steps to get you started:
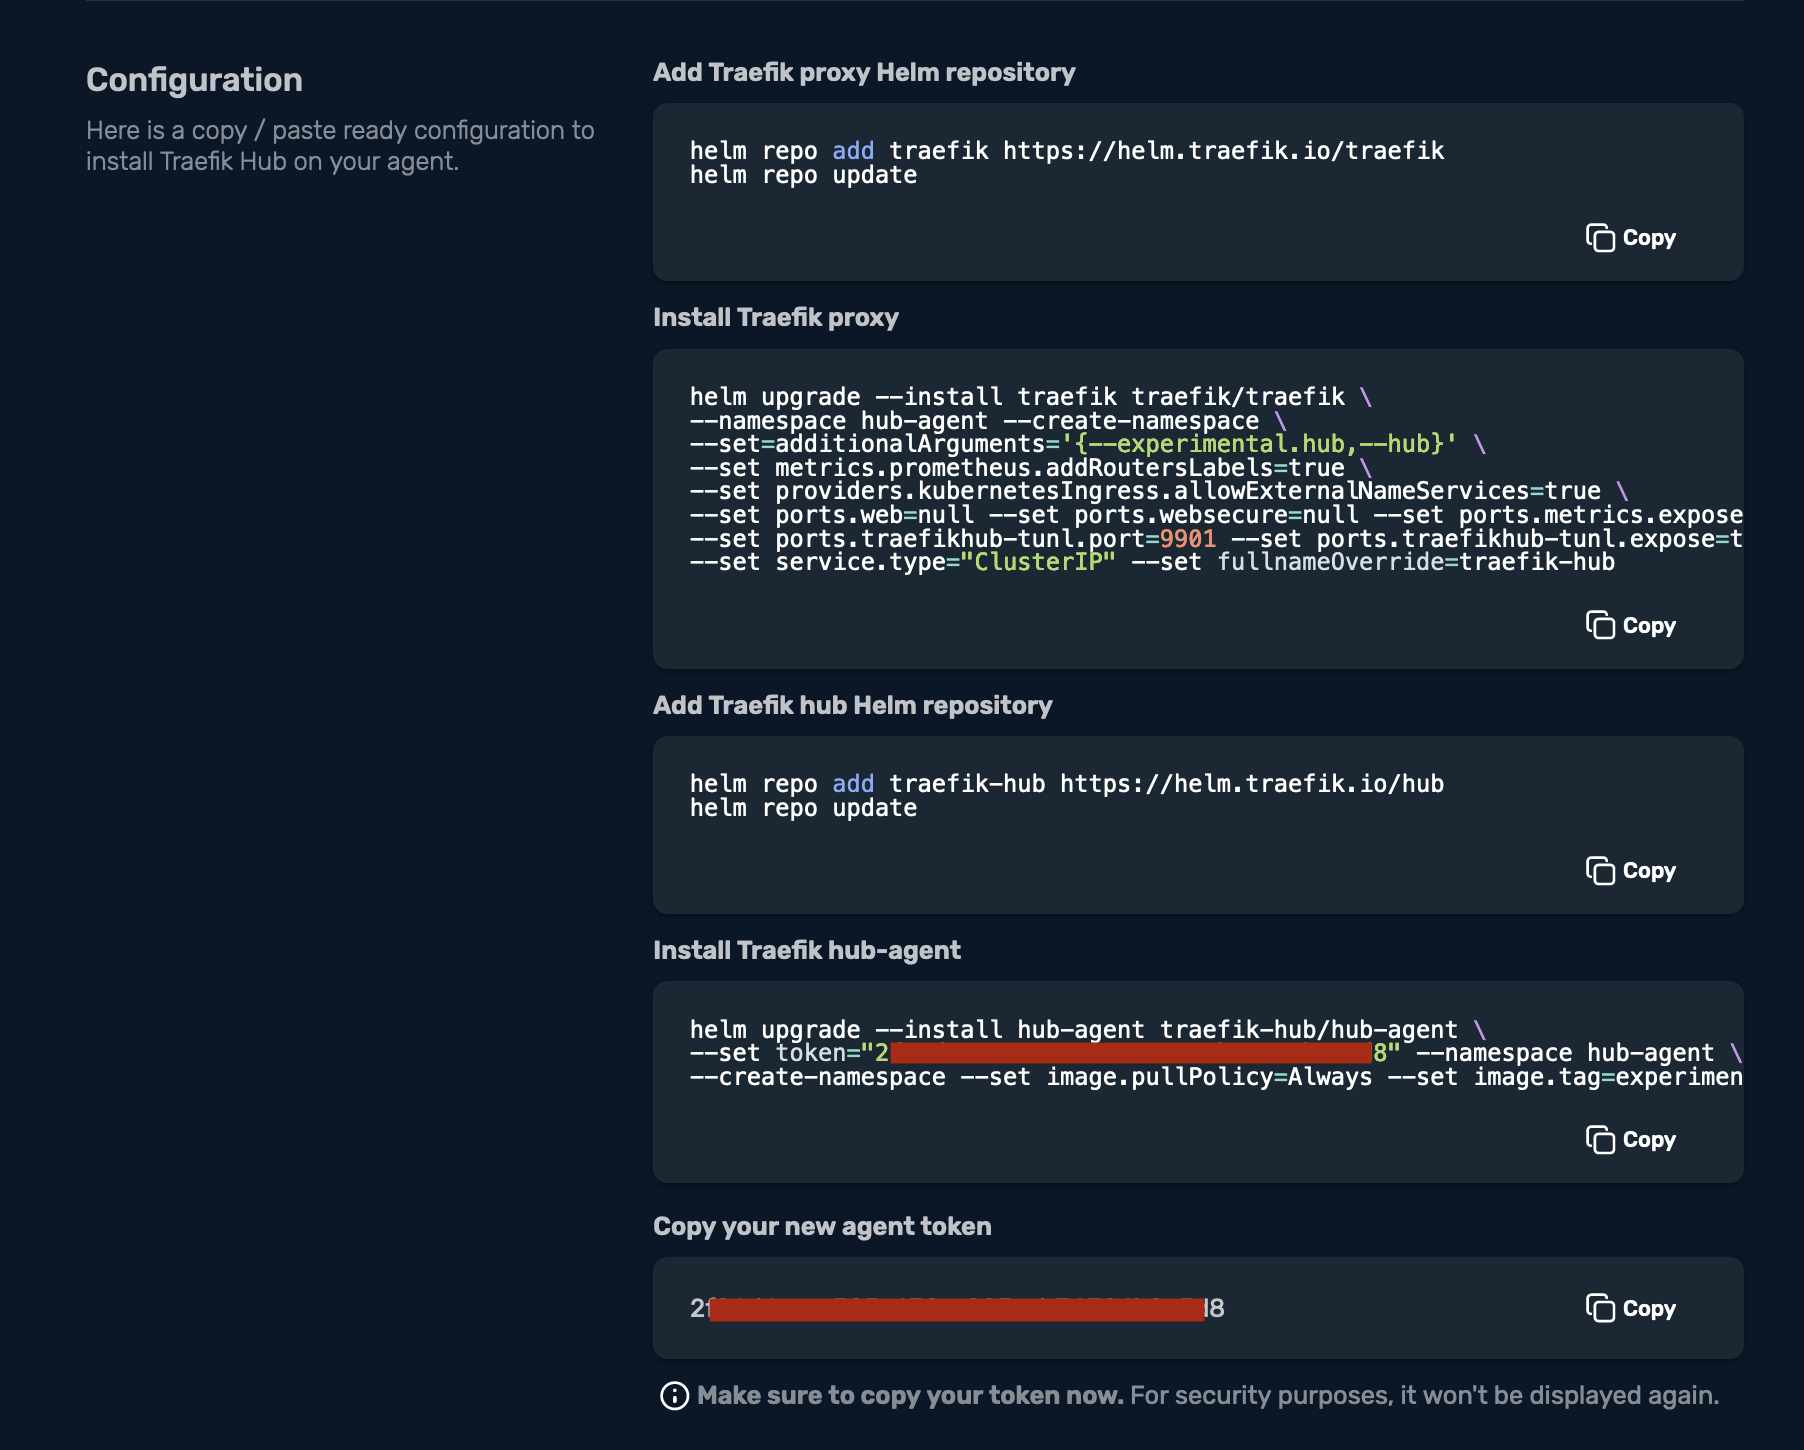
Let’s break this down one by one. First, I need to add the Traefik Proxy Helm repository, and then update my Helm repositories:
$ helm repo add traefik https://helm.traefik.io/traefik
$ helm repo update
Then continue by installing Traefik Proxy:
$ helm upgrade --install traefik traefik/traefik \
--namespace hub-agent --create-namespace \
--set=additionalArguments='{--experimental.hub,--hub}' \
--set metrics.prometheus.addRoutersLabels=true \
--set providers.kubernetesIngress.allowExternalNameServices=true \
--set ports.web=null --set ports.websecure=null --set ports.metrics.expose=true \
--set ports.traefikhub-tunl.port=9901 --set ports.traefikhub-tunl.expose=true --set ports.traefikhub-tunl.exposedPort=9901 --set ports.traefikhub-tunl.protocol="TCP" \
--set service.type="ClusterIP" --set fullnameOverride=traefik-hub

Release "traefik" does not exist. Installing it now.
NAME: traefik
LAST DEPLOYED: Mon Jun 20 00:03:40 2022
NAMESPACE: hub-agent
STATUS: deployed
REVISION: 1
TEST SUITE: None
Then add the traefik-hub Helm repository:
$ helm repo add traefik-hub https://helm.traefik.io/hub
Once that is done, update the Helm repositories:
$ helm repo update
Install the hub-agent:
$ helm upgrade --install hub-agent traefik-hub/hub-agent \
--set token="xxxxxx-xxxx-xxxx-xxxx-xxxxxxxxxxx" --namespace hub-agent \
--create-namespace --set image.pullPolicy=Always --set image.tag=experimental

Release "hub-agent" does not exist. Installing it now.
NAME: hub-agent
LAST DEPLOYED: Mon Jun 20 00:05:16 2022
NAMESPACE: hub-agent
STATUS: deployed
REVISION: 1
TEST SUITE: None
Once this is done, click on Configuration Done:
You will now notice that the agent has been discovered by Traefik Hub, and a random name will be generated for your agent:
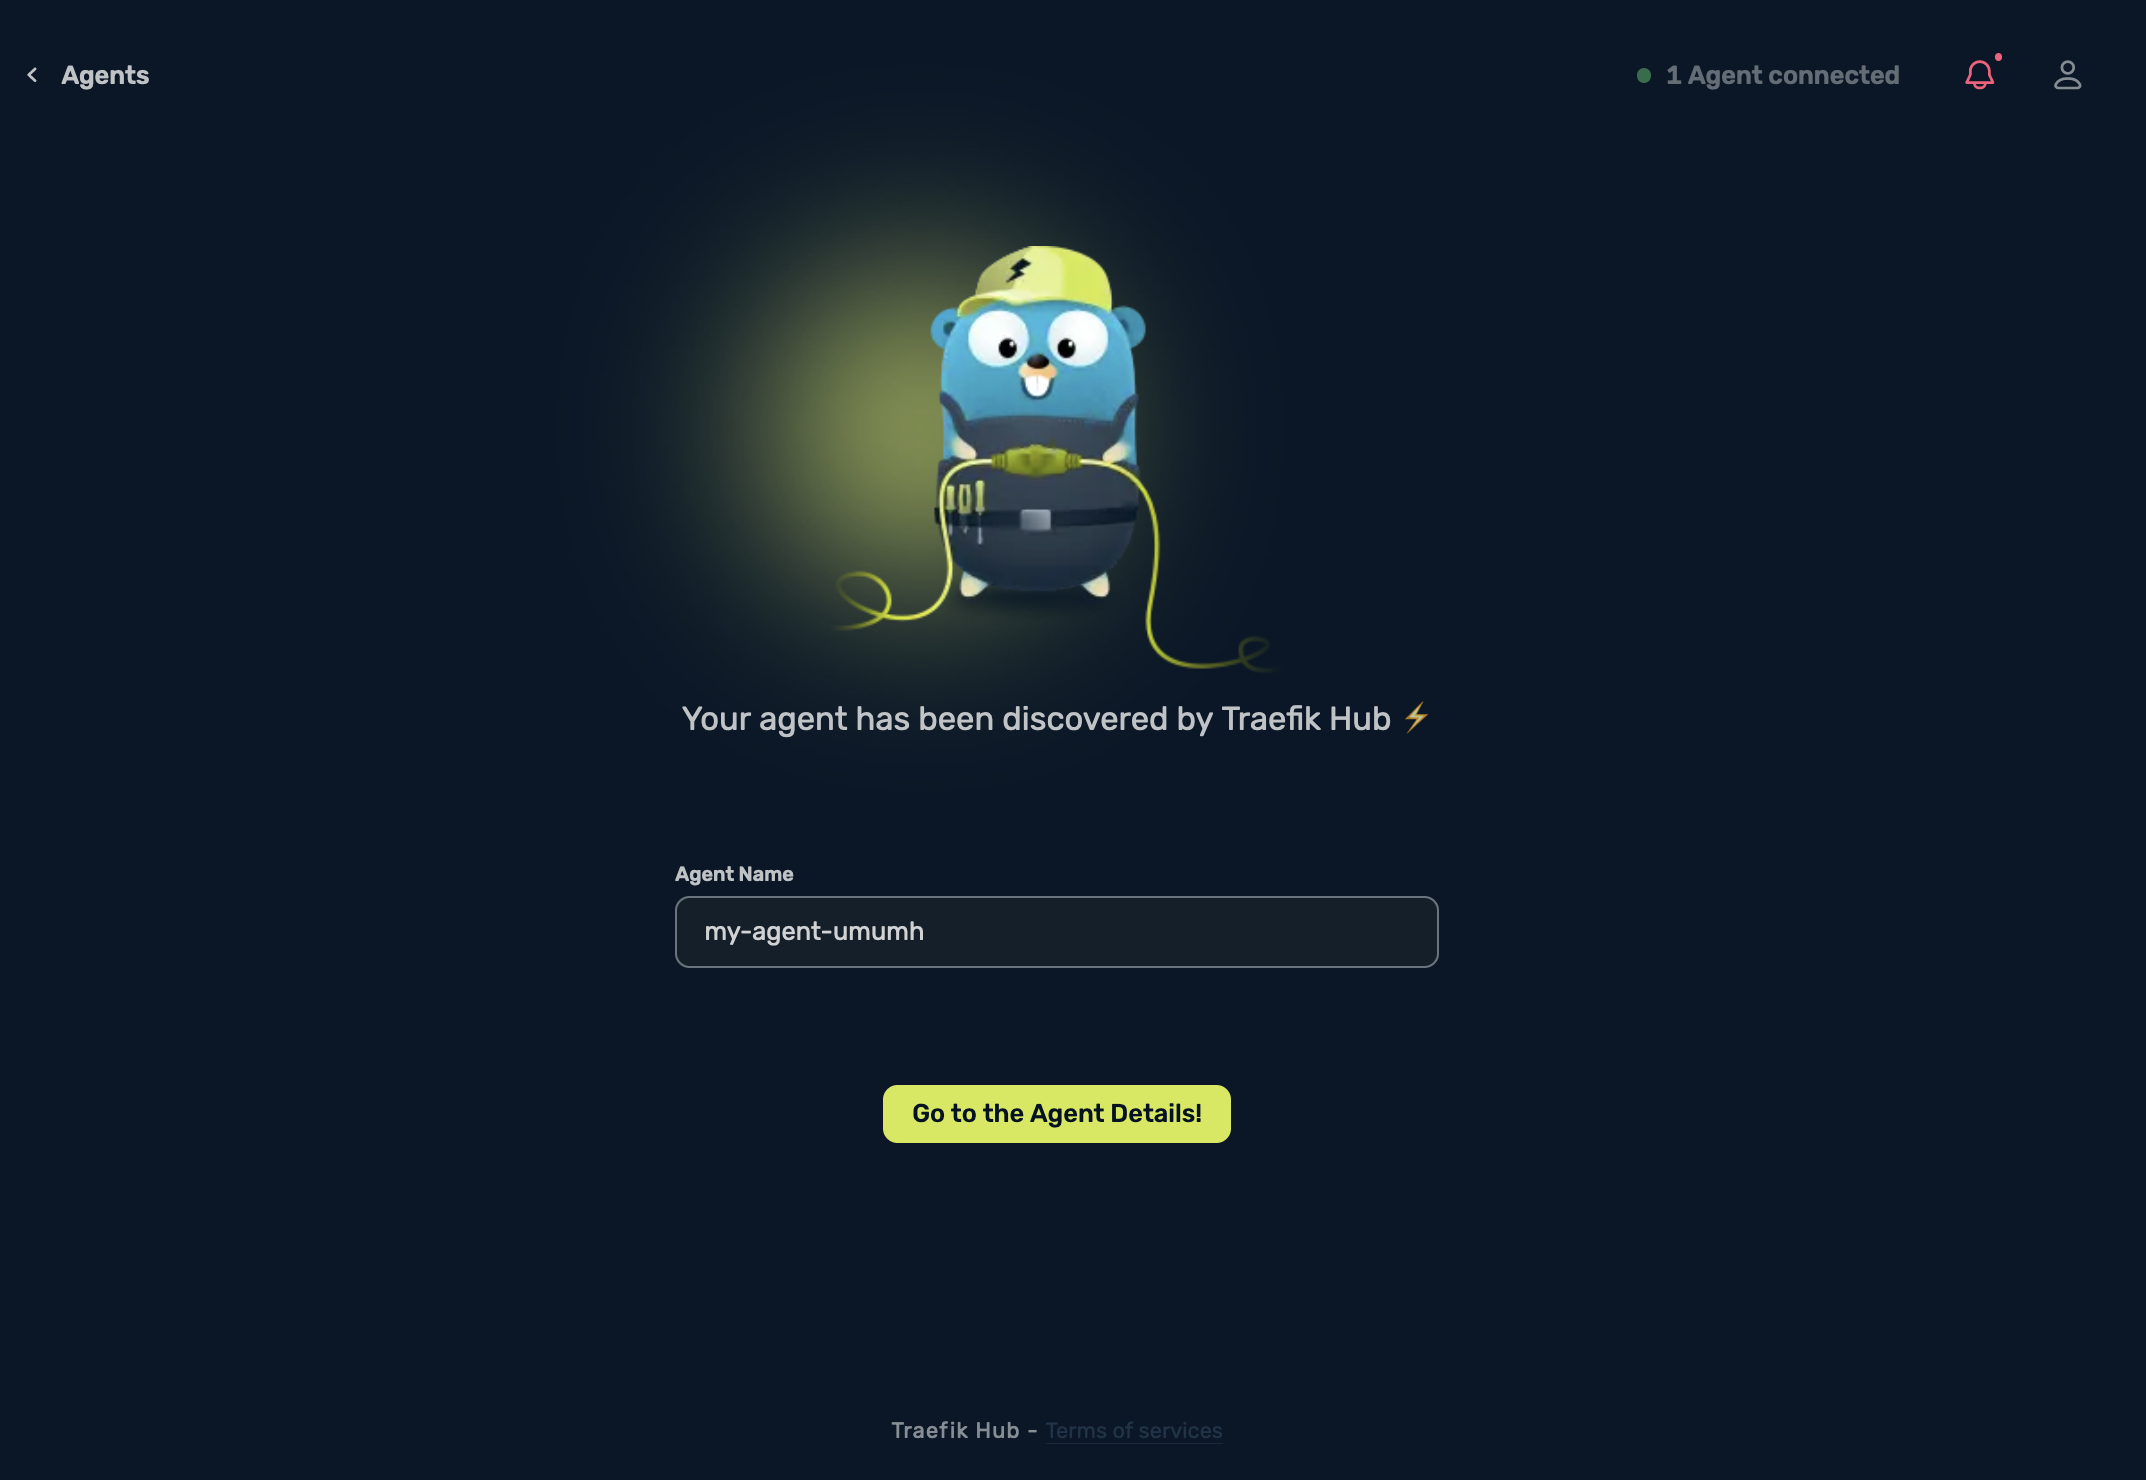
I will rename mine to k3d-agent-00, then select Save.
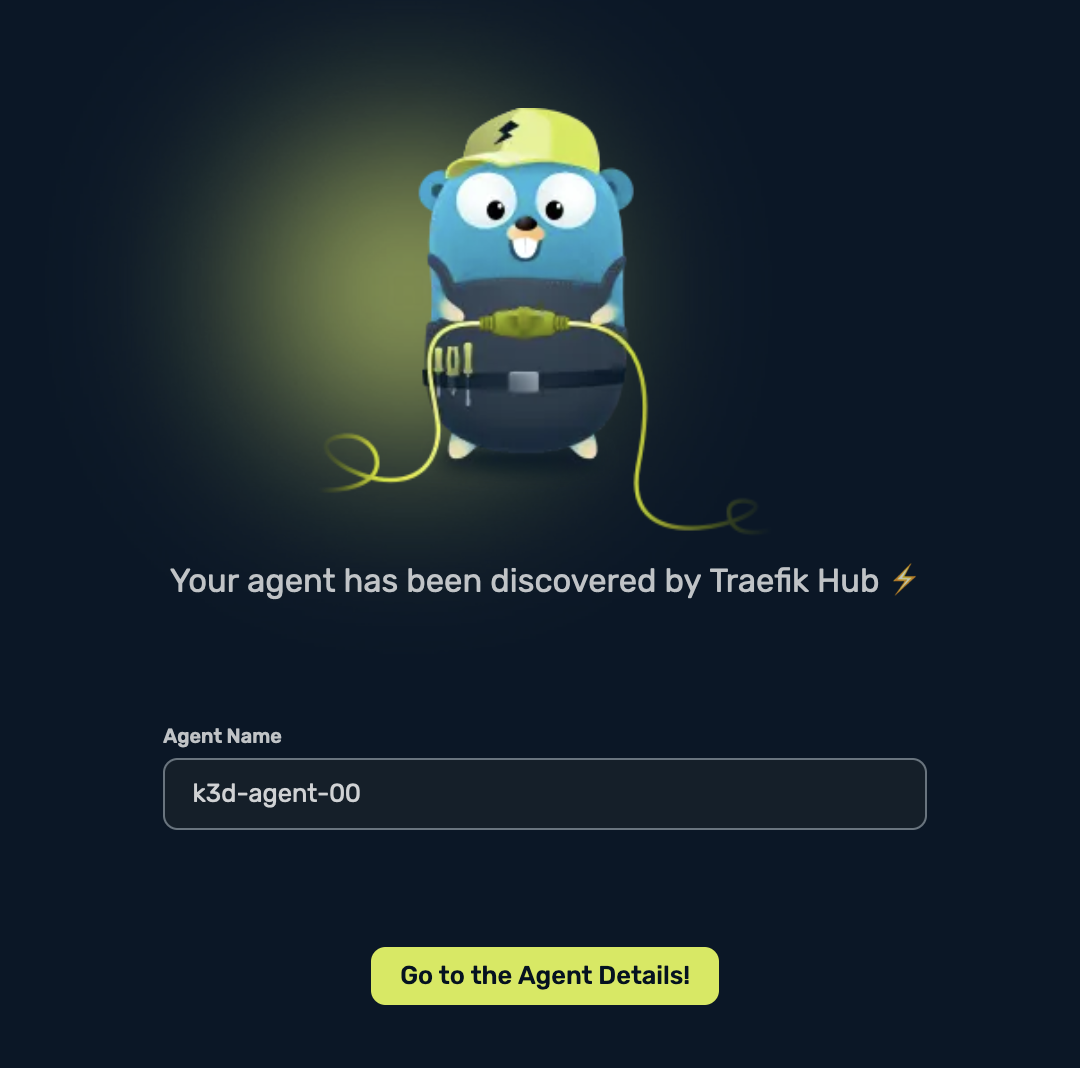
Once it’s saved select Go to the Agent Details, and you should be able to see the following:
A Tour through the Traefik Hub UI
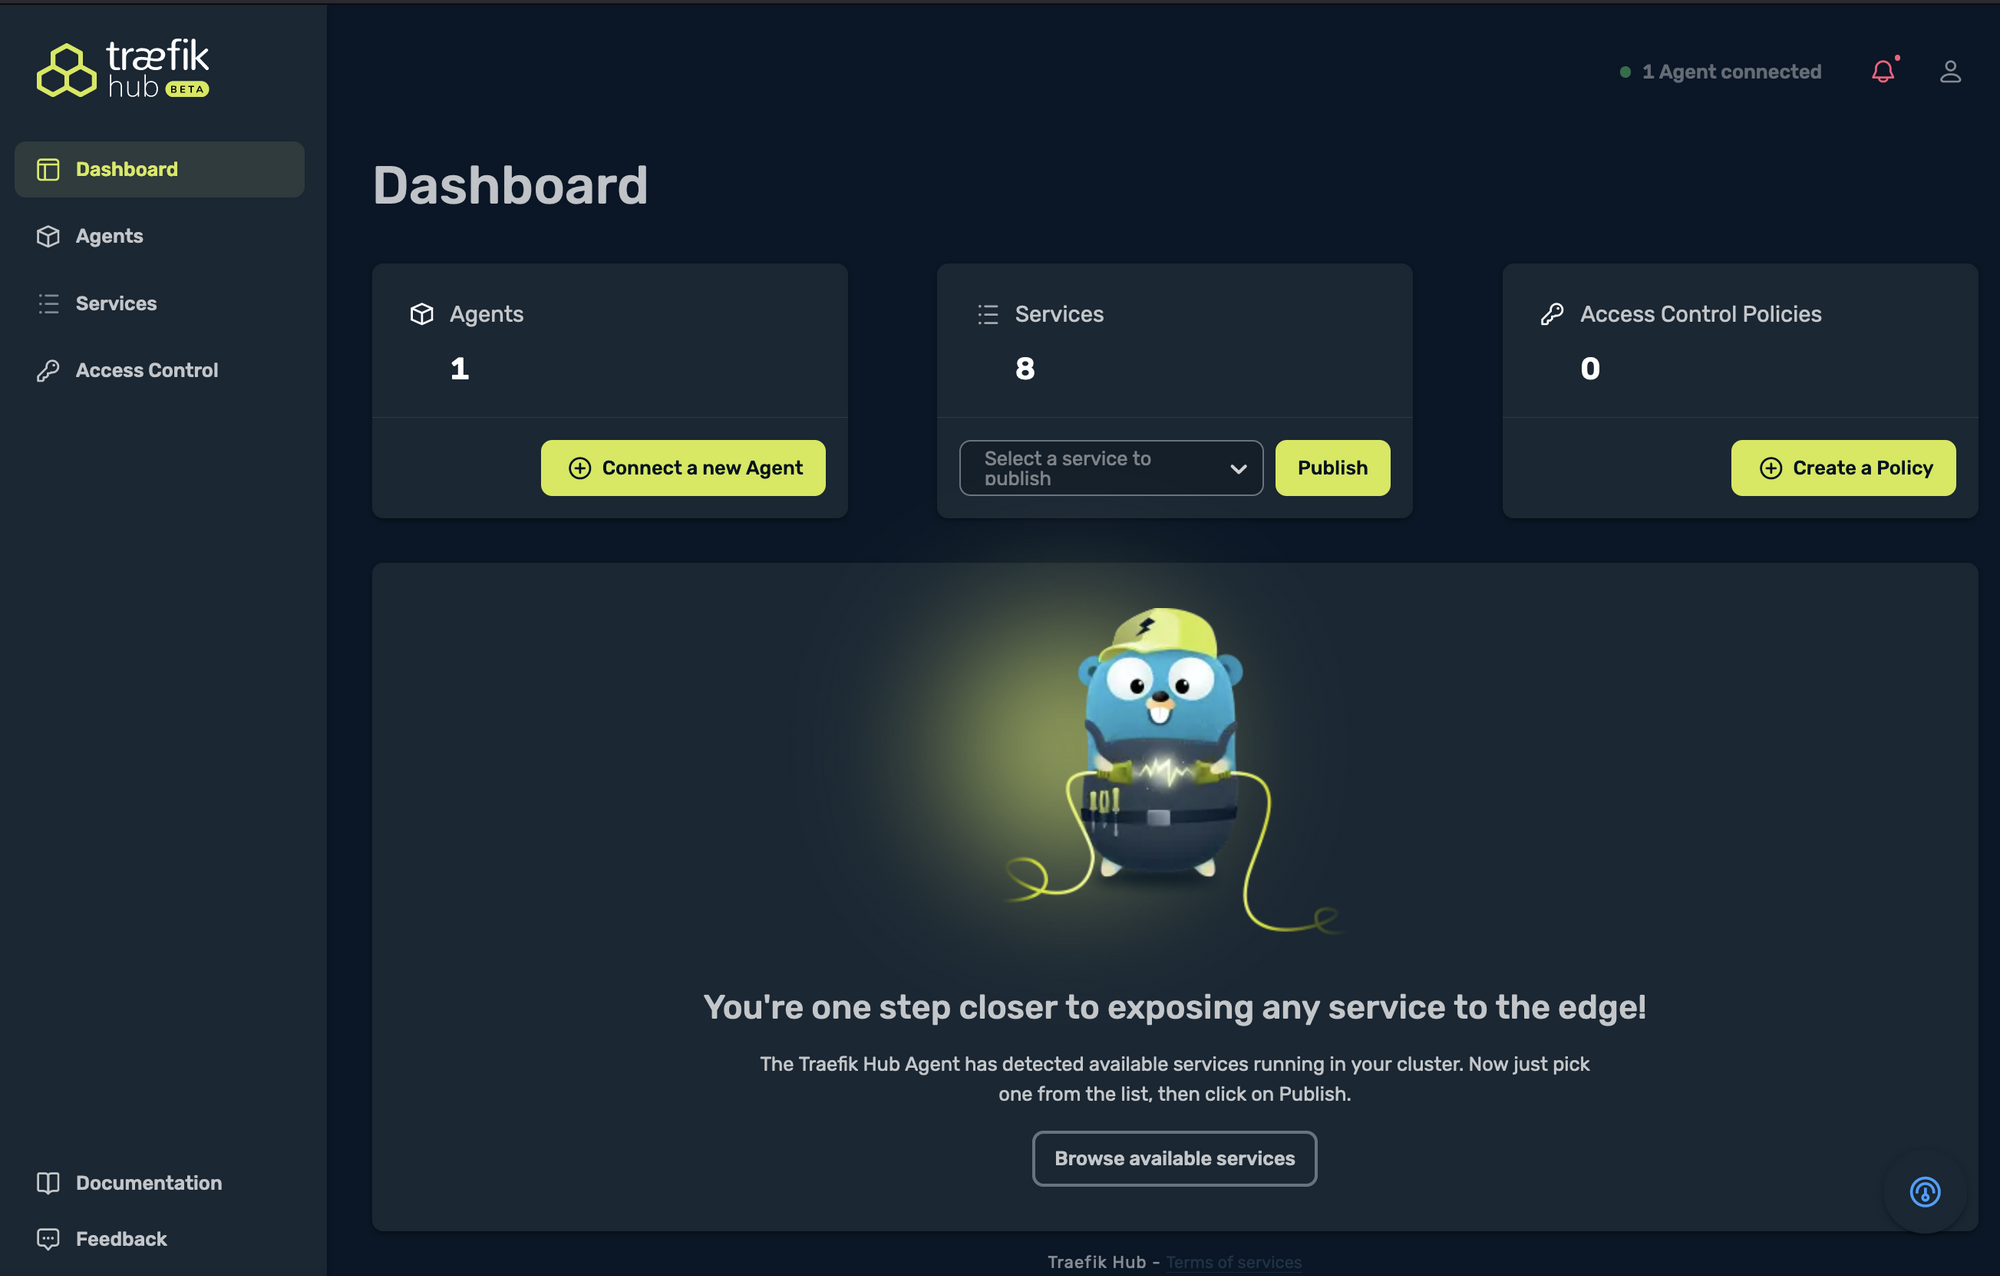
On the top left side corner, you see the Dashboard, which is a nice-looking overview of how many agents, services, and access control policies you have:
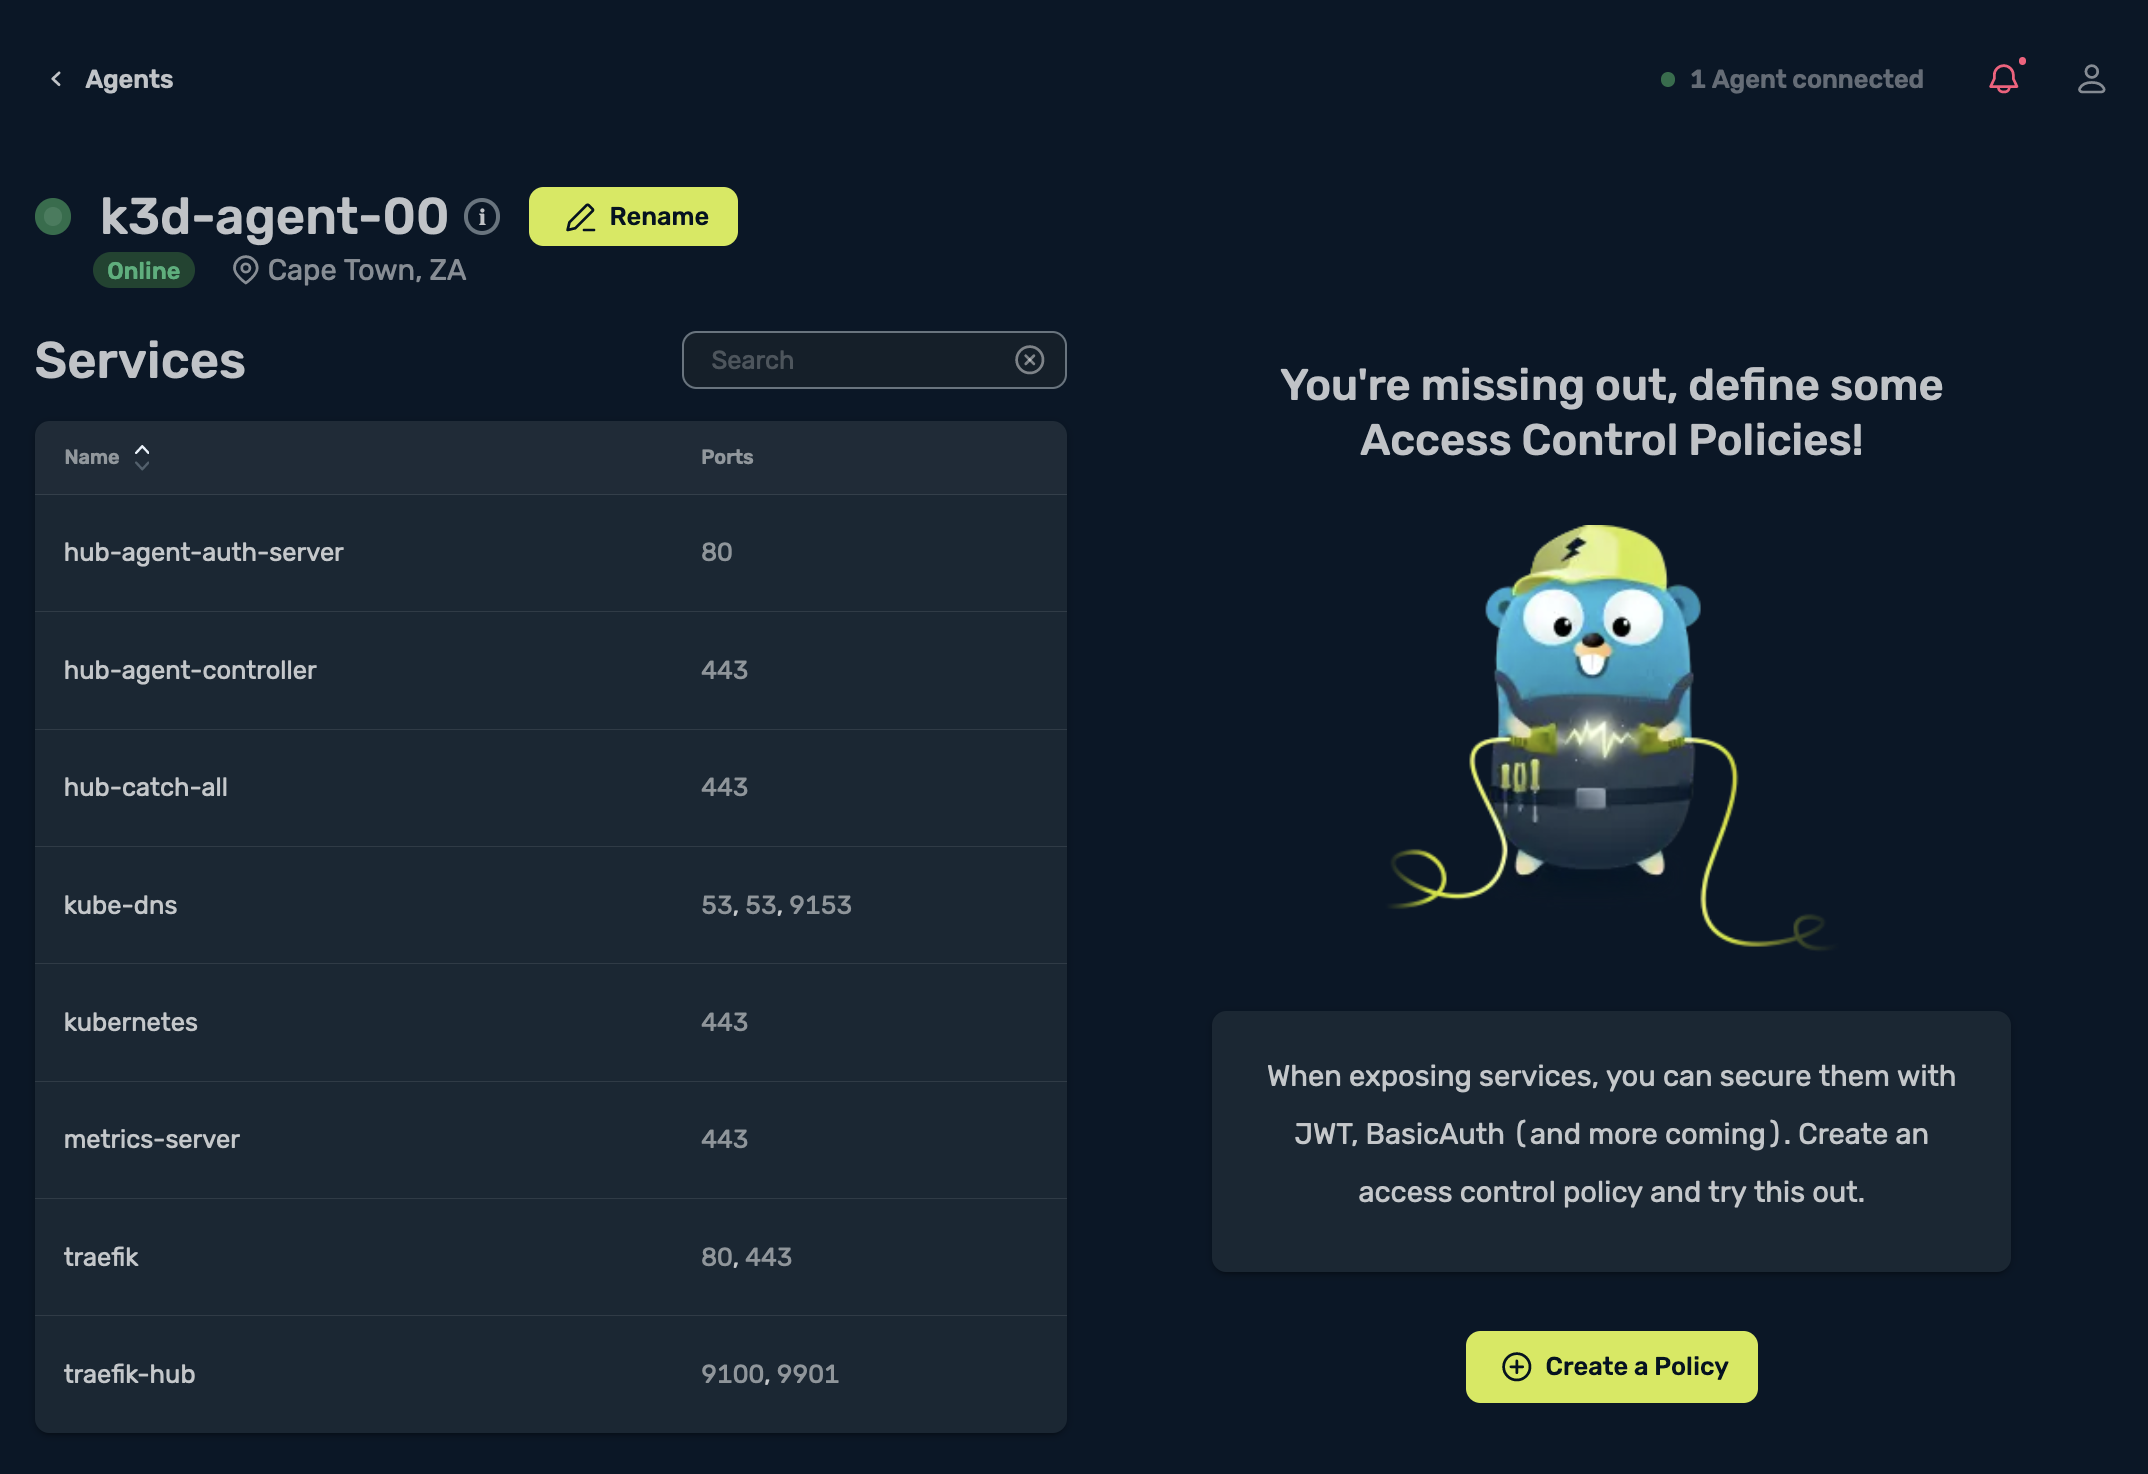
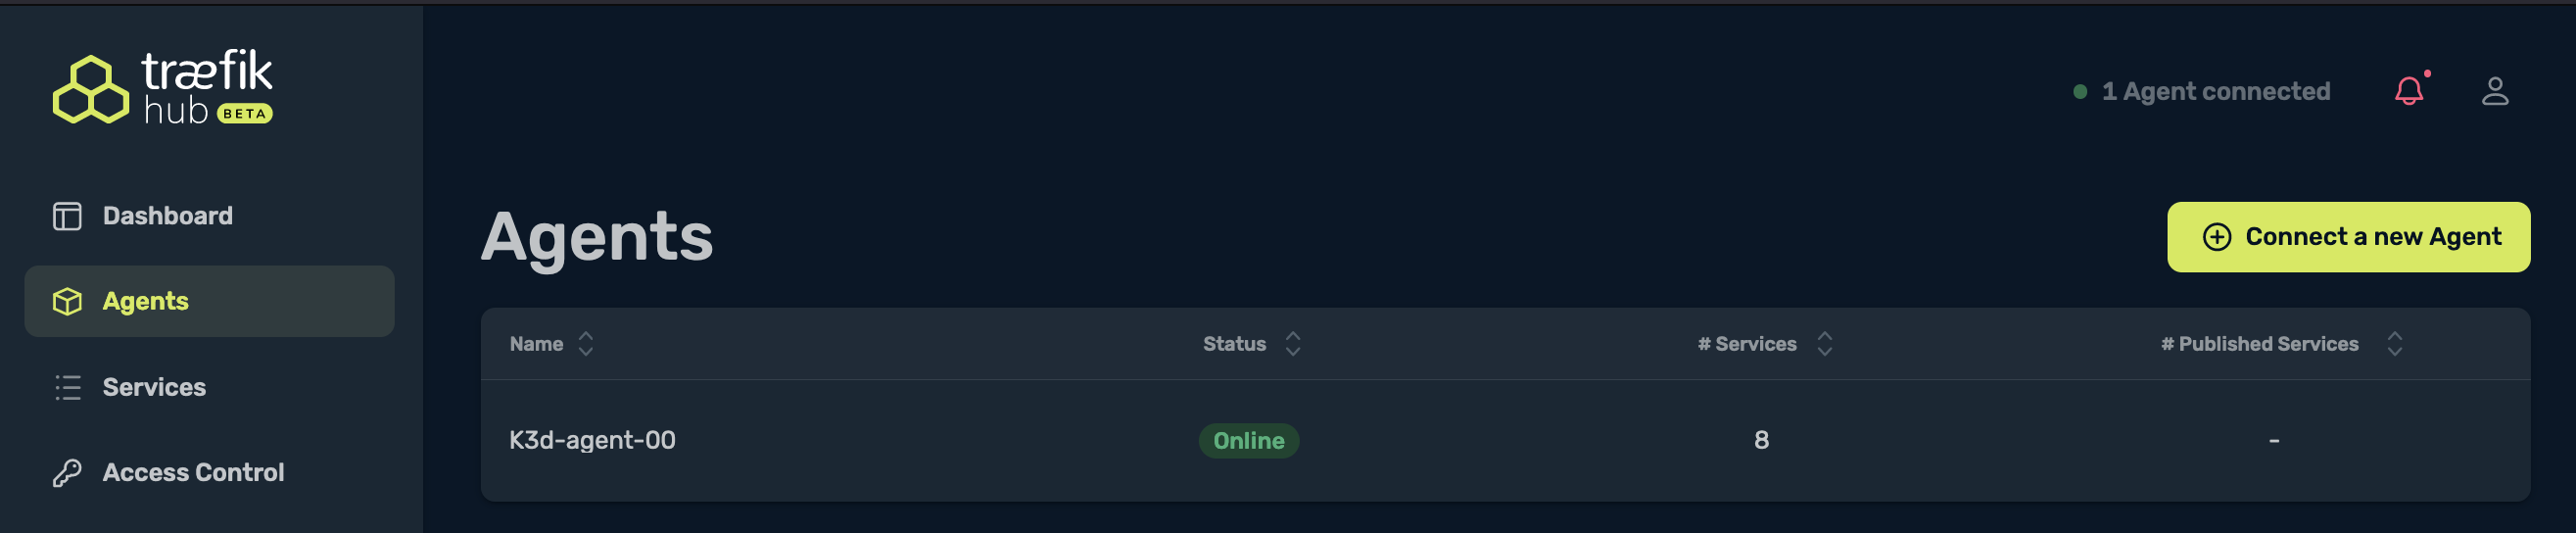
The next tab on the left, Agents, will show you the list of agents that Traefik Hub is aware of. In my example, you can see that I have one agent Online. You can also see the number of Services, as well as the number of Published Services, which at the moment is none:
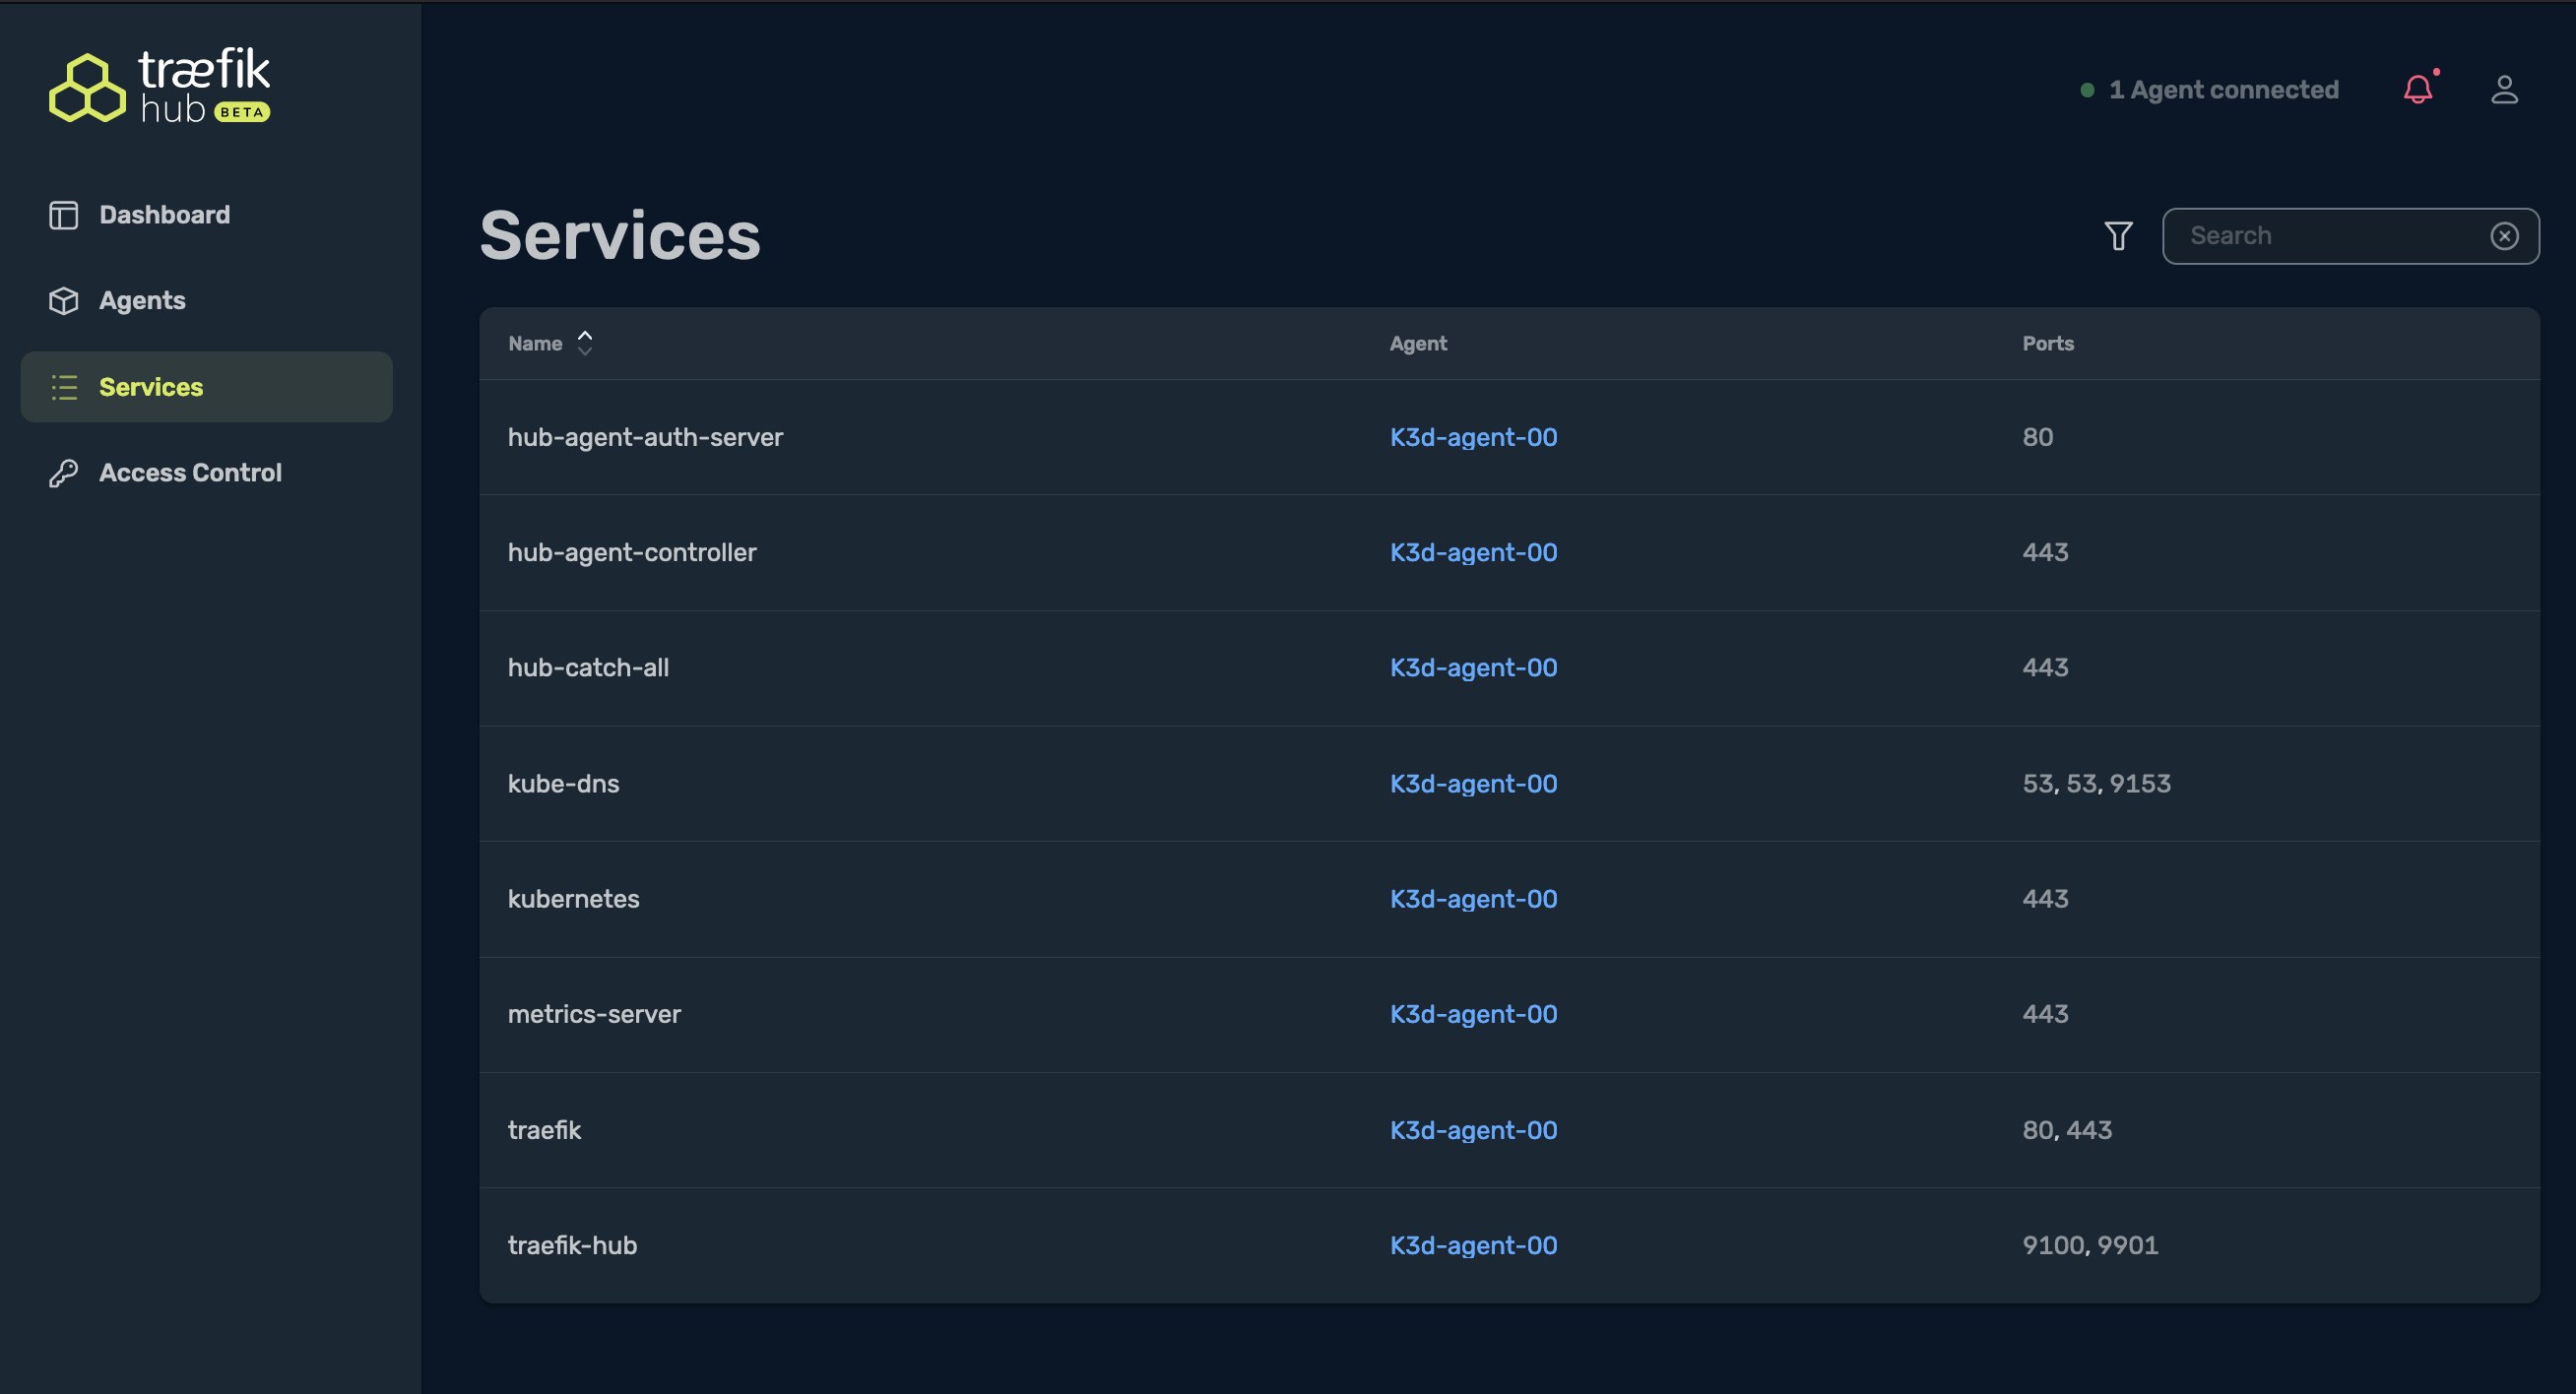
Services shows the number of services that were discovered by the Traefik Hub Agent, and also the auto-detected ports:
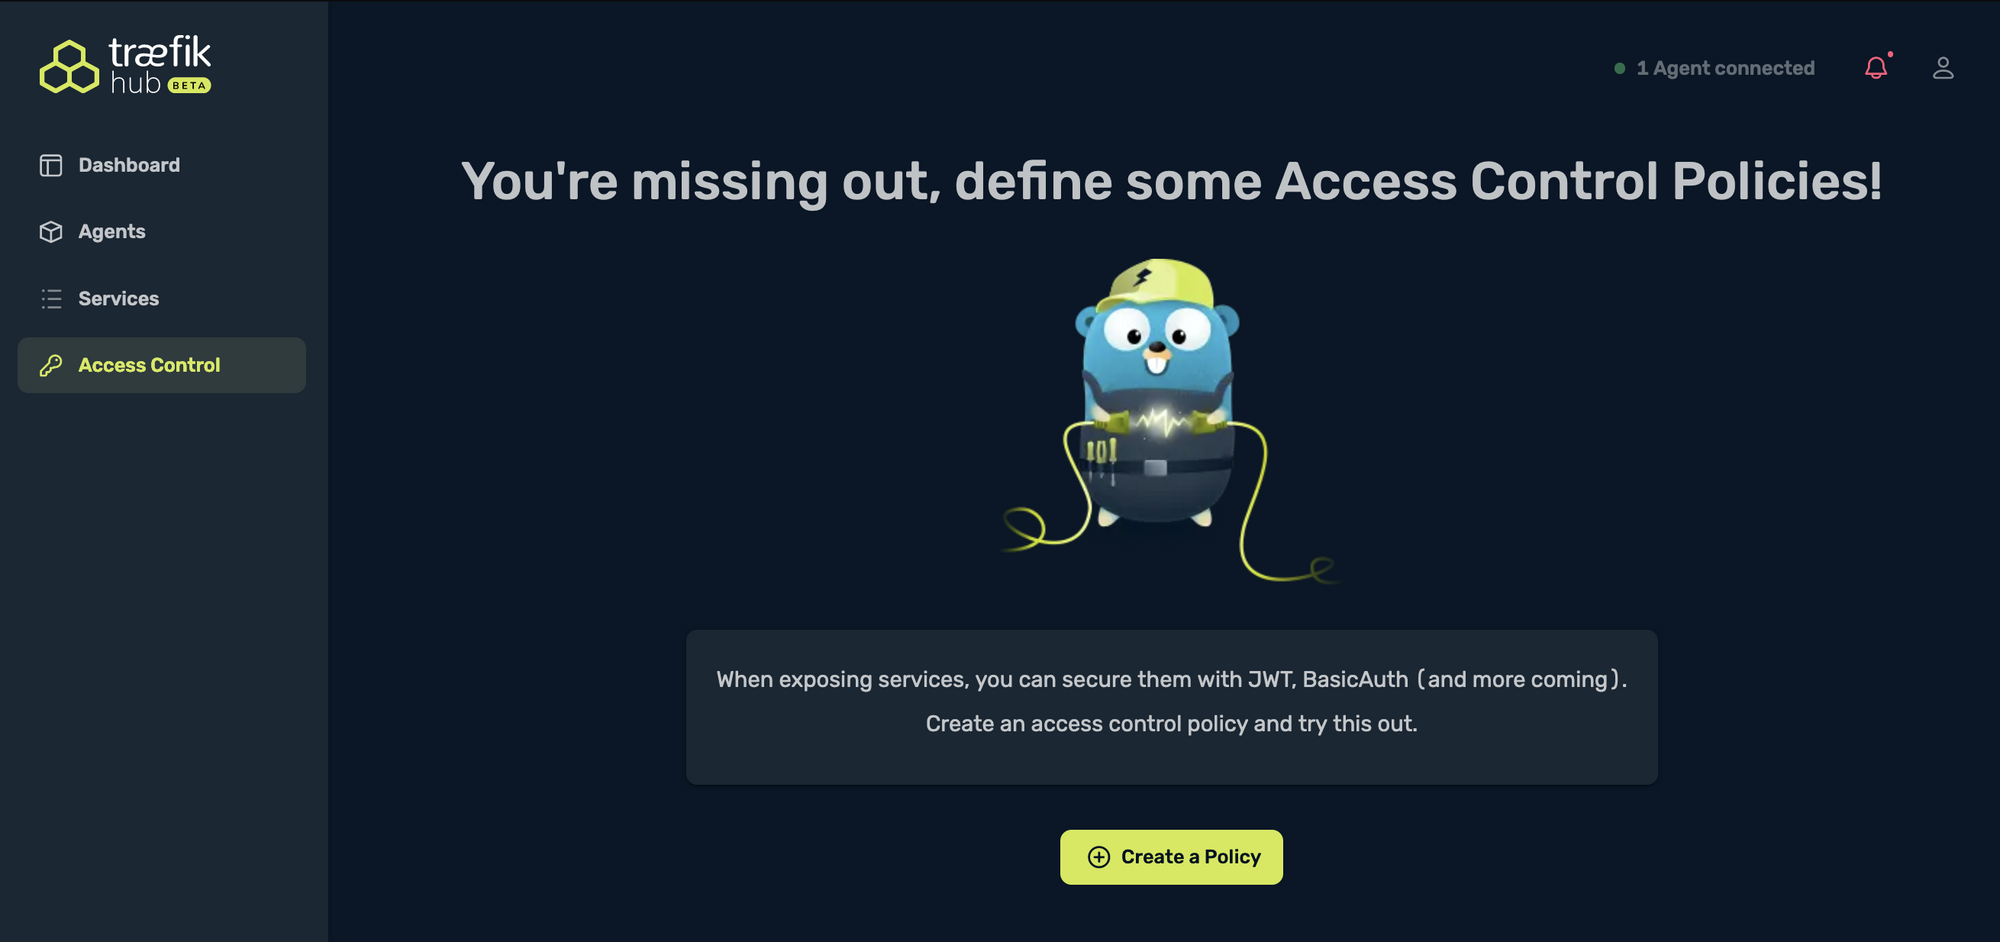
When I select Access Control, this is where I can define my access control policies, and where I can add a second layer of security by implementing basic authentication as an example:
Deploying the example Flask Application
First, I will deploy the application to my Kubernetes cluster which is located on my laptop, and then test the application locally. Once I finish testing my app, I’ll show you the power of Traefik Hub — with a click of a button my service will be publicly available!
But first, get the code by cloning the repository:
$ git clone https://github.com/ruanbekker/flask-mysql-guestbook
$ cd flask-mysql-guestbook
Once that is done, deploy the application to Kubernetes:
$ kubectl apply -f ./kubernetes
secret/app-secrets created
persistentvolume/mysql-pv-volume created
persistentvolumeclaim/mysql-pv-claim created
deployment.apps/mysql created
service/mysql created
deployment.apps/flask-app-deployment created
service/flask-service created
ingress.networking.k8s.io/flask-app-ingress created
Check the deployment status to ensure the application is deployed:
$ kubectl get all --namespace default
NAME                                       READY   STATUS    RESTARTS      AGE
pod/svclb-mysql-4829d                      1/1     Running   0             67s
pod/svclb-mysql-gvgtx                      1/1     Running   0             67s
pod/svclb-flask-service-j67qm              1/1     Running   0             67s
pod/svclb-flask-service-p4vw5              1/1     Running   0             66s
pod/svclb-mysql-9kwbs                      1/1     Running   0             67s
pod/svclb-flask-service-hnw75              1/1     Running   0             66s
pod/flask-app-deployment-b6c6568b7-zll9q   1/1     Running   1 (63s ago)   67s
pod/flask-app-deployment-b6c6568b7-h99mw   1/1     Running   1 (63s ago)   67s
pod/flask-app-deployment-b6c6568b7-twsq5   1/1     Running   1 (62s ago)   67s
pod/mysql-776cdf657f-hjzbp                 1/1     Running   0             67s

NAME                    TYPE           CLUSTER-IP     EXTERNAL-IP                                 PORT(S)          AGE
service/kubernetes      ClusterIP      10.43.0.1      <none>                                      443/TCP          39m
service/mysql           LoadBalancer   10.43.45.95    192.168.176.2,192.168.176.3,192.168.176.4   3306:31477/TCP   67s
service/flask-service   LoadBalancer   10.43.225.53   192.168.176.2,192.168.176.3,192.168.176.4   5000:31852/TCP   67s

NAME                                 DESIRED   CURRENT   READY   UP-TO-DATE   AVAILABLE   NODE SELECTOR   AGE
daemonset.apps/svclb-mysql           3         3         3       3            3           <none>          67s
daemonset.apps/svclb-flask-service   3         3         3       3            3           <none>          67s

NAME                                   READY   UP-TO-DATE   AVAILABLE   AGE
deployment.apps/flask-app-deployment   3/3     3            3           67s
deployment.apps/mysql                  1/1     1            1           67s

NAME                                             DESIRED   CURRENT   READY   AGE
replicaset.apps/flask-app-deployment-b6c6568b7   3         3         3       67s
replicaset.apps/mysql-776cdf657f                 1         1         1       67s
Get the ingress details:
$ kubectl get ingress
NAME                CLASS    HOSTS                        ADDRESS                                     PORTS   AGE
flask-app-ingress   <none>   flask-app.127.0.0.1.nip.io   192.168.176.2,192.168.176.3,192.168.176.4   80      101s
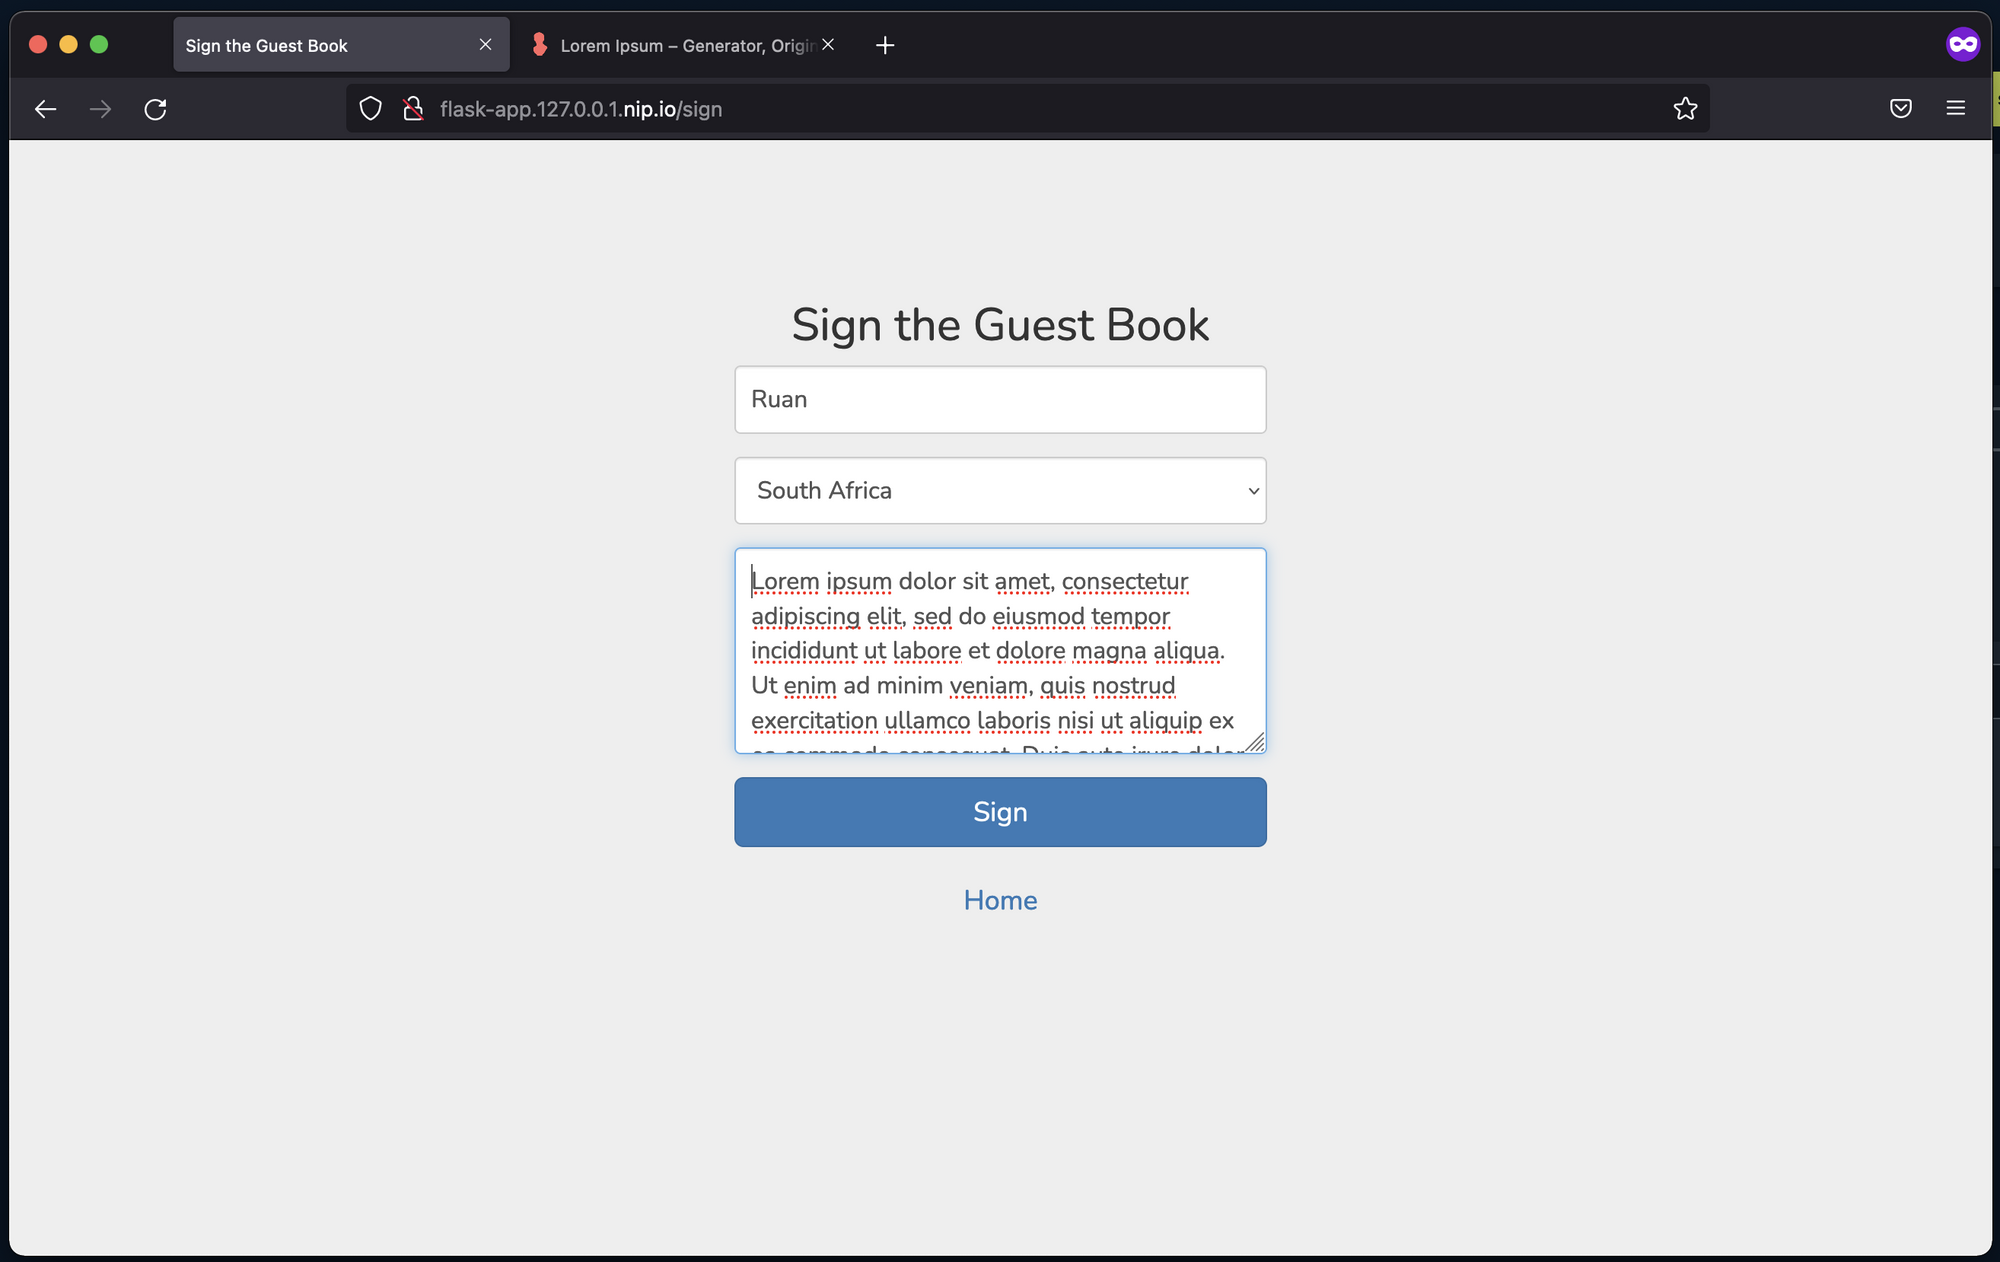
Access the application at flask-app.127.0.p.1.nip.io:
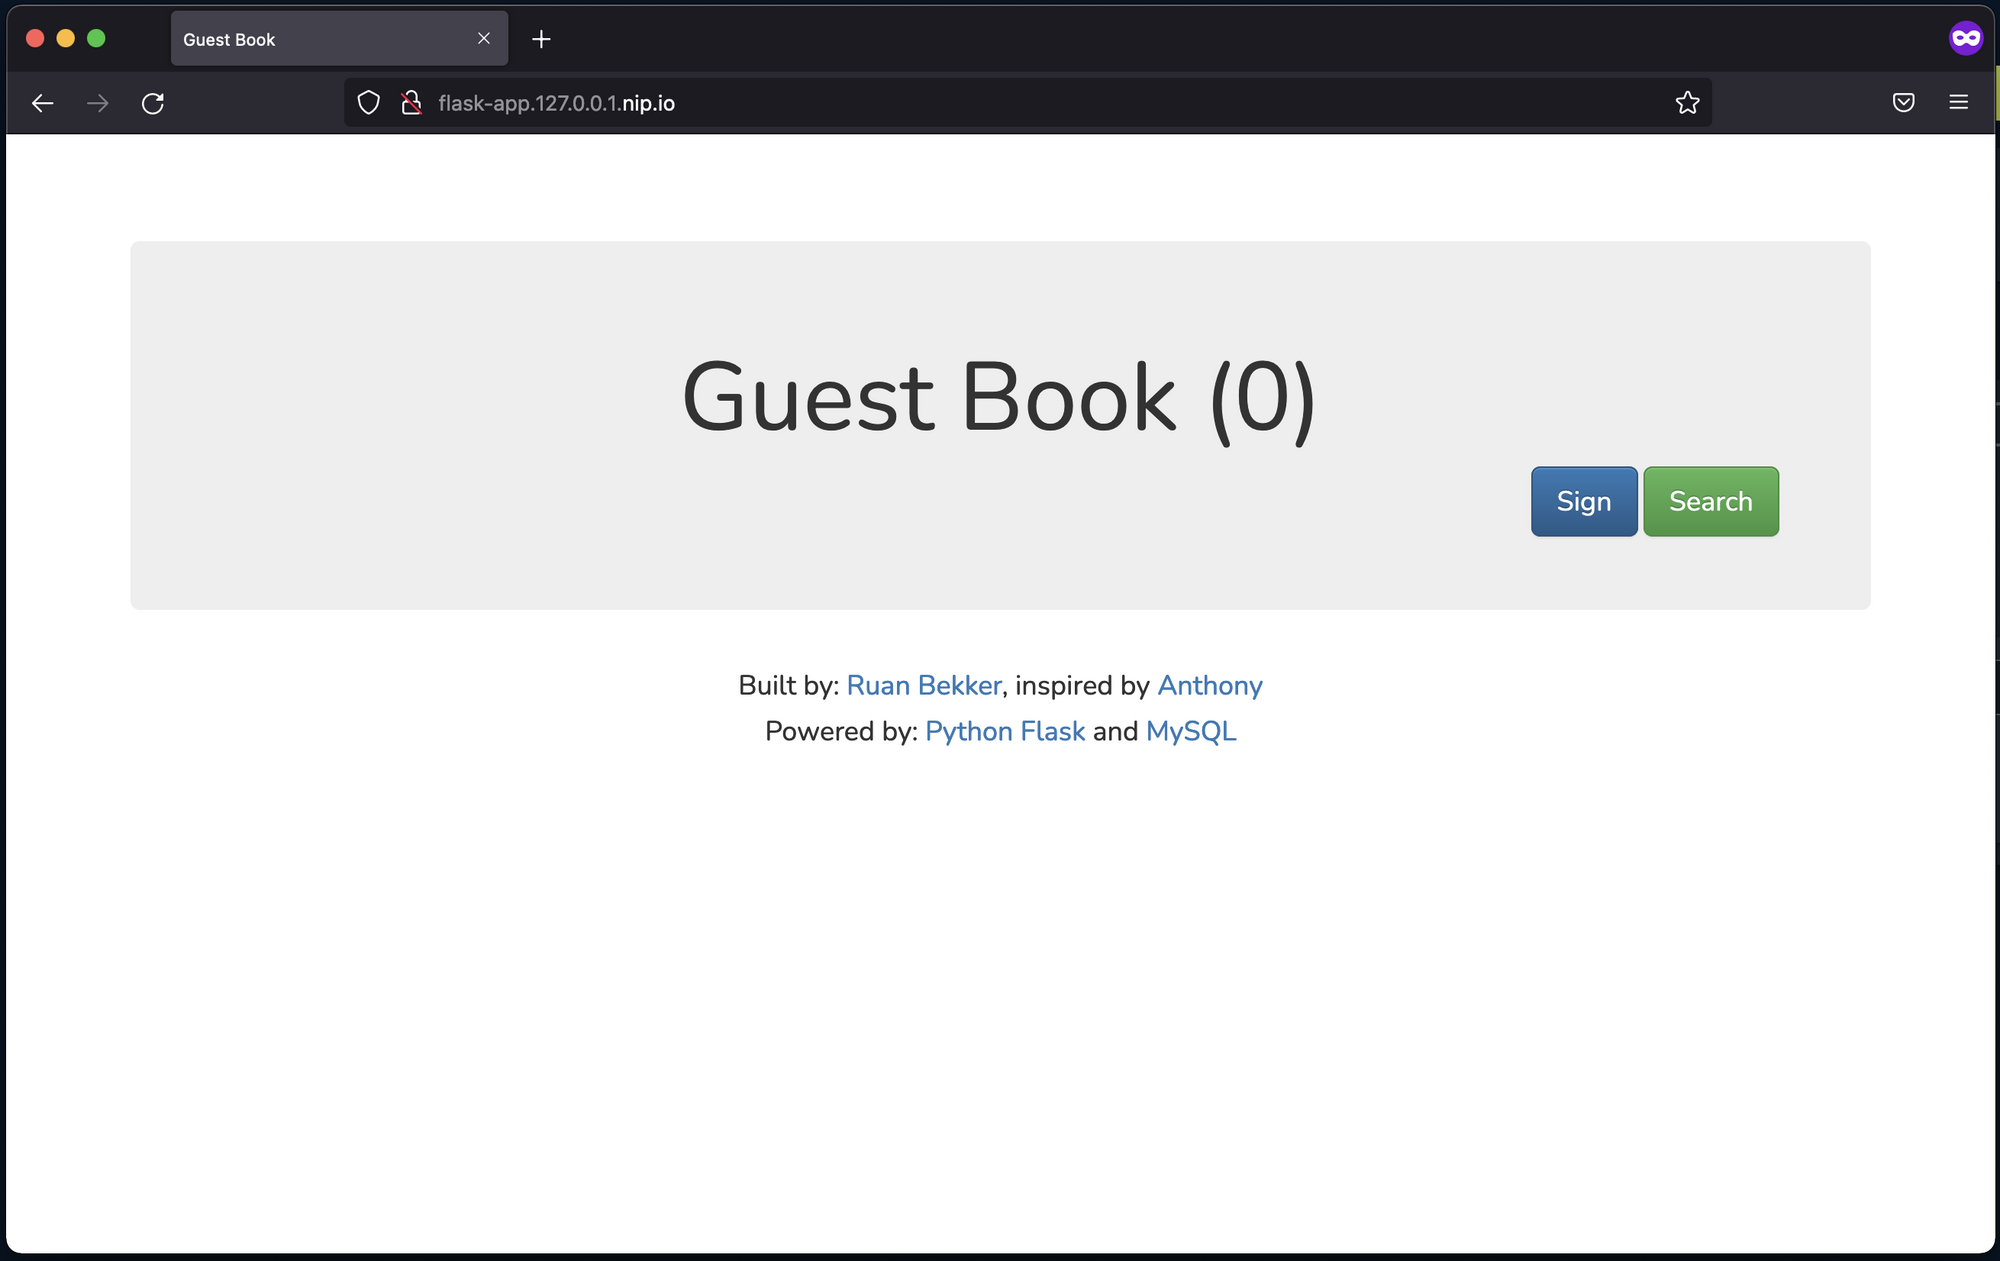
Now, I can create an entry by signing the guest book:
As you can see, the entry I created is visible:
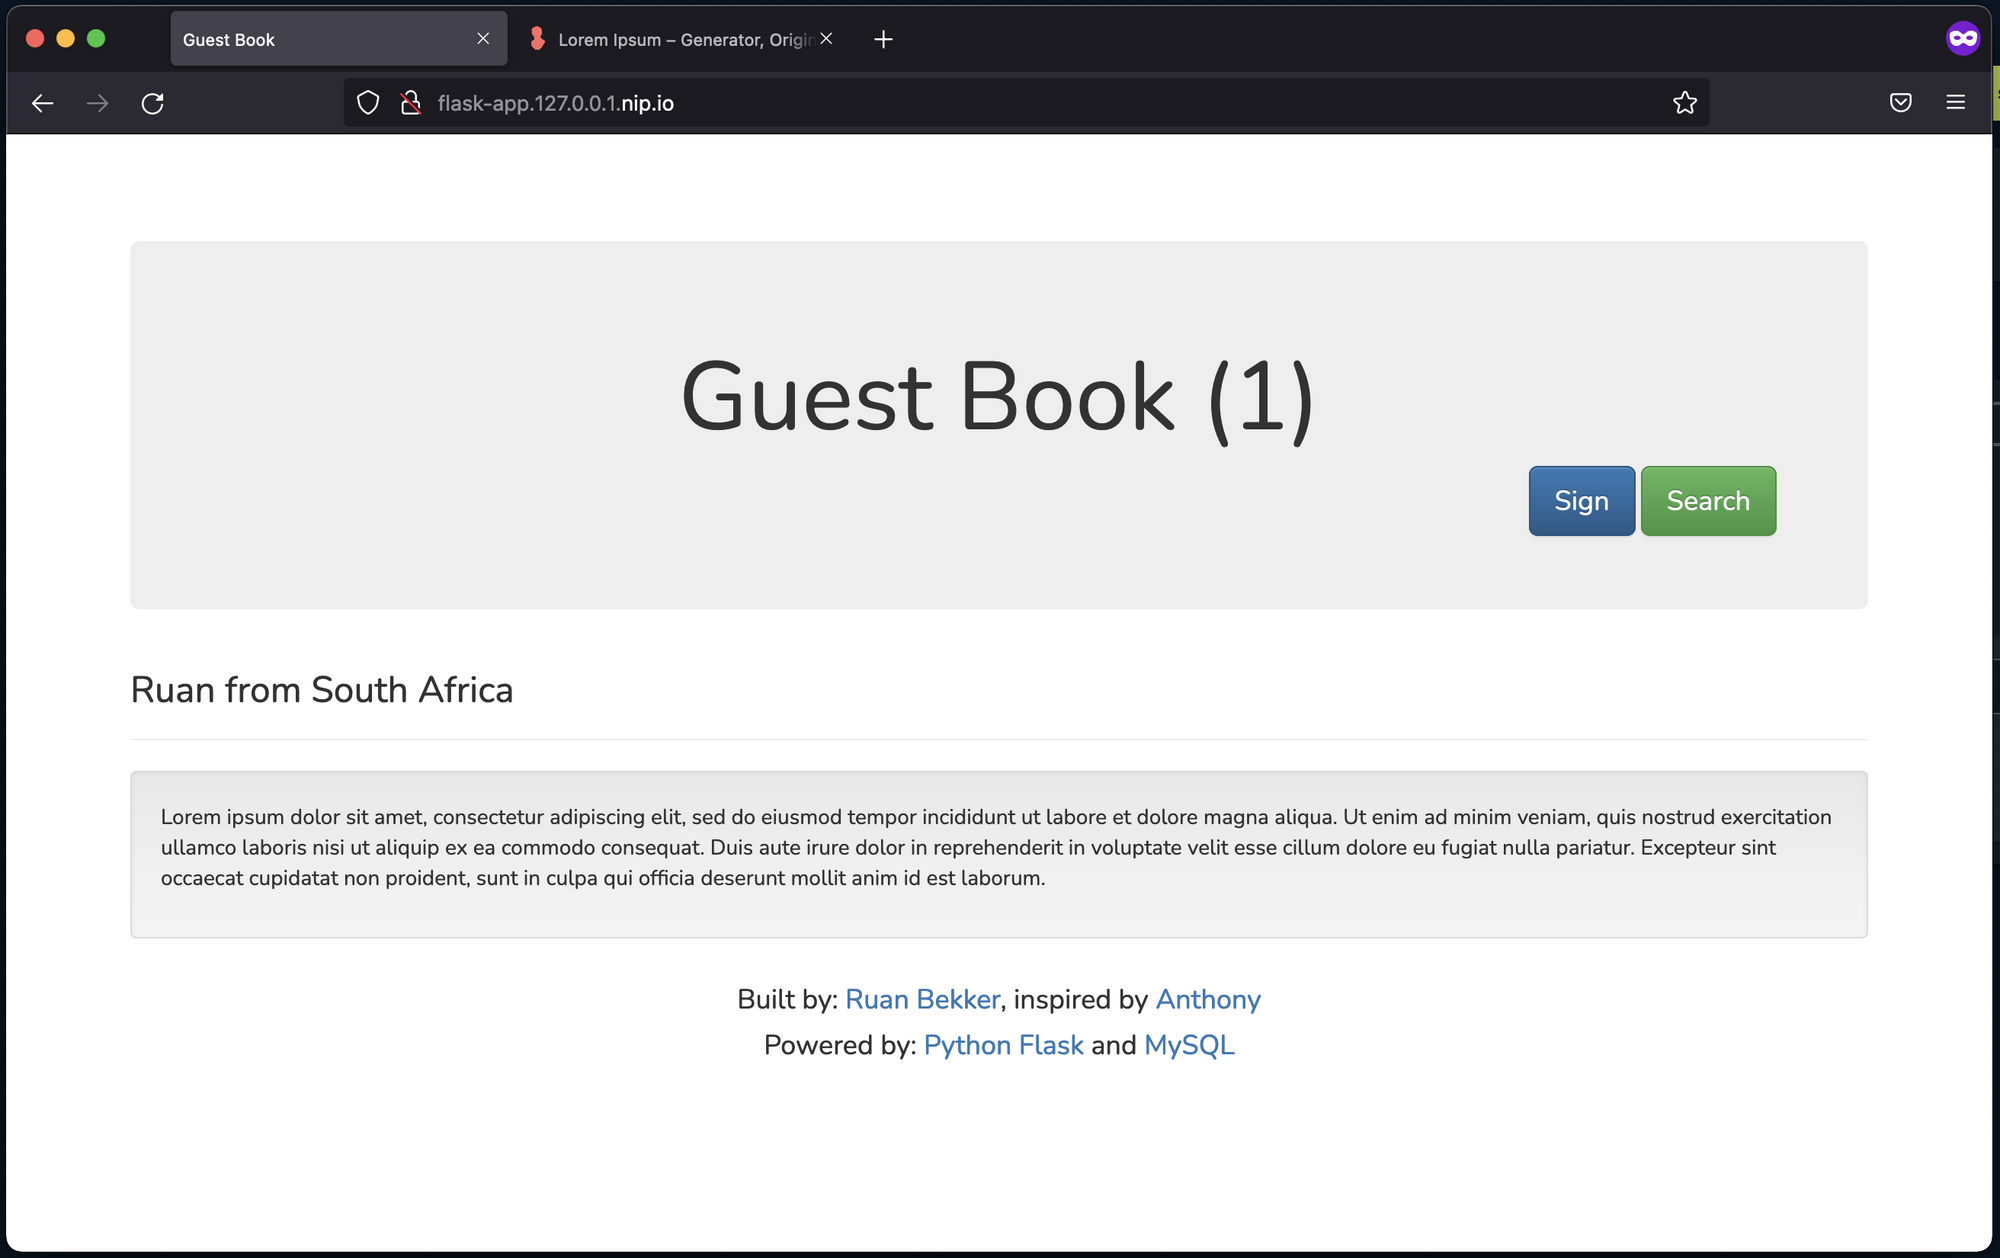
This is good and all, but the only problem is that the application is running locally on my laptop, so what fun does that bring in a “guest book” application if only I can sign it?
Publishing services with Traefik Hub
I head back to the Traefik-Hub UI, select Services, and search for the service flask, and I see the returned result shows the service flask-service:

Once I select the flask-service service, it opens up the following:
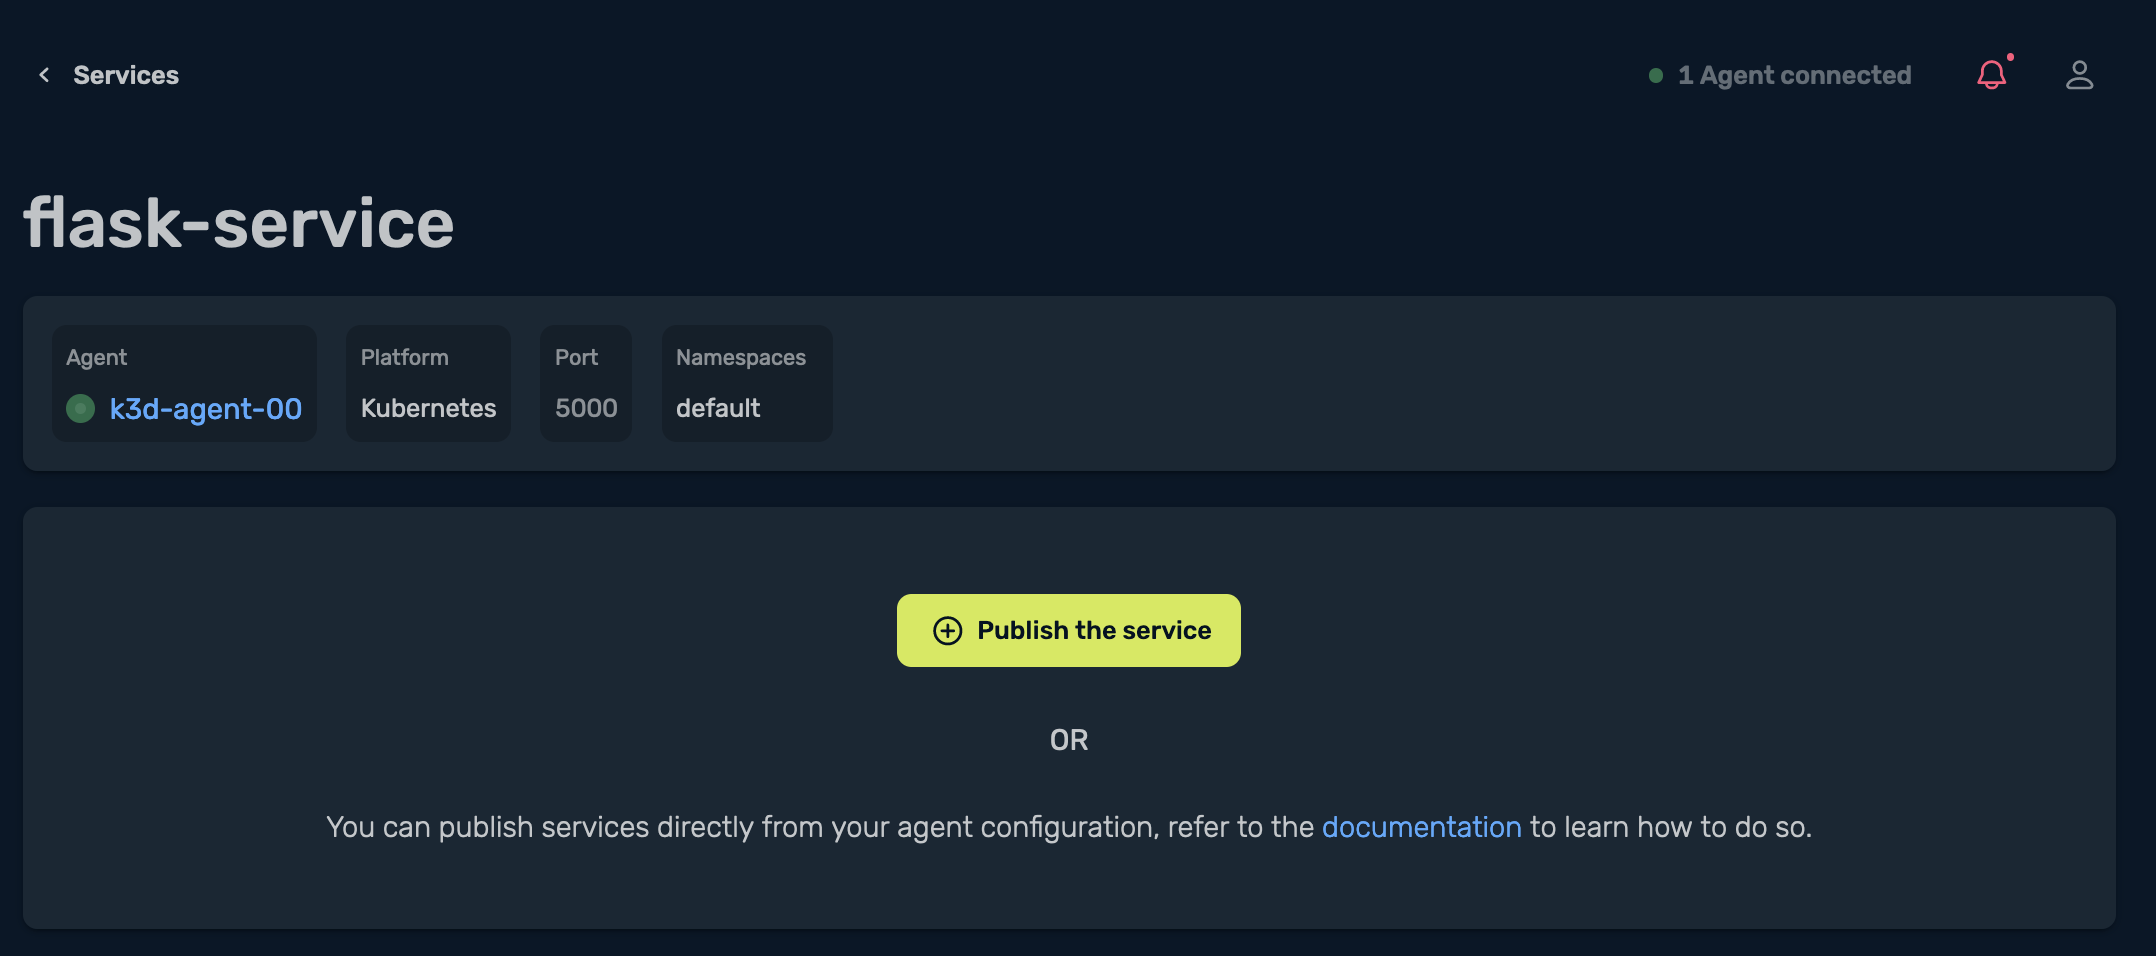
This section allows me to publish my service by selecting Publish the service:
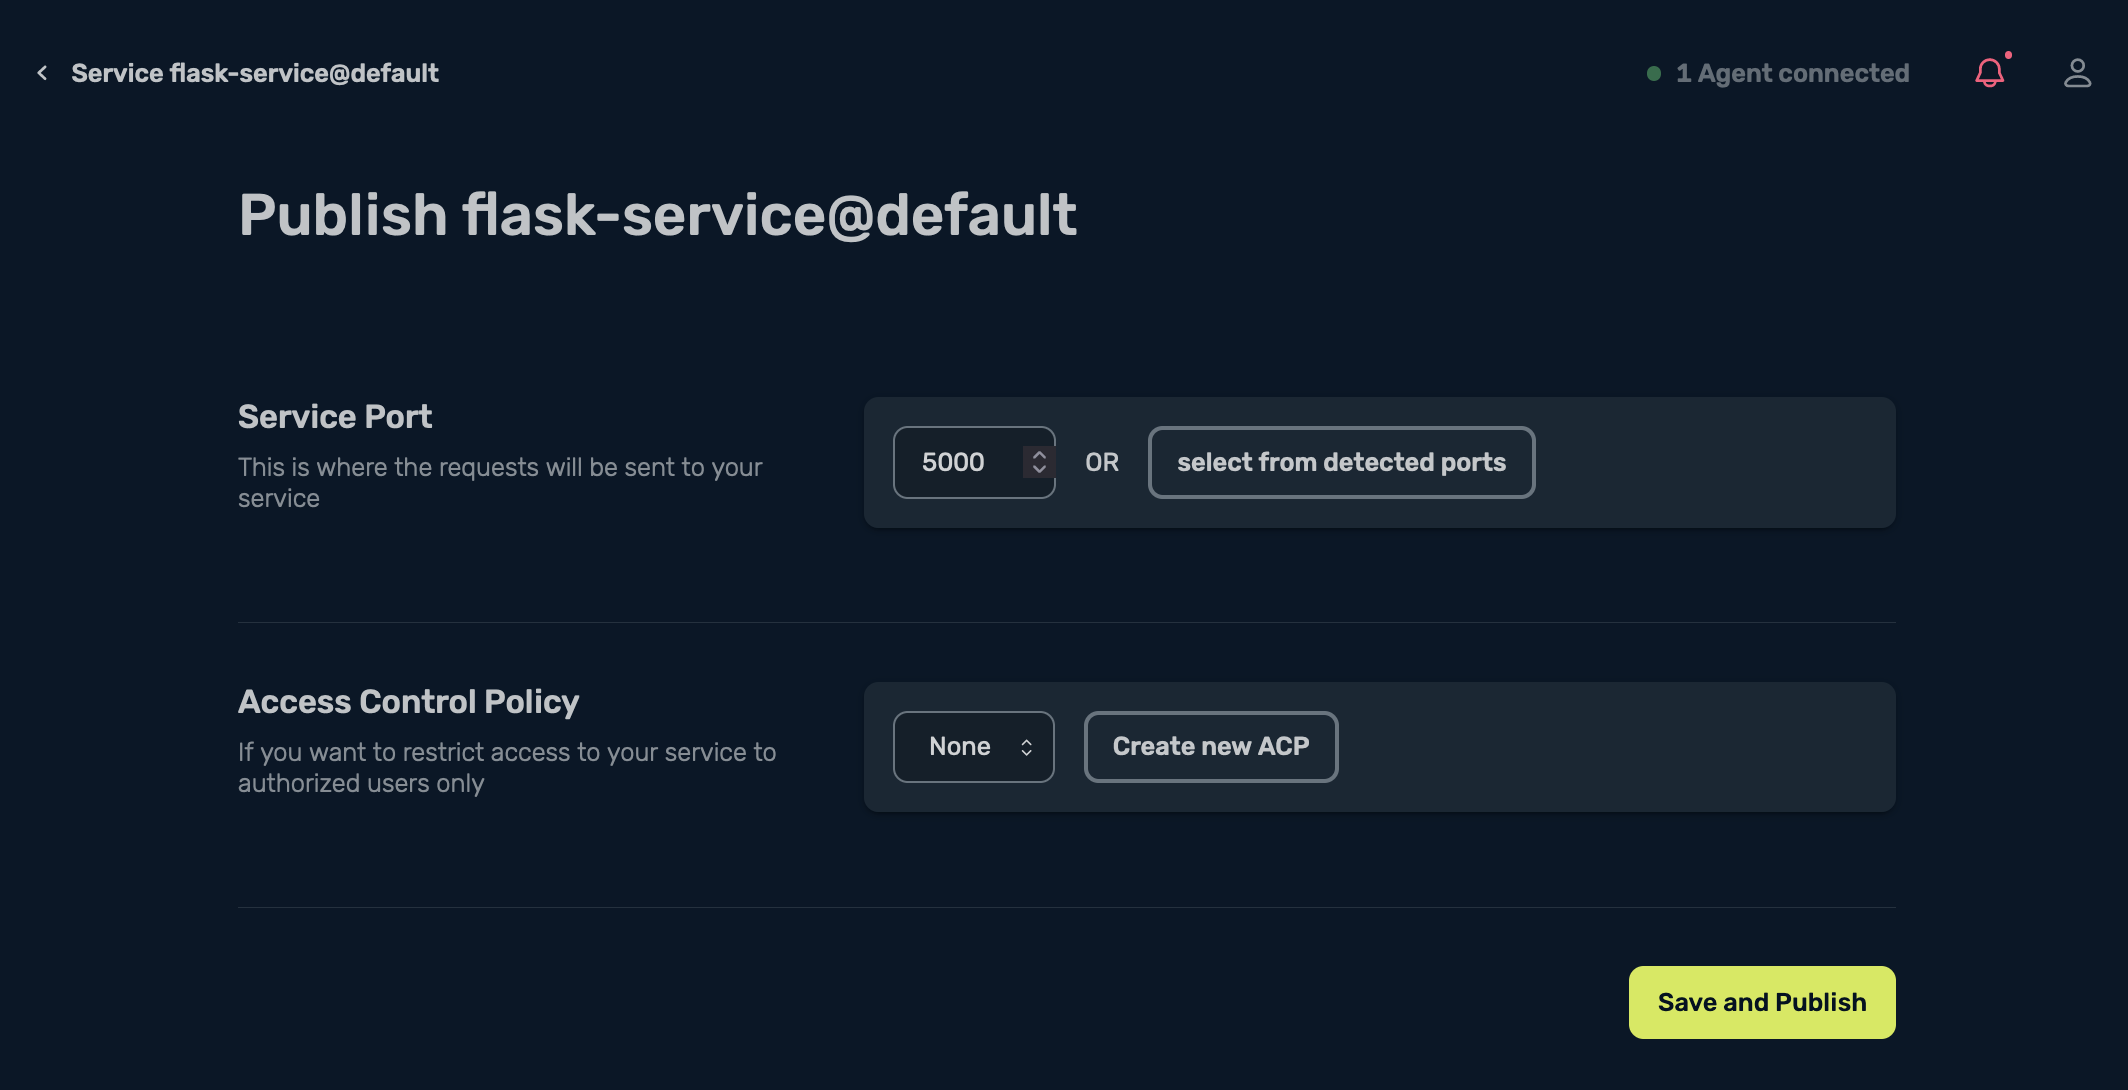
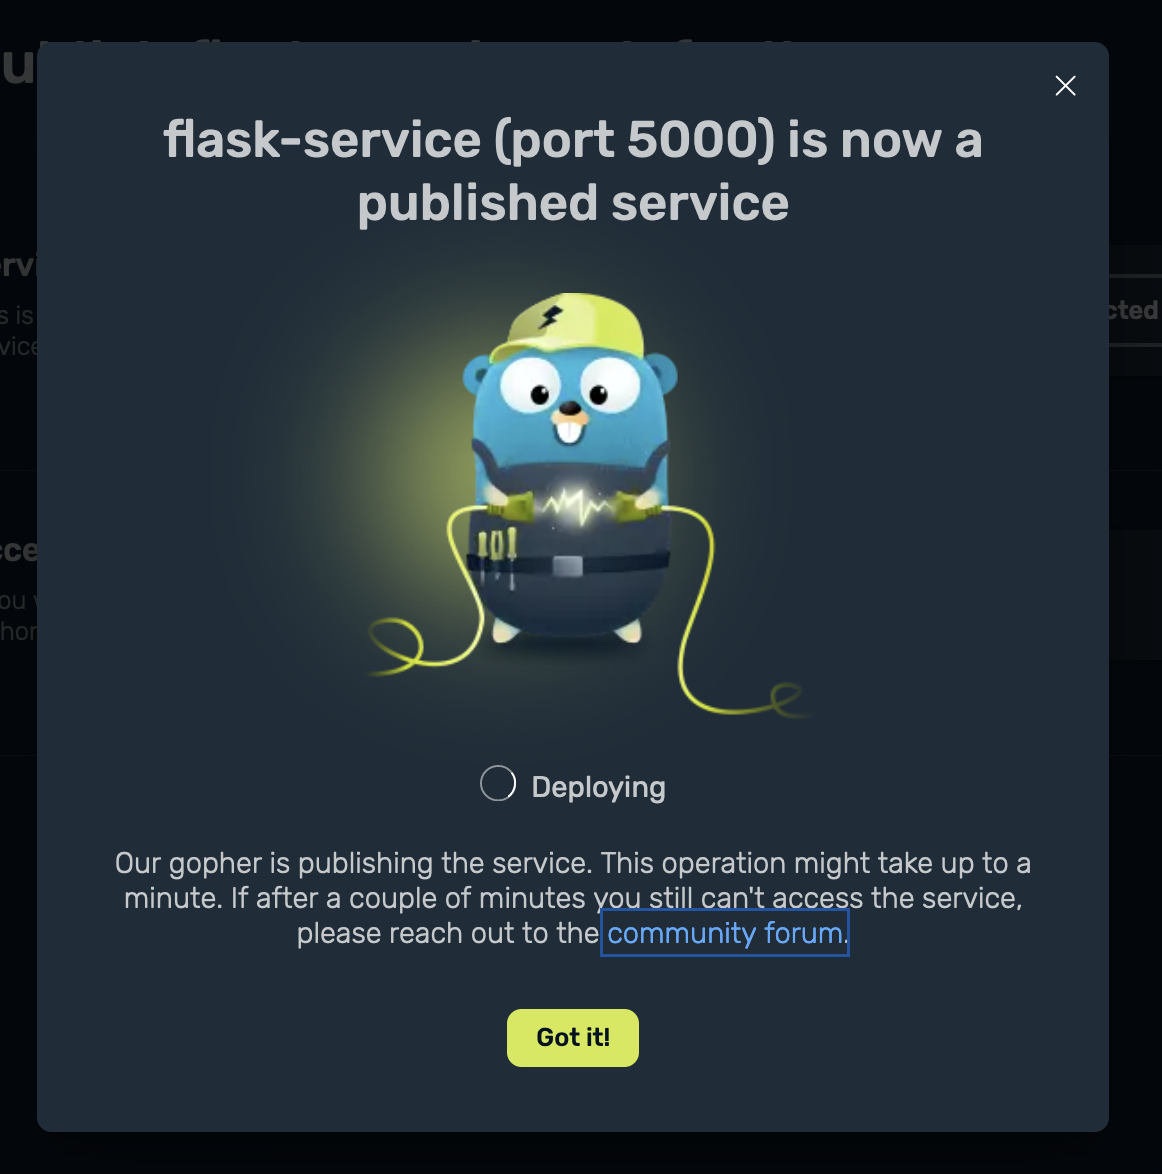
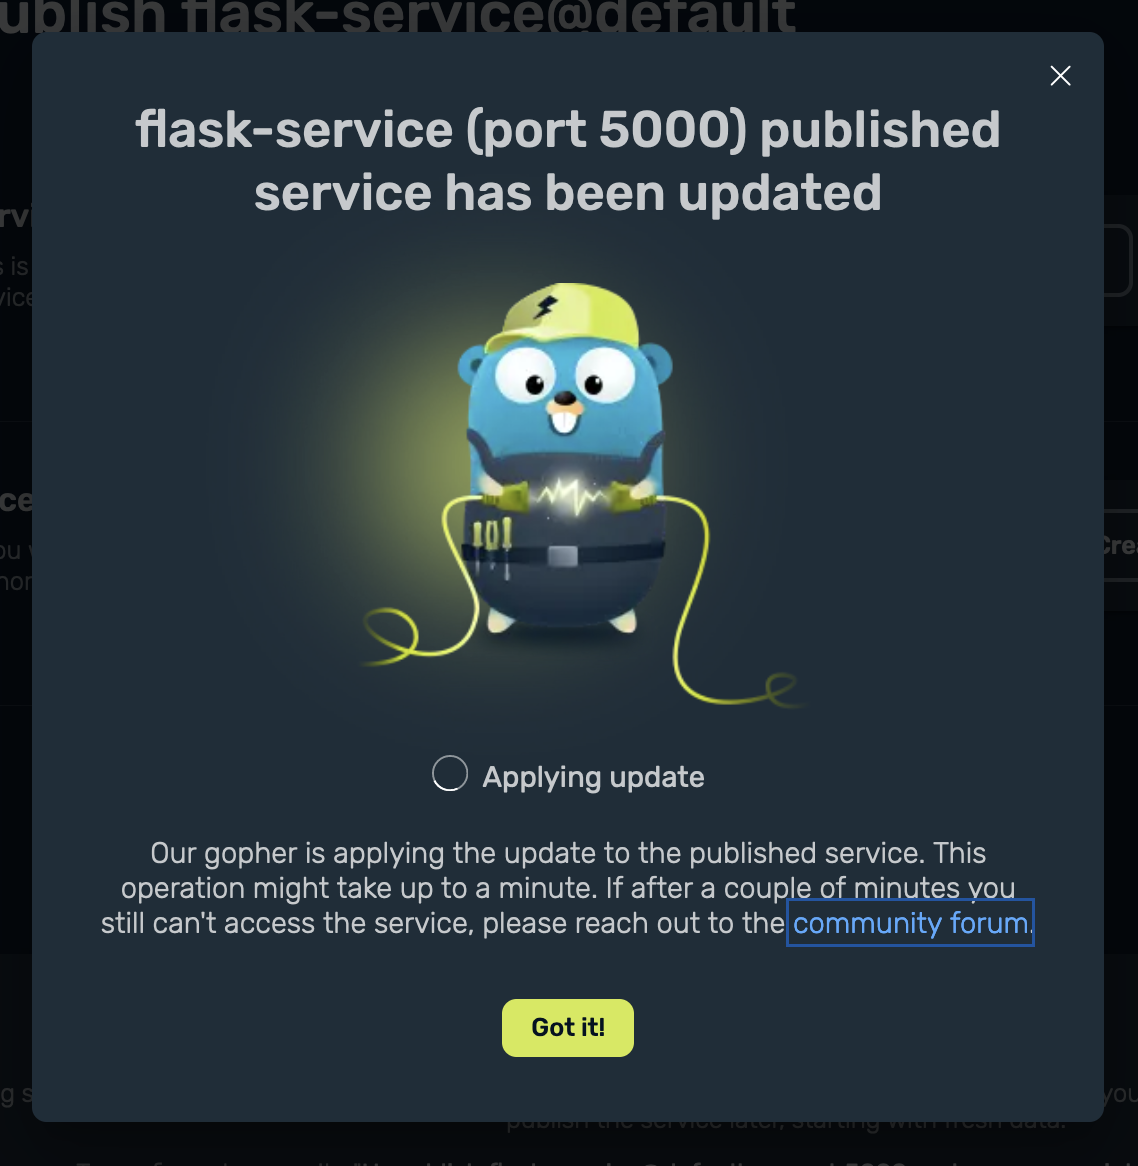
It then automatically detects the port where the requests need to be sent, so I then select Save and Publish, and I see this cool gopher doing its work:
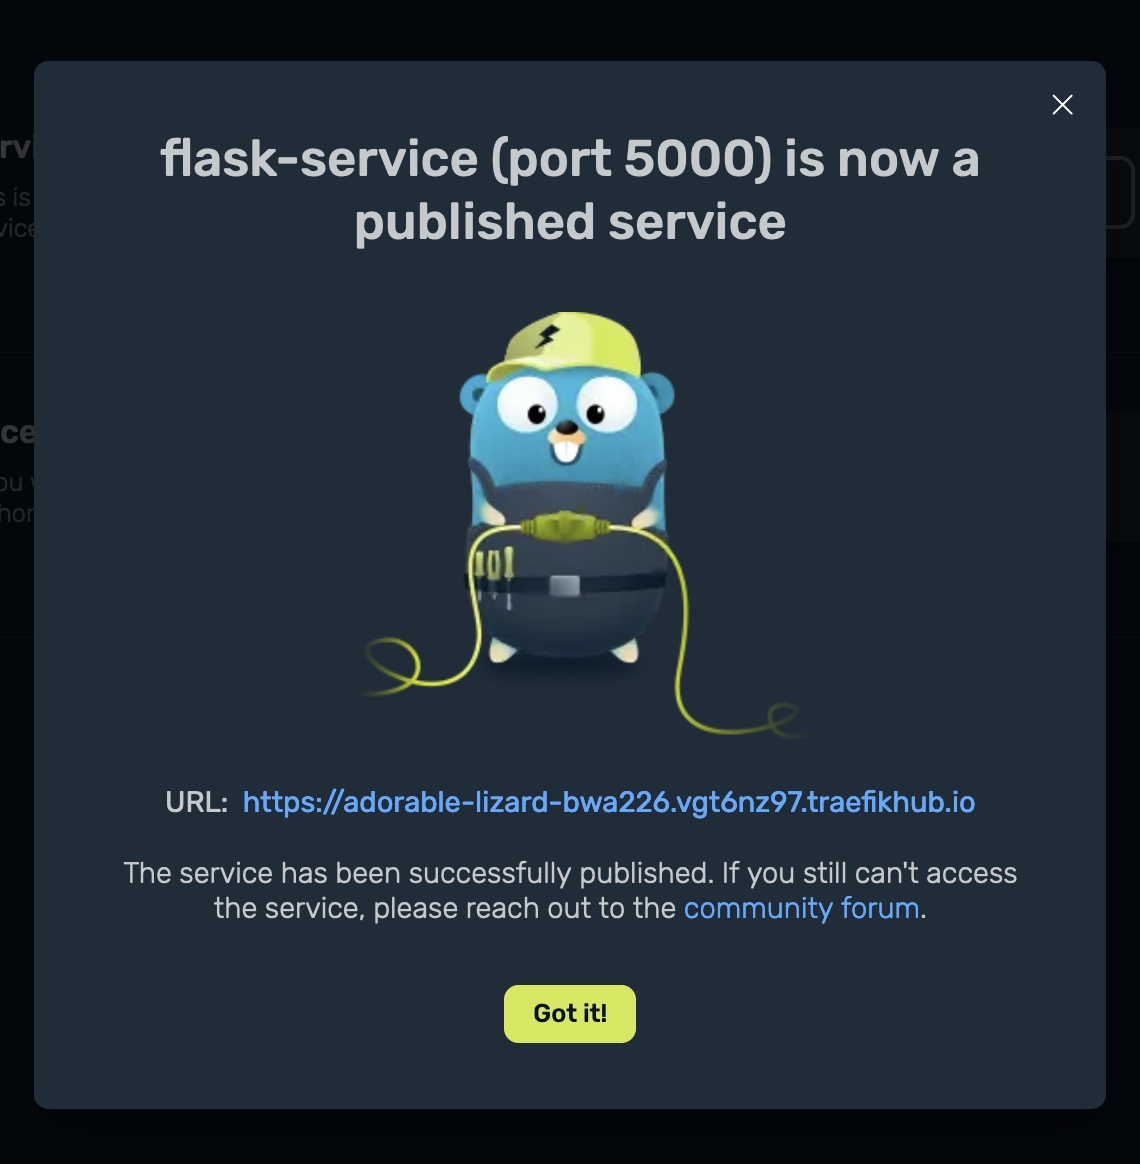
Within a couple of seconds, the service has been published and I have the URL which is now public and secured with an SSL certificate:
Once my service was publicly accessible, I asked my friend in New Zealand to access the web application, and he contributed to our application:

Metrics
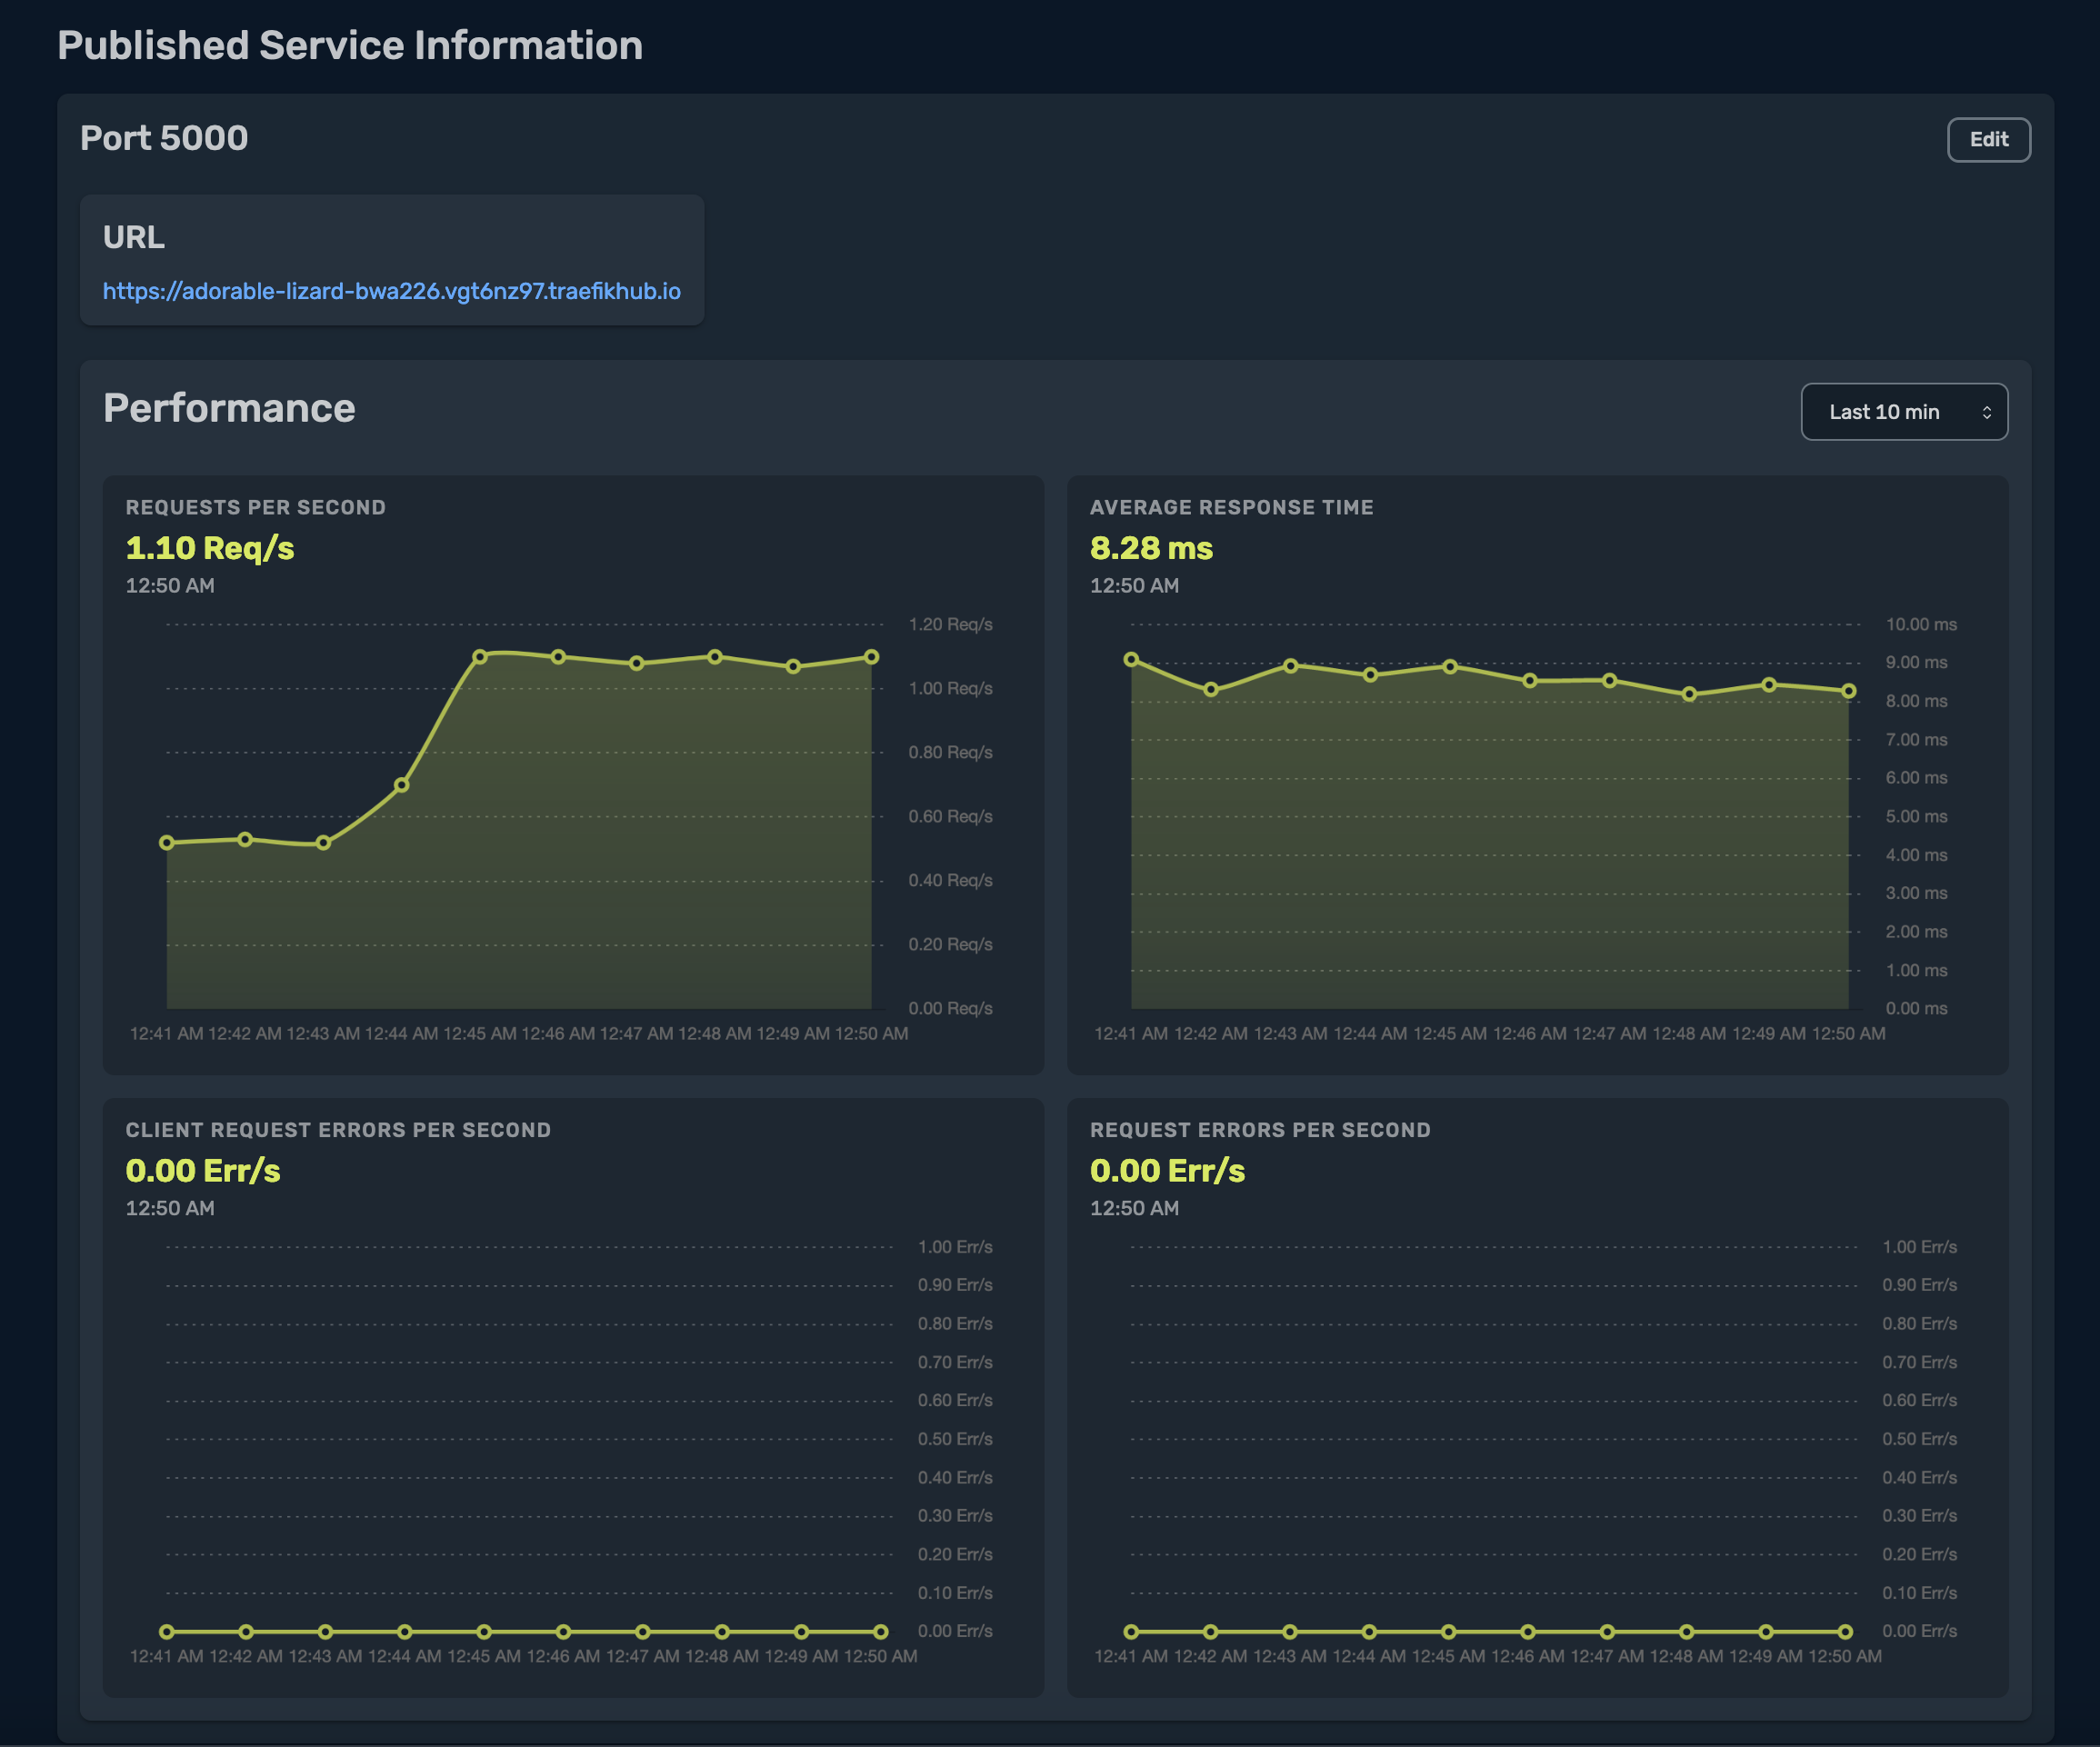
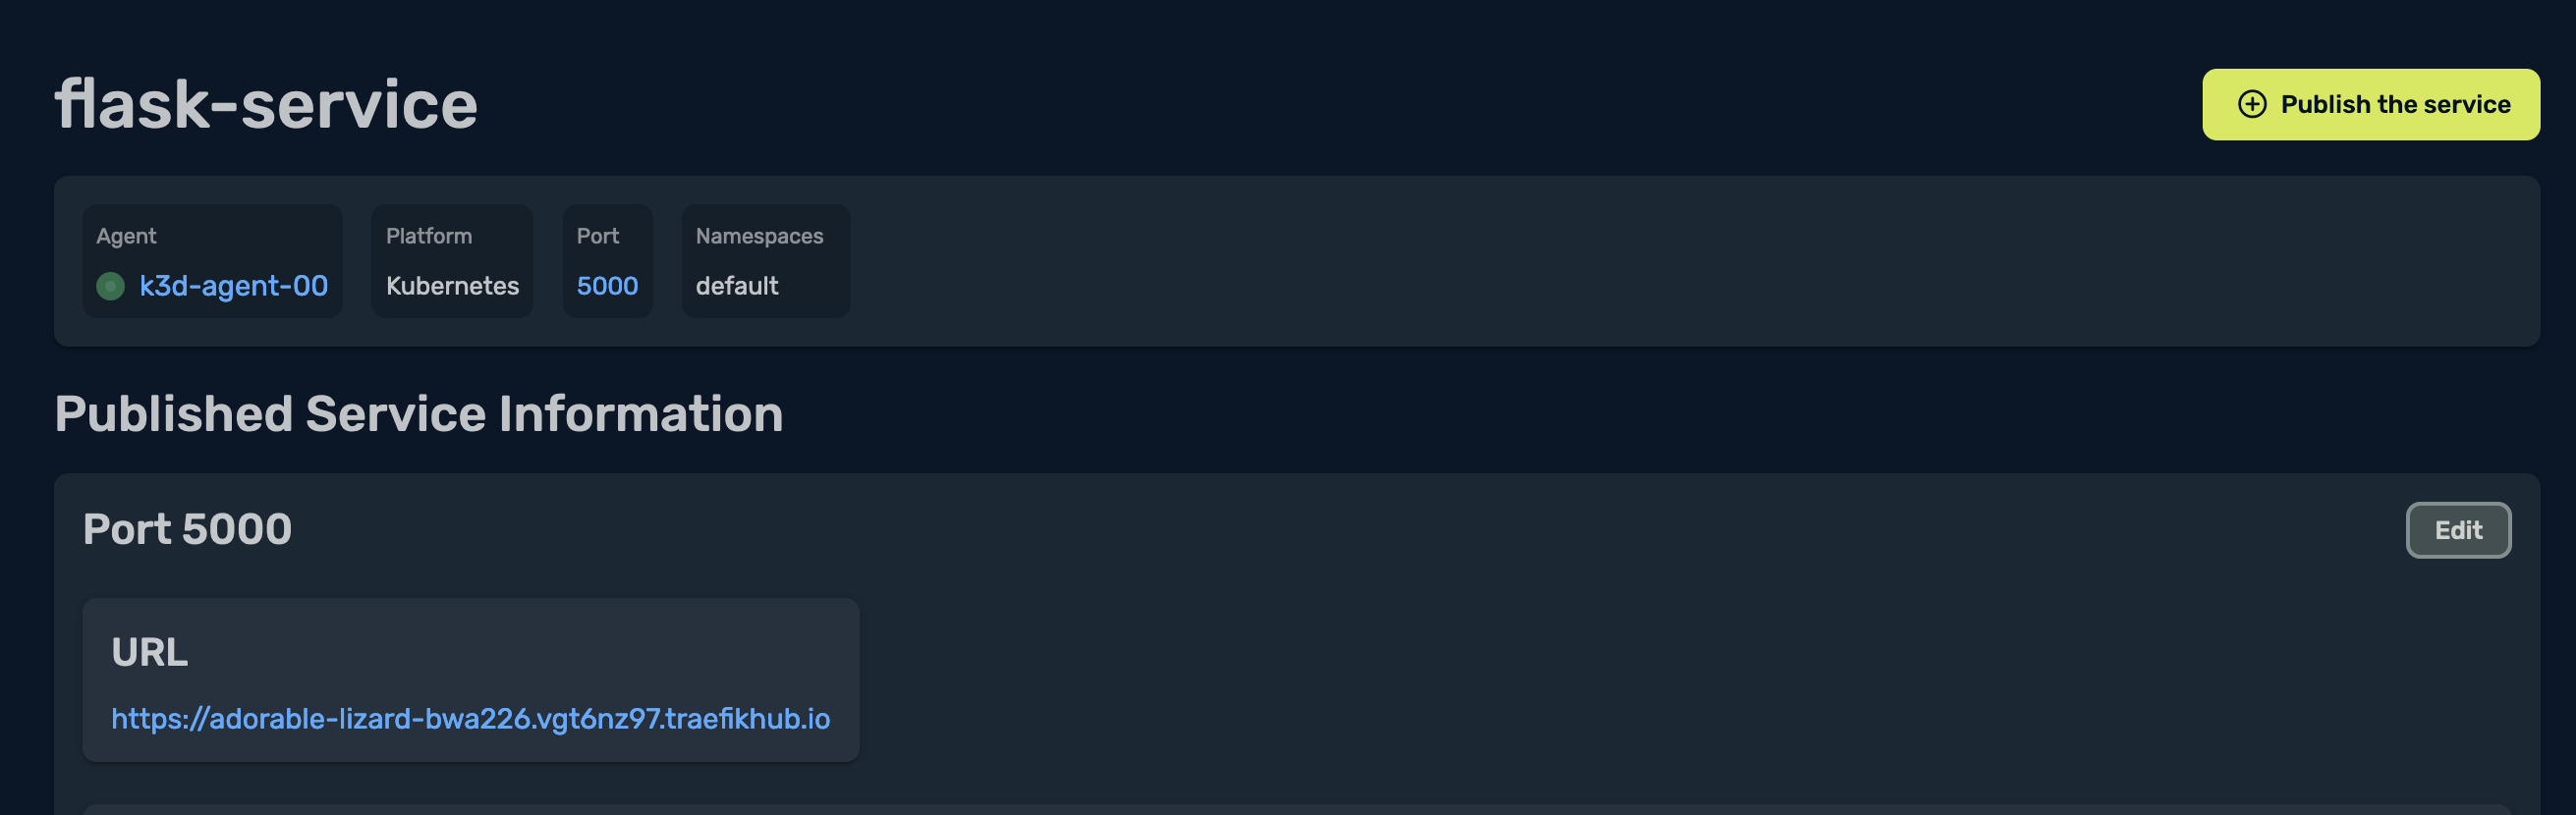
Now that my application received some traffic, I want to view the metrics. I navigate to my service, by selecting Services from the left side menu, and select the service that I published:

Here I have the information of my published service, and I can view the performance metrics:
Access Control Policies
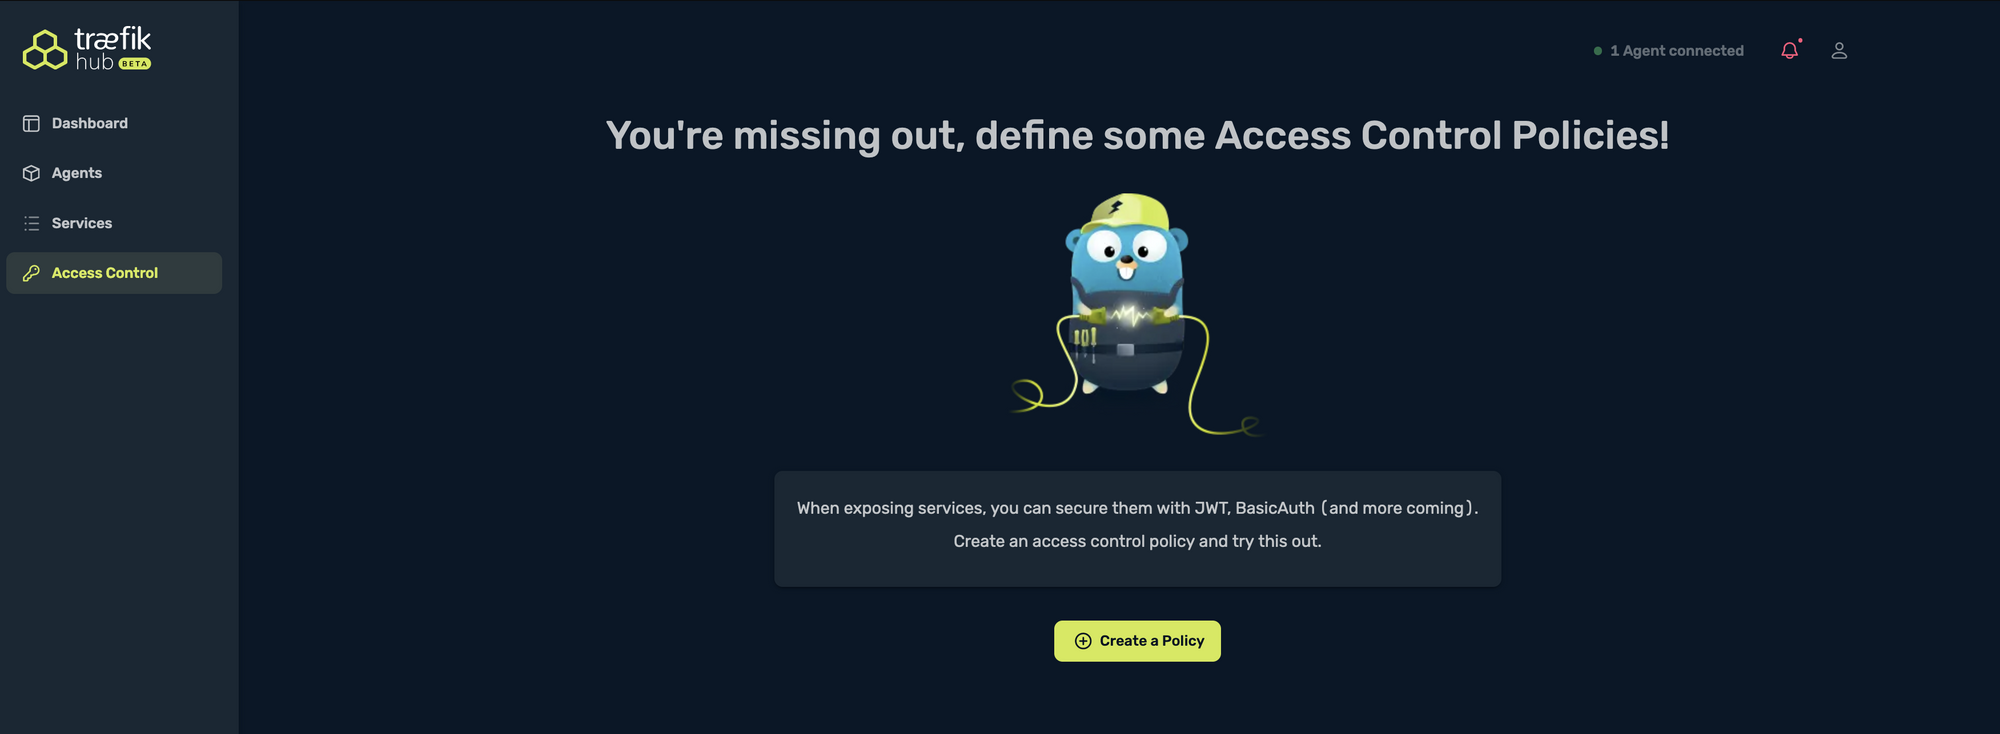
Traefik Hub makes it really easy by adding Access Control Policies (ACP) to your service. In this example, let’s say I want to deploy an ACP to my service — it’s as simple as clicking on the Access Control on the left side menu and selecting Create a Policy:
I name my ACP basic-auth-for-guest-book, select the targeted agent, the method will be Basic Auth, and I define the username and password:
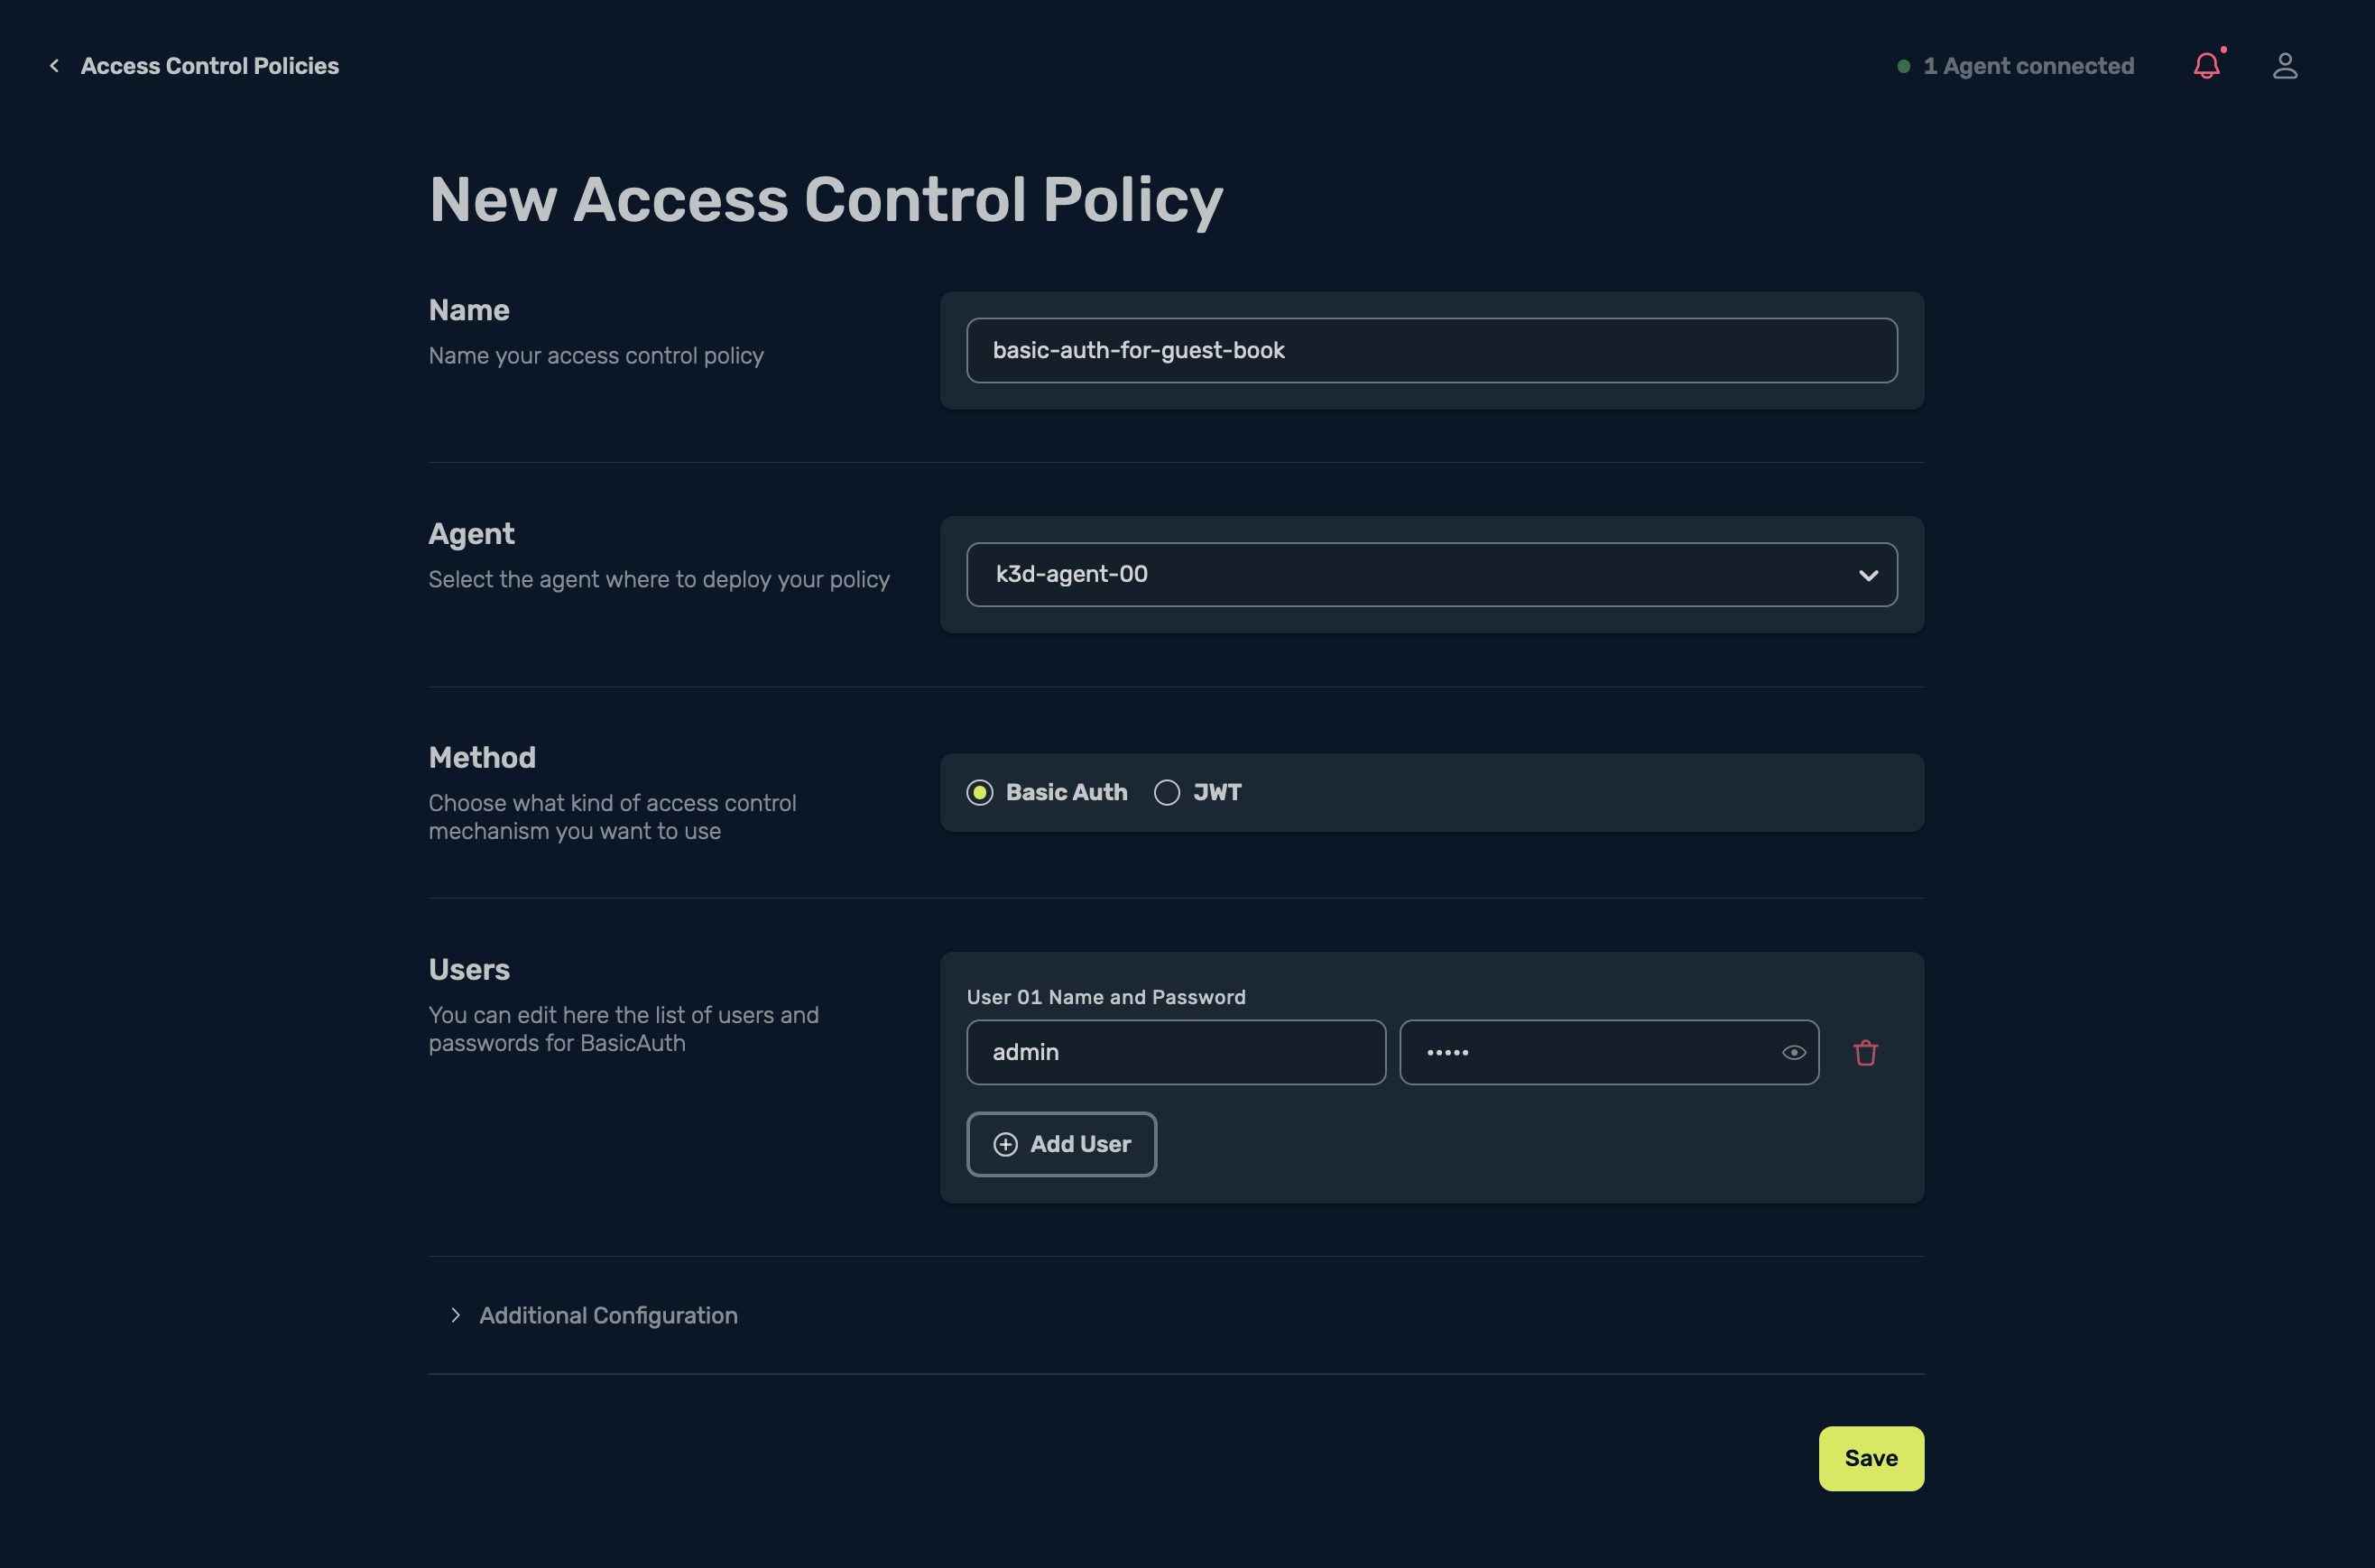
Then select Save and this will now create the ACP for me:
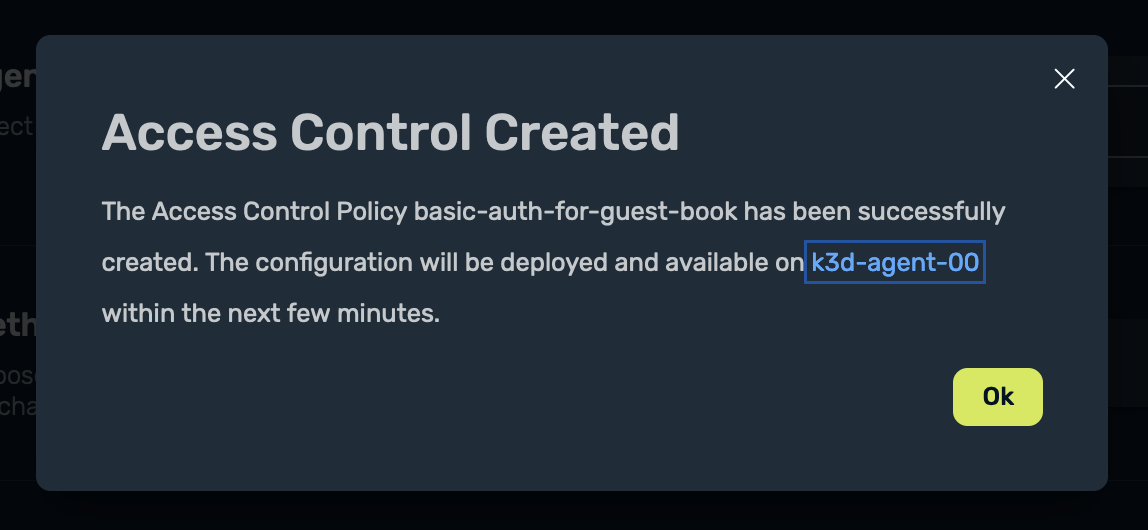
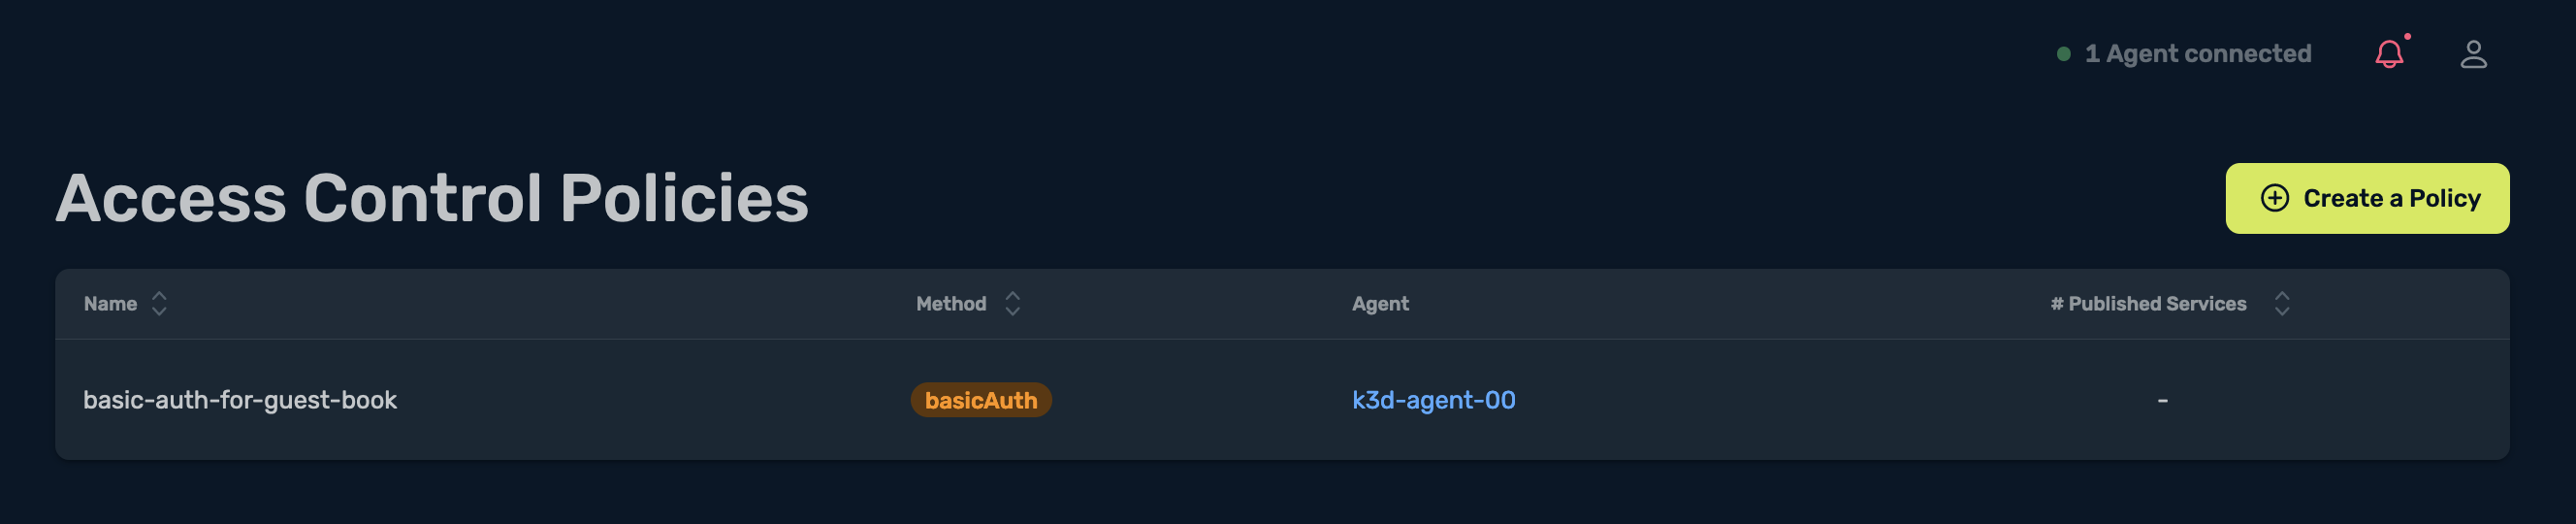
Once the ACP has been defined, I can see it under Access Control Policies:
Now, to associate the ACP to my service, I head back to Services and select my service, then select Edit:
Under Access Control Policy, assign the created ACP to the service:
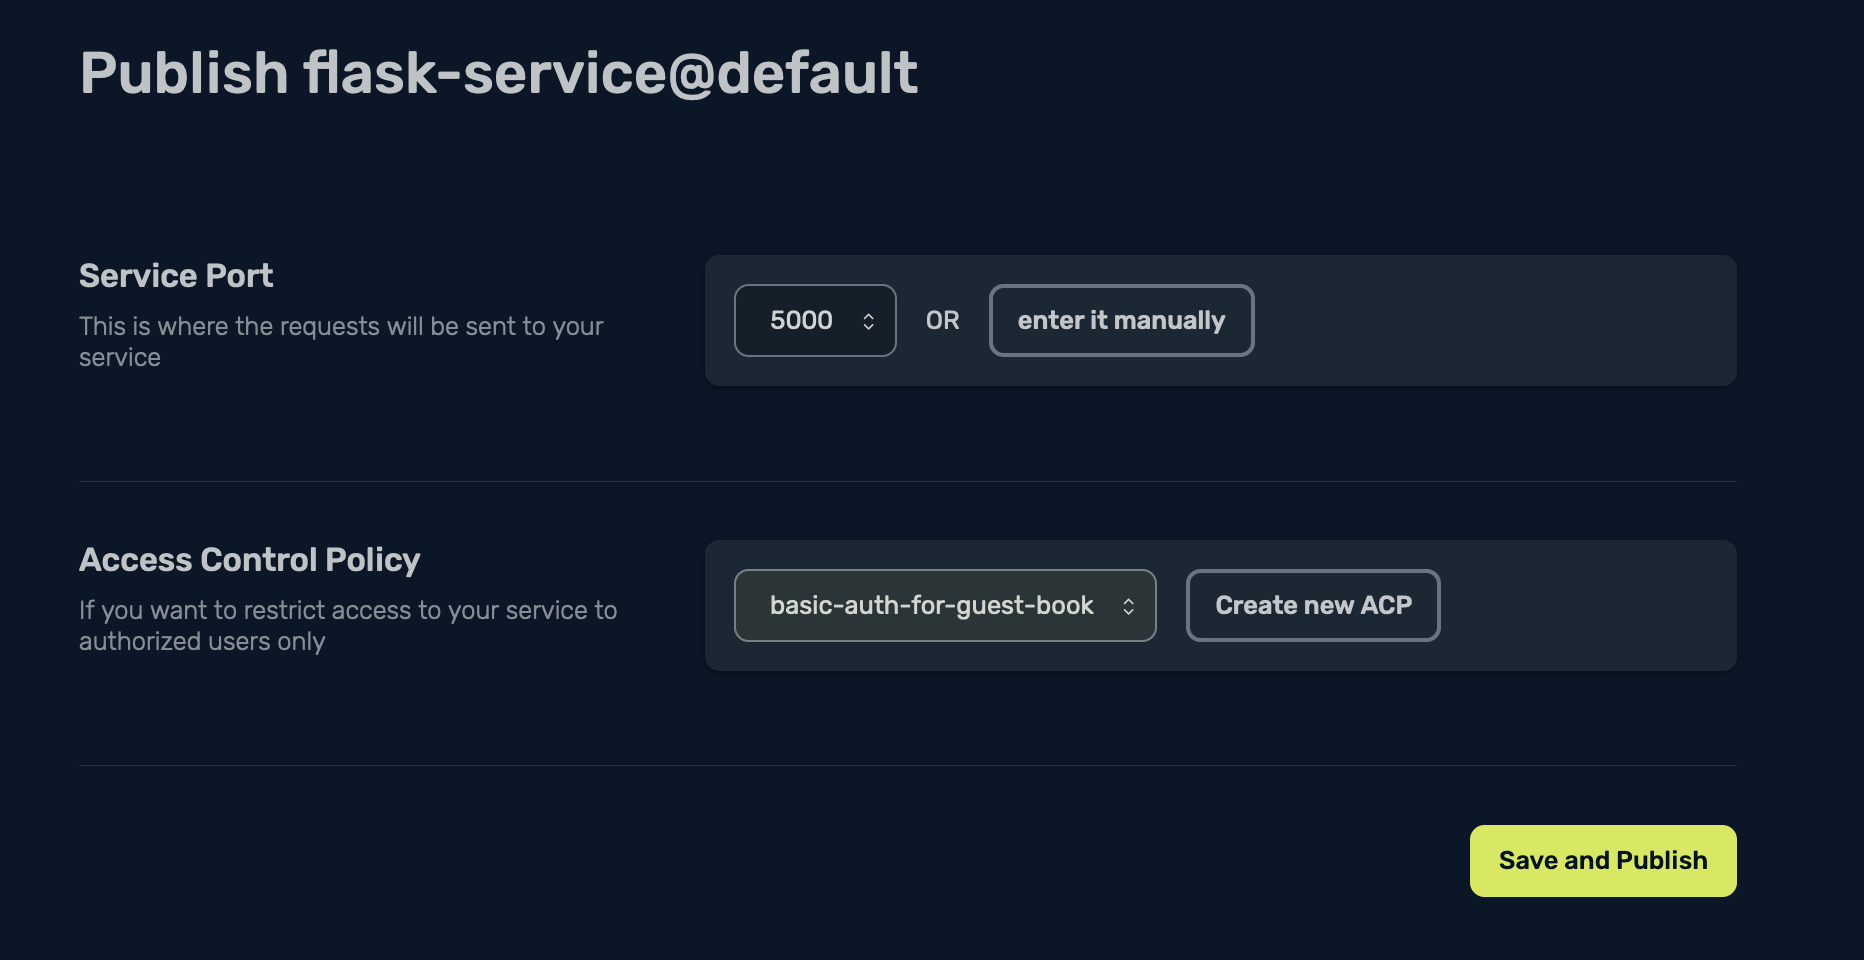
Then select Save and Publish:
After the update has been applied, I see the following screen:
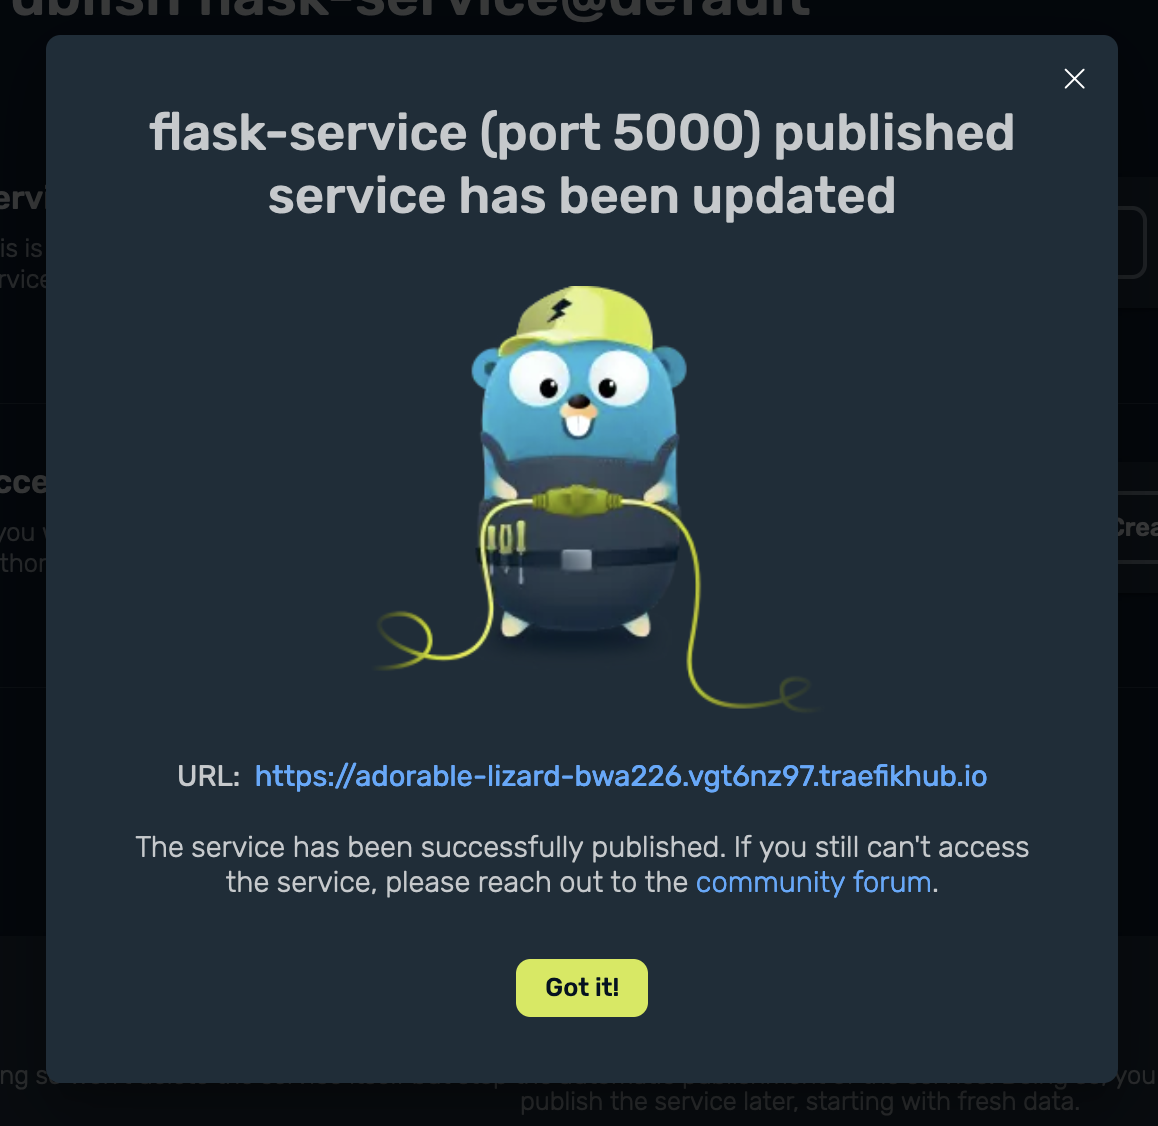
I click on Got it!, and I can see that the ACP is associated to my service under Access Control:

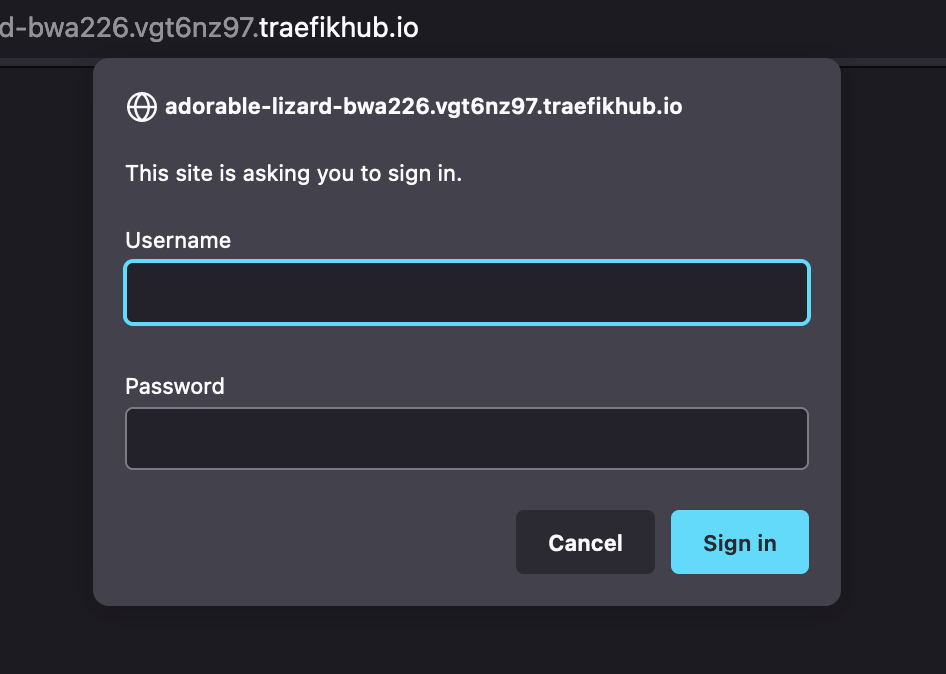
Now, if I try to access the same URL, I will be prompted to provide a username and password to log in:
And that’s all folks!
I promised to show you the power of Treafik Hub and how simple it is to publish and secure your services, and I hope I delivered!
Thank you for reading, I hope you enjoy Traefik Hub as much as I do. For more info on Traefik Hub, check out the following resources:
- [BLOG POST] Announcing Traefik Hub — The Cloud Native Networking Platform
- [DOCS] Traefik Hub feature for Traefik Proxy
- [VIDEO GUIDE] Traefik Hub | Exclusive First Look at Traefik Tunnels | BETA
About Ruan
Ruan is a DevOps Engineer, Open Source Enthusiast, and Technical Content Writer. He loves helping people, solving problems, and automating all the complex stuff. Curiosity, tinkering, and knowledge sharing are what he lives and breathes.


